> ## Documentation Index
> Fetch the complete documentation index at: https://docs.xpander.ai/llms.txt
> Use this file to discover all available pages before exploring further.
# Zapier
> Learn how to integrate AI agents with Zapier using xpander.ai. Create powerful, automated workflows that allow your AI agents to trigger actions, respond to events, and orchestrate tasks across thousands of apps.
## About Zapier
Zapier is a web-based automation platform that enables users to connect various web applications and automate workflows without requiring coding skills. By linking over 5,000 apps—including Gmail, Slack, Google Sheets, Trello, and Salesforce—Zapier facilitates seamless data transfer and task automation across different services.
Zapier key features:
* **No-Code Automation**: Design and implement workflows without any programming knowledge.
* **Extensive App Integration**: Connect with a vast array of applications to suit diverse business needs.
* **Real-Time Data Syncing**: Ensure consistent and up-to-date information across platforms.
* **Error Handling & Recovery**: Utilize intelligent alerts and AI-powered troubleshooting to maintain workflow integrity.
* **Security & Compliance**: Benefit from SOC 2 Type II certification and GDPR compliance, ensuring data privacy and control.
## Authentication Options
Below are possible authentication options you can choose:
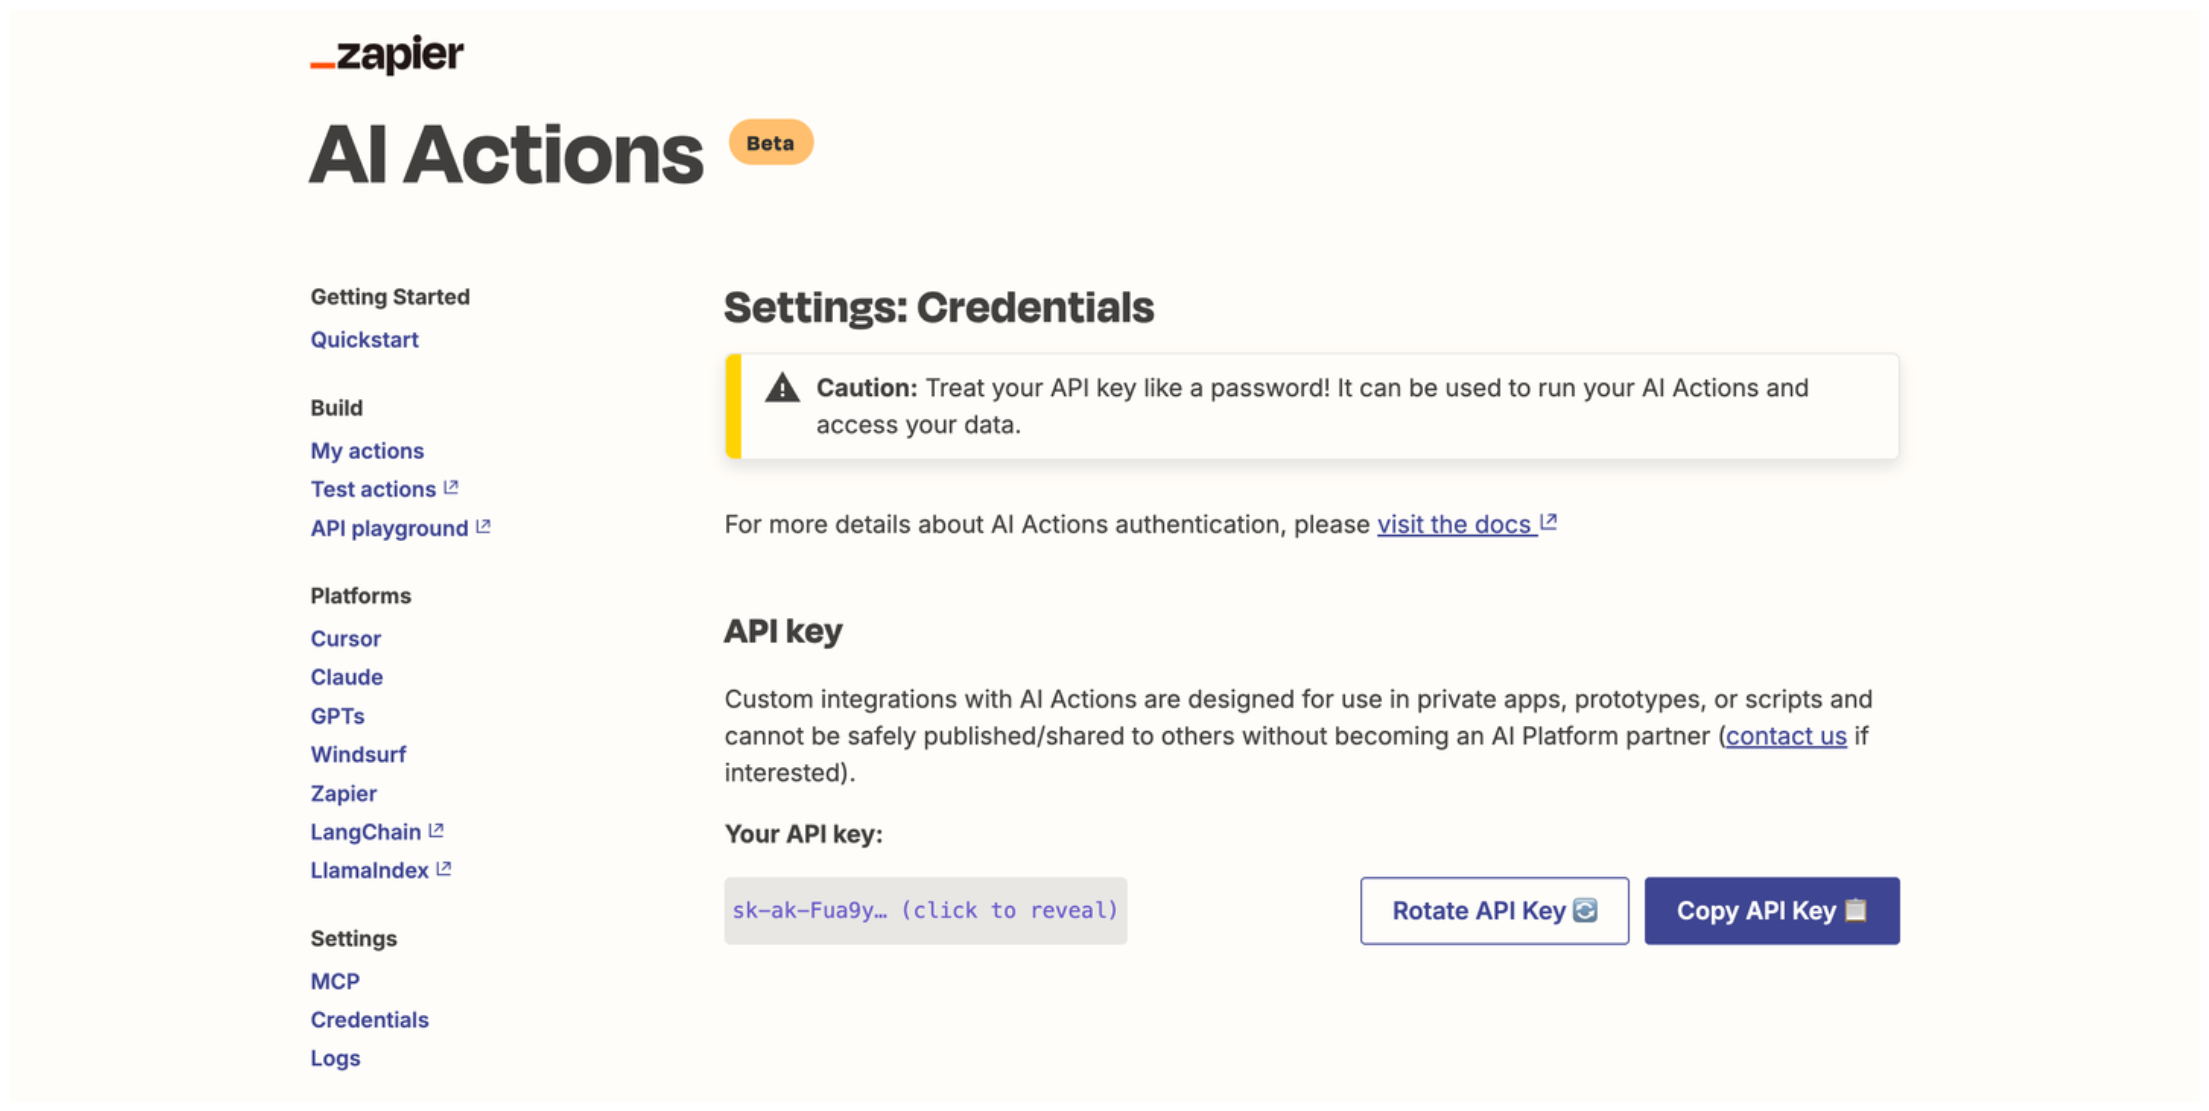
### Generate a Zapier API Key
1. Log in to your [Zapier account](https://zapier.com/app/).
2. Connect your Zapier account with the [custom integration app](https://actions.zapier.com/custom/start/).
 3. Select the apps and actions you want to integrate with Zapier.
4. Access your API key by visiting [Zapier’s action page](https://actions.zapier.com/credentials/).
3. Select the apps and actions you want to integrate with Zapier.
4. Access your API key by visiting [Zapier’s action page](https://actions.zapier.com/credentials/).
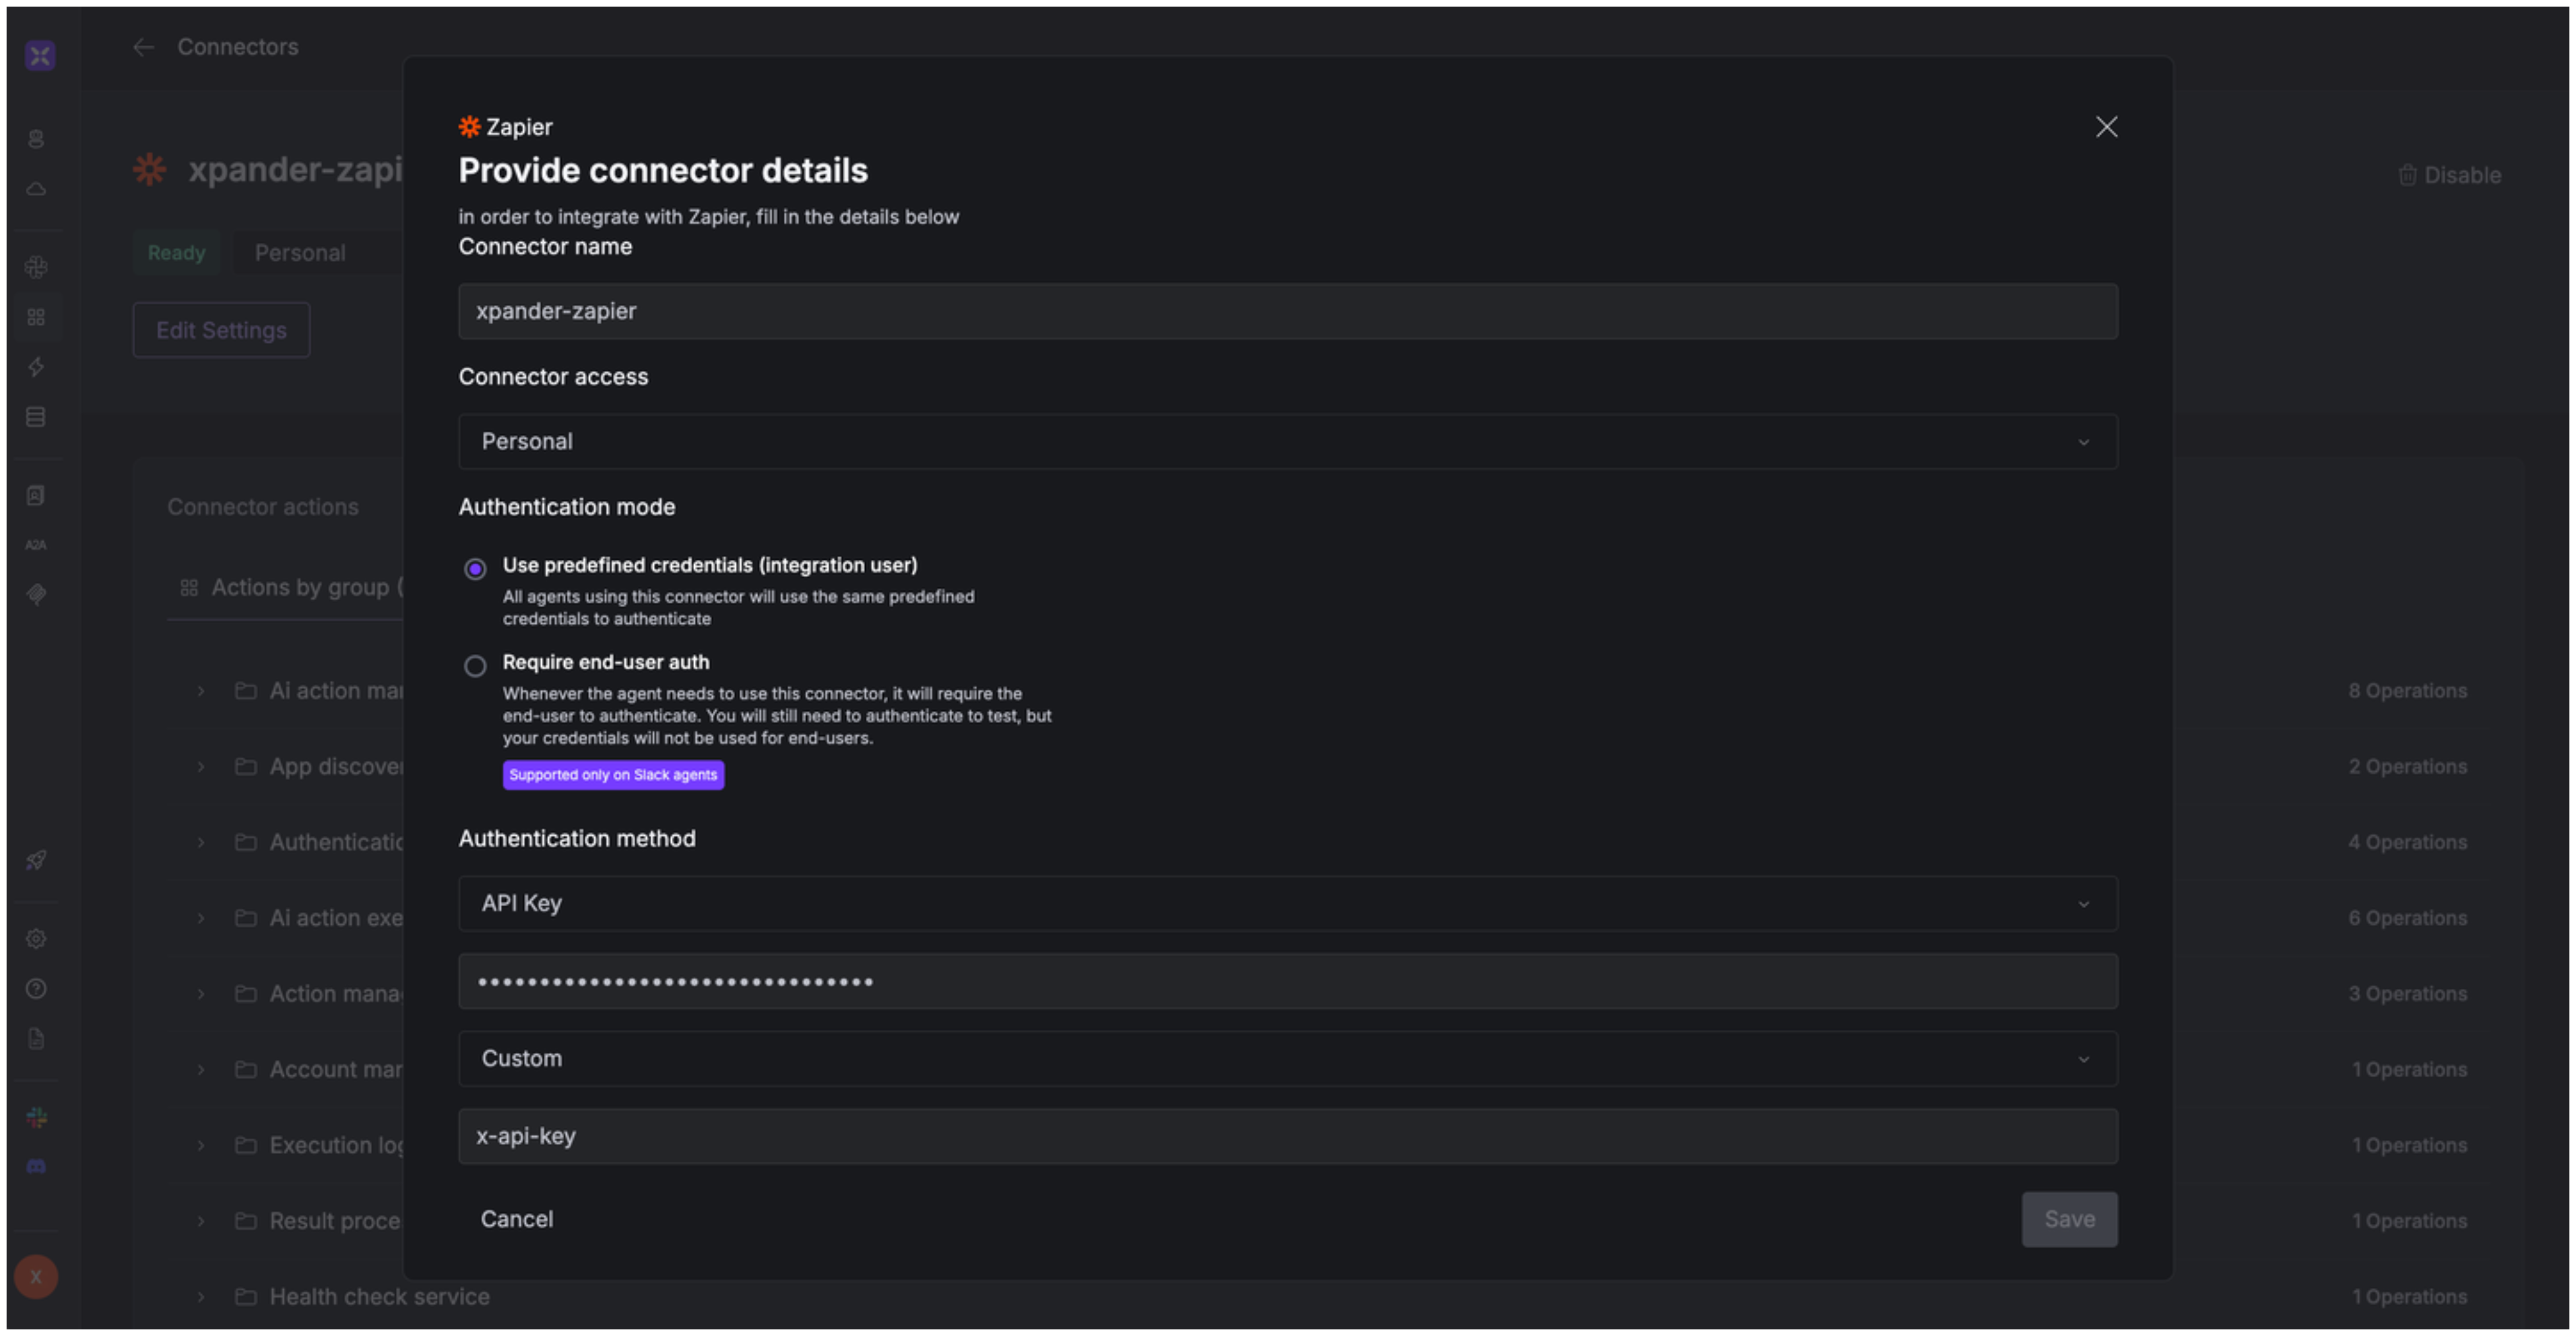
 ### Integrate Zapier into xpander.ai
1. In your xpander.ai dashboard, go to the **Connectors** section in the sidebar.
2. Select **Zapier** from the available integrations.
3. Click **Enable**.
4. Enter a **connector name**, e.g., "xpander-zapier".
5. Select **Integration User** for the authentication mode.
6. Choose **API Key** as the authentication method.
7. Paste your Zapier API key into the provided field.
8. Set the **Auth Type** to **Custom**.
9. In the **Custom header name** field, enter: `x-api-key`.
10. Save the configuration.
### Integrate Zapier into xpander.ai
1. In your xpander.ai dashboard, go to the **Connectors** section in the sidebar.
2. Select **Zapier** from the available integrations.
3. Click **Enable**.
4. Enter a **connector name**, e.g., "xpander-zapier".
5. Select **Integration User** for the authentication mode.
6. Choose **API Key** as the authentication method.
7. Paste your Zapier API key into the provided field.
8. Set the **Auth Type** to **Custom**.
9. In the **Custom header name** field, enter: `x-api-key`.
10. Save the configuration.
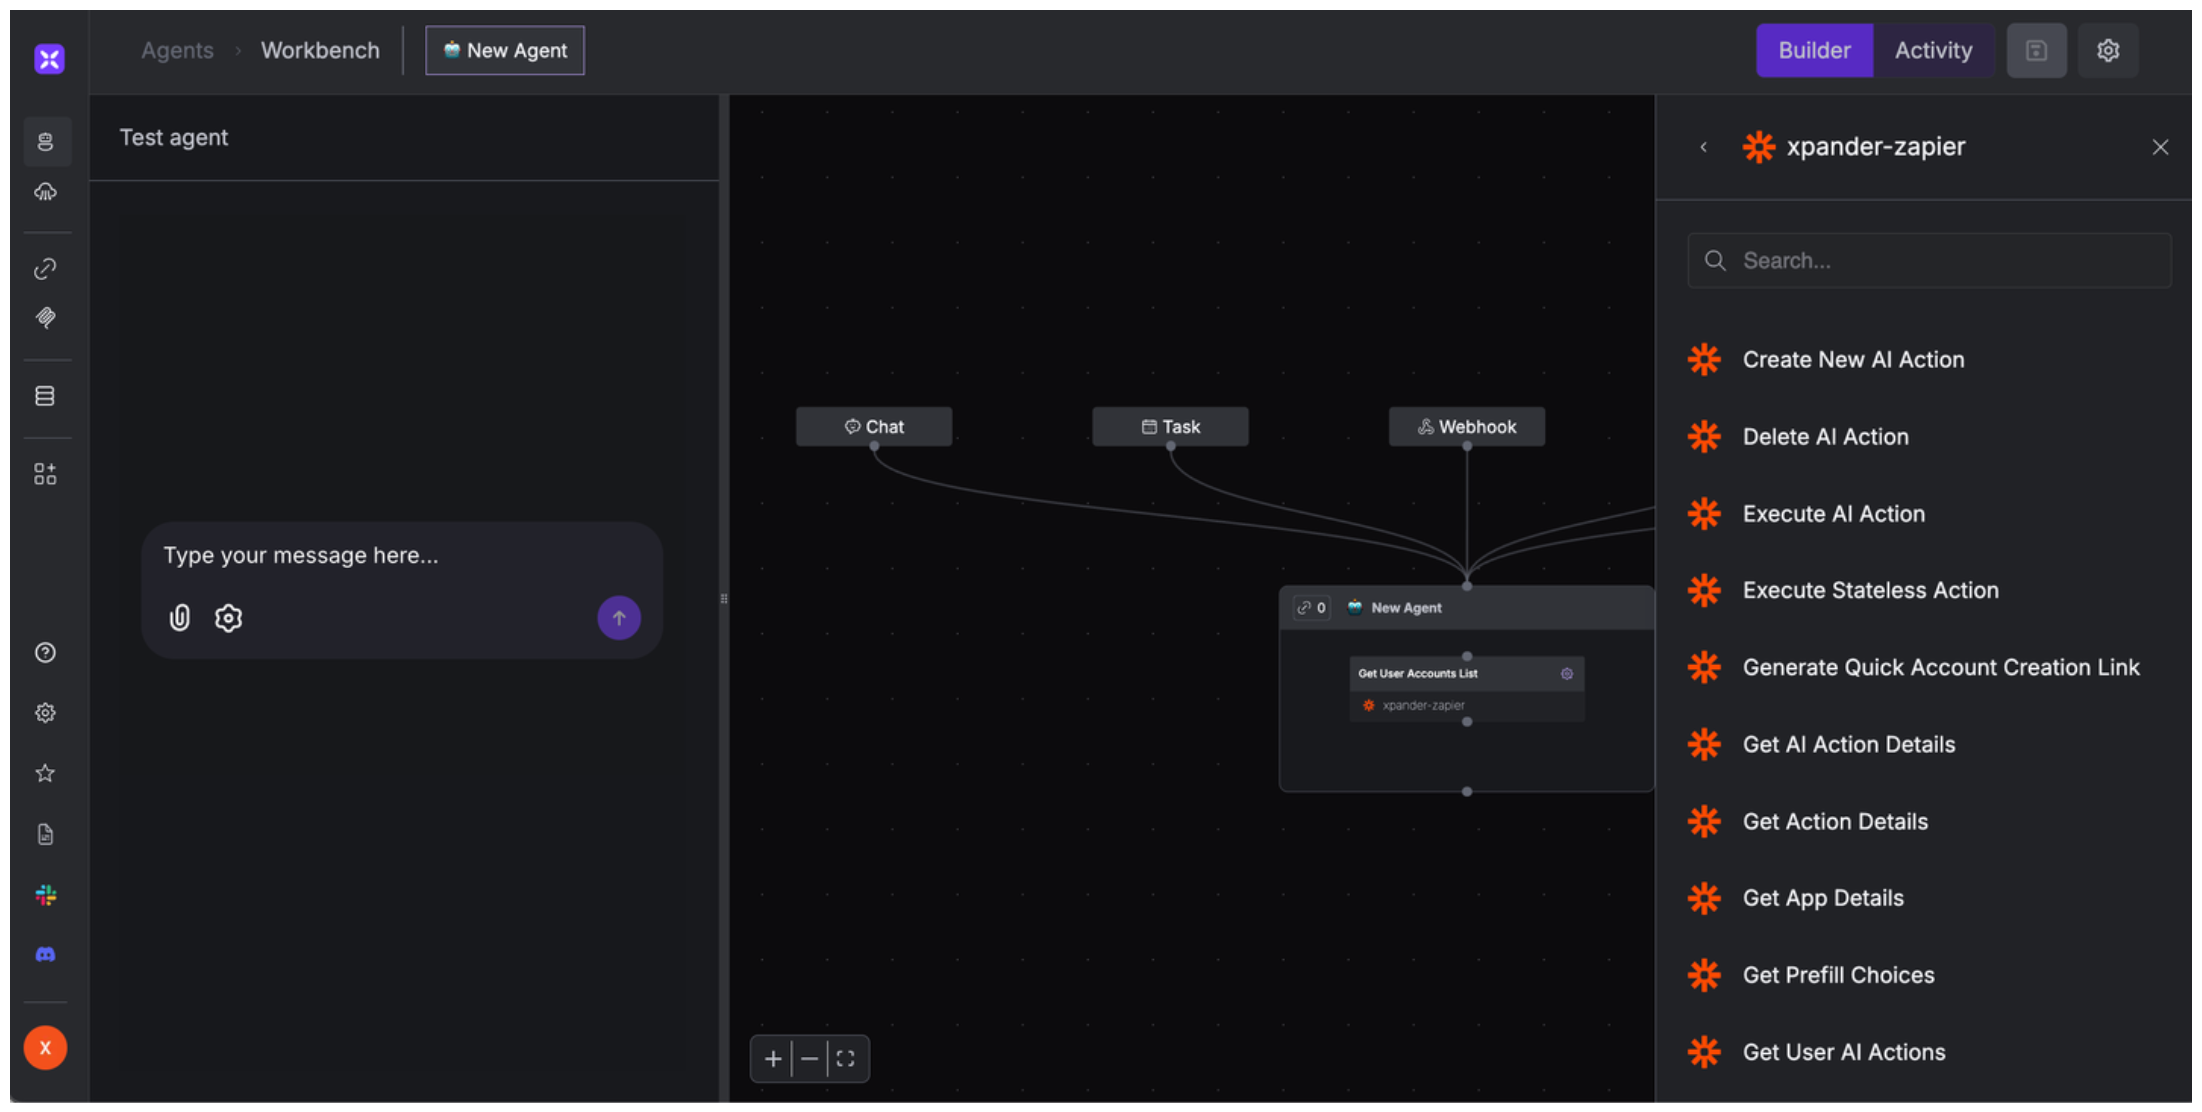
 ## Integration of Zapier into AI Agent
Once you've configured your Zapier account with the authentication option(s) described above, you can integrate it into your AI agent with xpander.ai:
1. In your xpander.ai dashboard, go to the **Agent Configuration** tab and select **Tools**, then click **Add Tools**.
2. Select **Connectors**.
3. Choose **Zapier** with the same **connector name** you configured in the previous section (e.g., xpander-zapier).
4. Select the available Zapier operations that suit your use case.
## Integration of Zapier into AI Agent
Once you've configured your Zapier account with the authentication option(s) described above, you can integrate it into your AI agent with xpander.ai:
1. In your xpander.ai dashboard, go to the **Agent Configuration** tab and select **Tools**, then click **Add Tools**.
2. Select **Connectors**.
3. Choose **Zapier** with the same **connector name** you configured in the previous section (e.g., xpander-zapier).
4. Select the available Zapier operations that suit your use case.
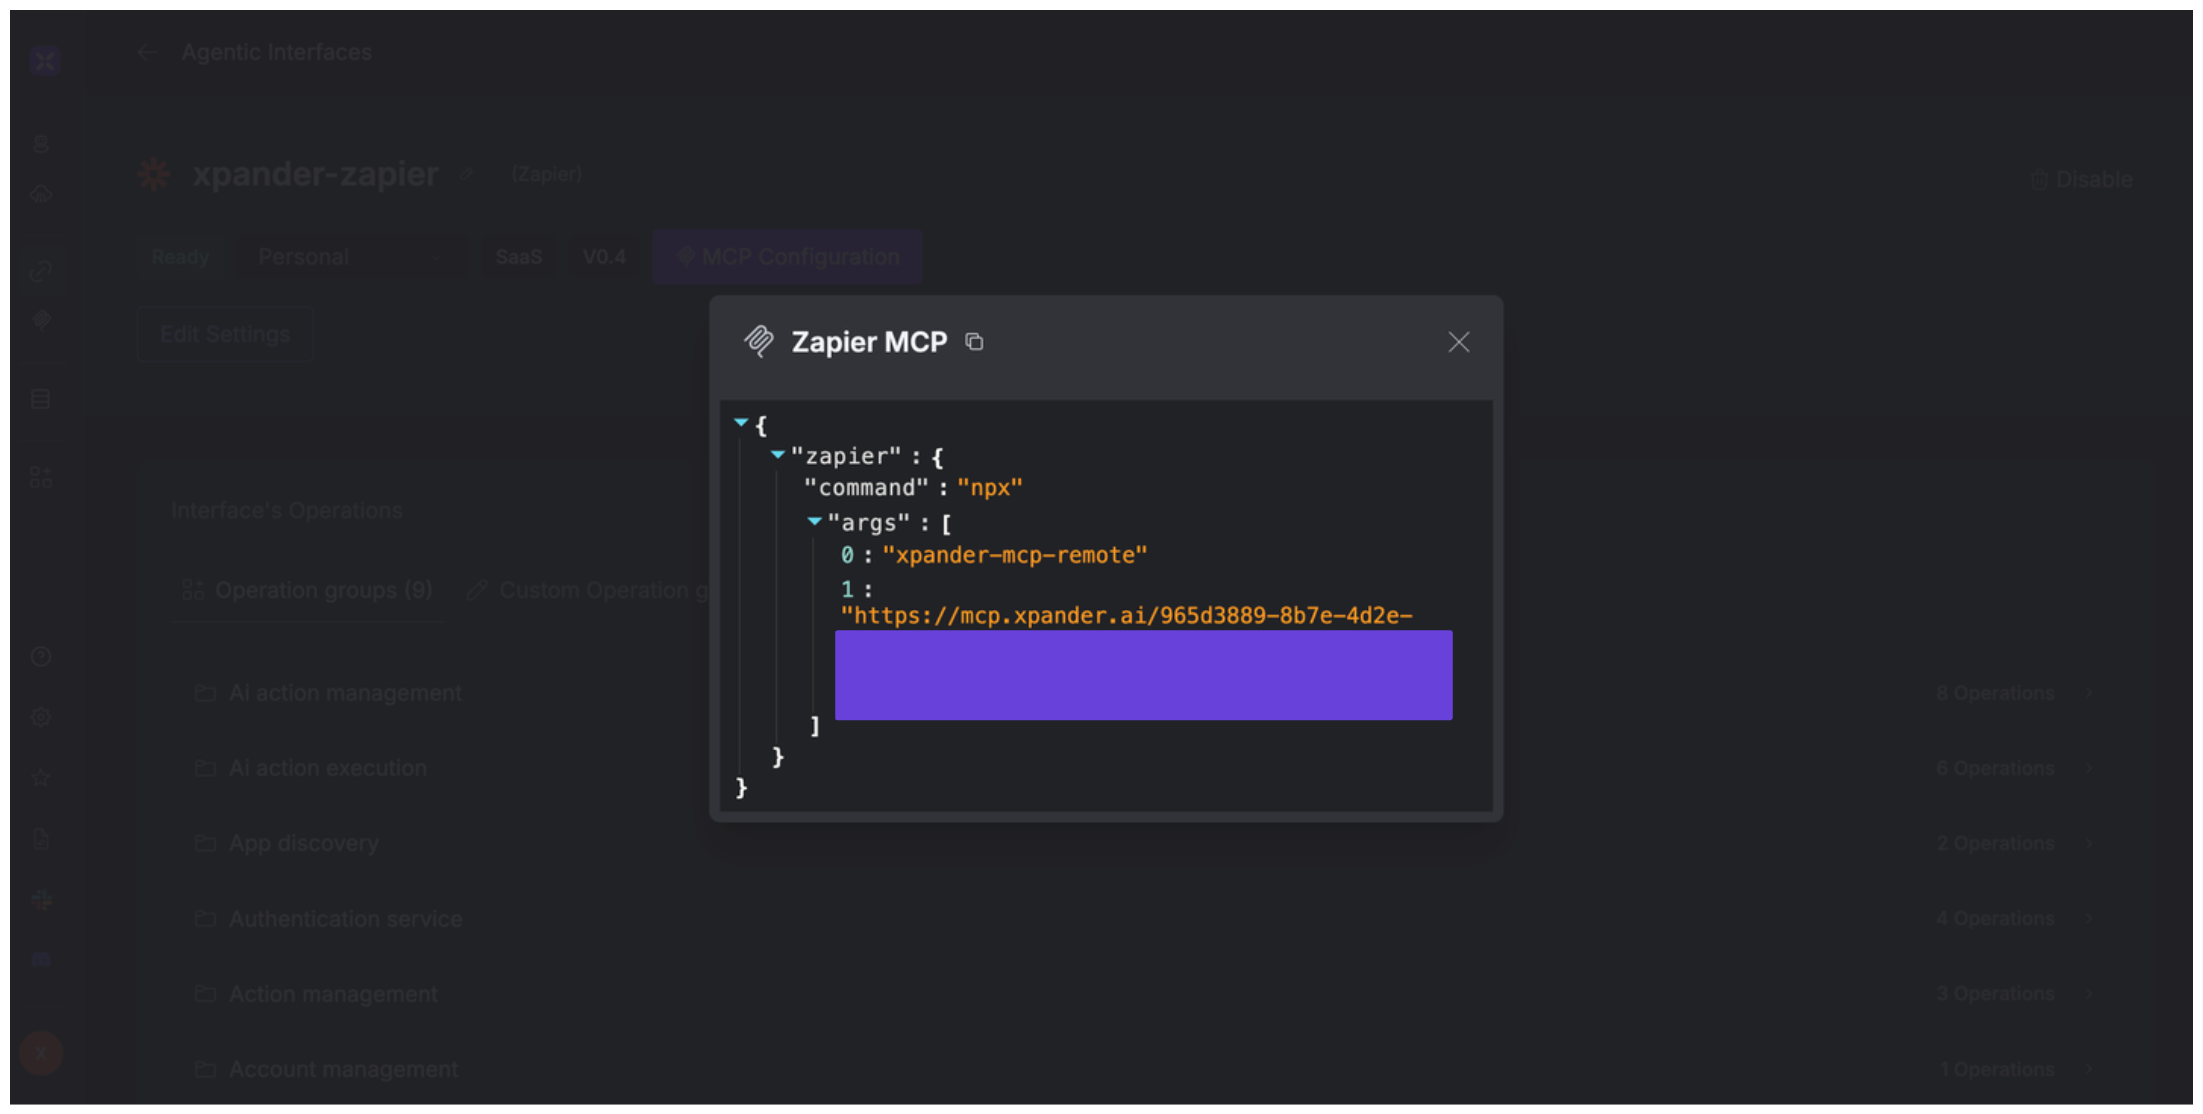
 ## Expose Zapier as MCP Server
Alternatively, you can also expose your Zapier account as an MCP server. To do so:
1. Go to the **Connectors** section in the sidebar of your xpander.ai dashboard.
2. Select **Zapier** with the same **connector name** you configured in the previous section (e.g., xpander-zapier).
3. Click **MCP Configuration**.
4. Enter the MCP configuration into the appropriate settings of the client app you want to use (e.g., Cursor, Windsurf, Claude Desktop, etc.).
## Expose Zapier as MCP Server
Alternatively, you can also expose your Zapier account as an MCP server. To do so:
1. Go to the **Connectors** section in the sidebar of your xpander.ai dashboard.
2. Select **Zapier** with the same **connector name** you configured in the previous section (e.g., xpander-zapier).
3. Click **MCP Configuration**.
4. Enter the MCP configuration into the appropriate settings of the client app you want to use (e.g., Cursor, Windsurf, Claude Desktop, etc.).
 ## AI Agent Zapier Prompt Library
Below are possible prompts or use cases you can try after integrating Zapier into your xpander AI agent:
```
Can you create an automation that moves {file_type} files from Gmail to Dropbox?
```
```
What options do I have for automating {social_media_platform} posts?
```
```
How do I delete the automation that sends {notification_type} alerts to my team?
```
```
Can you show me how to trigger an action when someone fills out my {form_provider} form?
```
## Related Resources
* [Understanding Model Context Protocol (MCP)](/guides/deploy/mcp)
* [Zapier AI Action API Documentation](https://docs.zapier.com/ai-actions/intro)
## AI Agent Zapier Prompt Library
Below are possible prompts or use cases you can try after integrating Zapier into your xpander AI agent:
```
Can you create an automation that moves {file_type} files from Gmail to Dropbox?
```
```
What options do I have for automating {social_media_platform} posts?
```
```
How do I delete the automation that sends {notification_type} alerts to my team?
```
```
Can you show me how to trigger an action when someone fills out my {form_provider} form?
```
## Related Resources
* [Understanding Model Context Protocol (MCP)](/guides/deploy/mcp)
* [Zapier AI Action API Documentation](https://docs.zapier.com/ai-actions/intro)