Tutorials
AWS Usage Cost Report Generator Agent
Learn how to integrate AI agents with AWS Cost Exporer MCP Server, Notion, and tools with xpander.ai
Introduction
Concepts like Model Context Protocol (MCP) enable us to easily integrate AI systems with internal resources, such as databases, personal calendars, and communication logs. This integration allows AI to automate tasks fully personalized to our needs, whether it’s summarizing weekly performance reports, generating client-specific presentations, or drafting tailored responses to customer inquiries. In this tutorial, we’ll show you how to build an AI agent that analyze insights of your AWS usage costs, generate a report out of it, and send the report over email using MCP and tools from xpander.ai. The AI agent we’ll build will have access to the following components:- AWS Cost Explorer MCP server: to analyze your AWS cost and usage data.
- Notion interface: to transform the analysis into a final report based on a provided template in Notion. You can view the example template on this Notion page and copy it into your own Notion workspace.
- xpander’s Send Email built-in tool: to send the final report to a specific email address.
Set Up
Before we get started, let’s set up a few prerequisites:Install xpander client using npm
Create a new Python environment
Create a requirements file and install them in the new Python environment
Add AWS credentials into .env file
Add the following AWS and LLM-specific credentials inside a .env file:Set necessary AWS IAM user permissions
The AWS cost explorer MCP server allows our AI agent to analyze AWS costs and usage data. Therefore, we can ask our AI agent to perform tasks like comparing AWS costs accross different time periods, querying AWS cost data with plain English, forecasting our future AWS spending, etc. To enable this MCP server, your IAM user must have the following permission:Copy the xpander.ai template to equip the agent with necessary tools
Click the button below to equip your AI agent with the Notion interface and the Send Email tool provided by xpander. Once you click the button above, you’ll be redirected to your xpander.ai account to begin creating an agent graph composed of tools supported by xpander.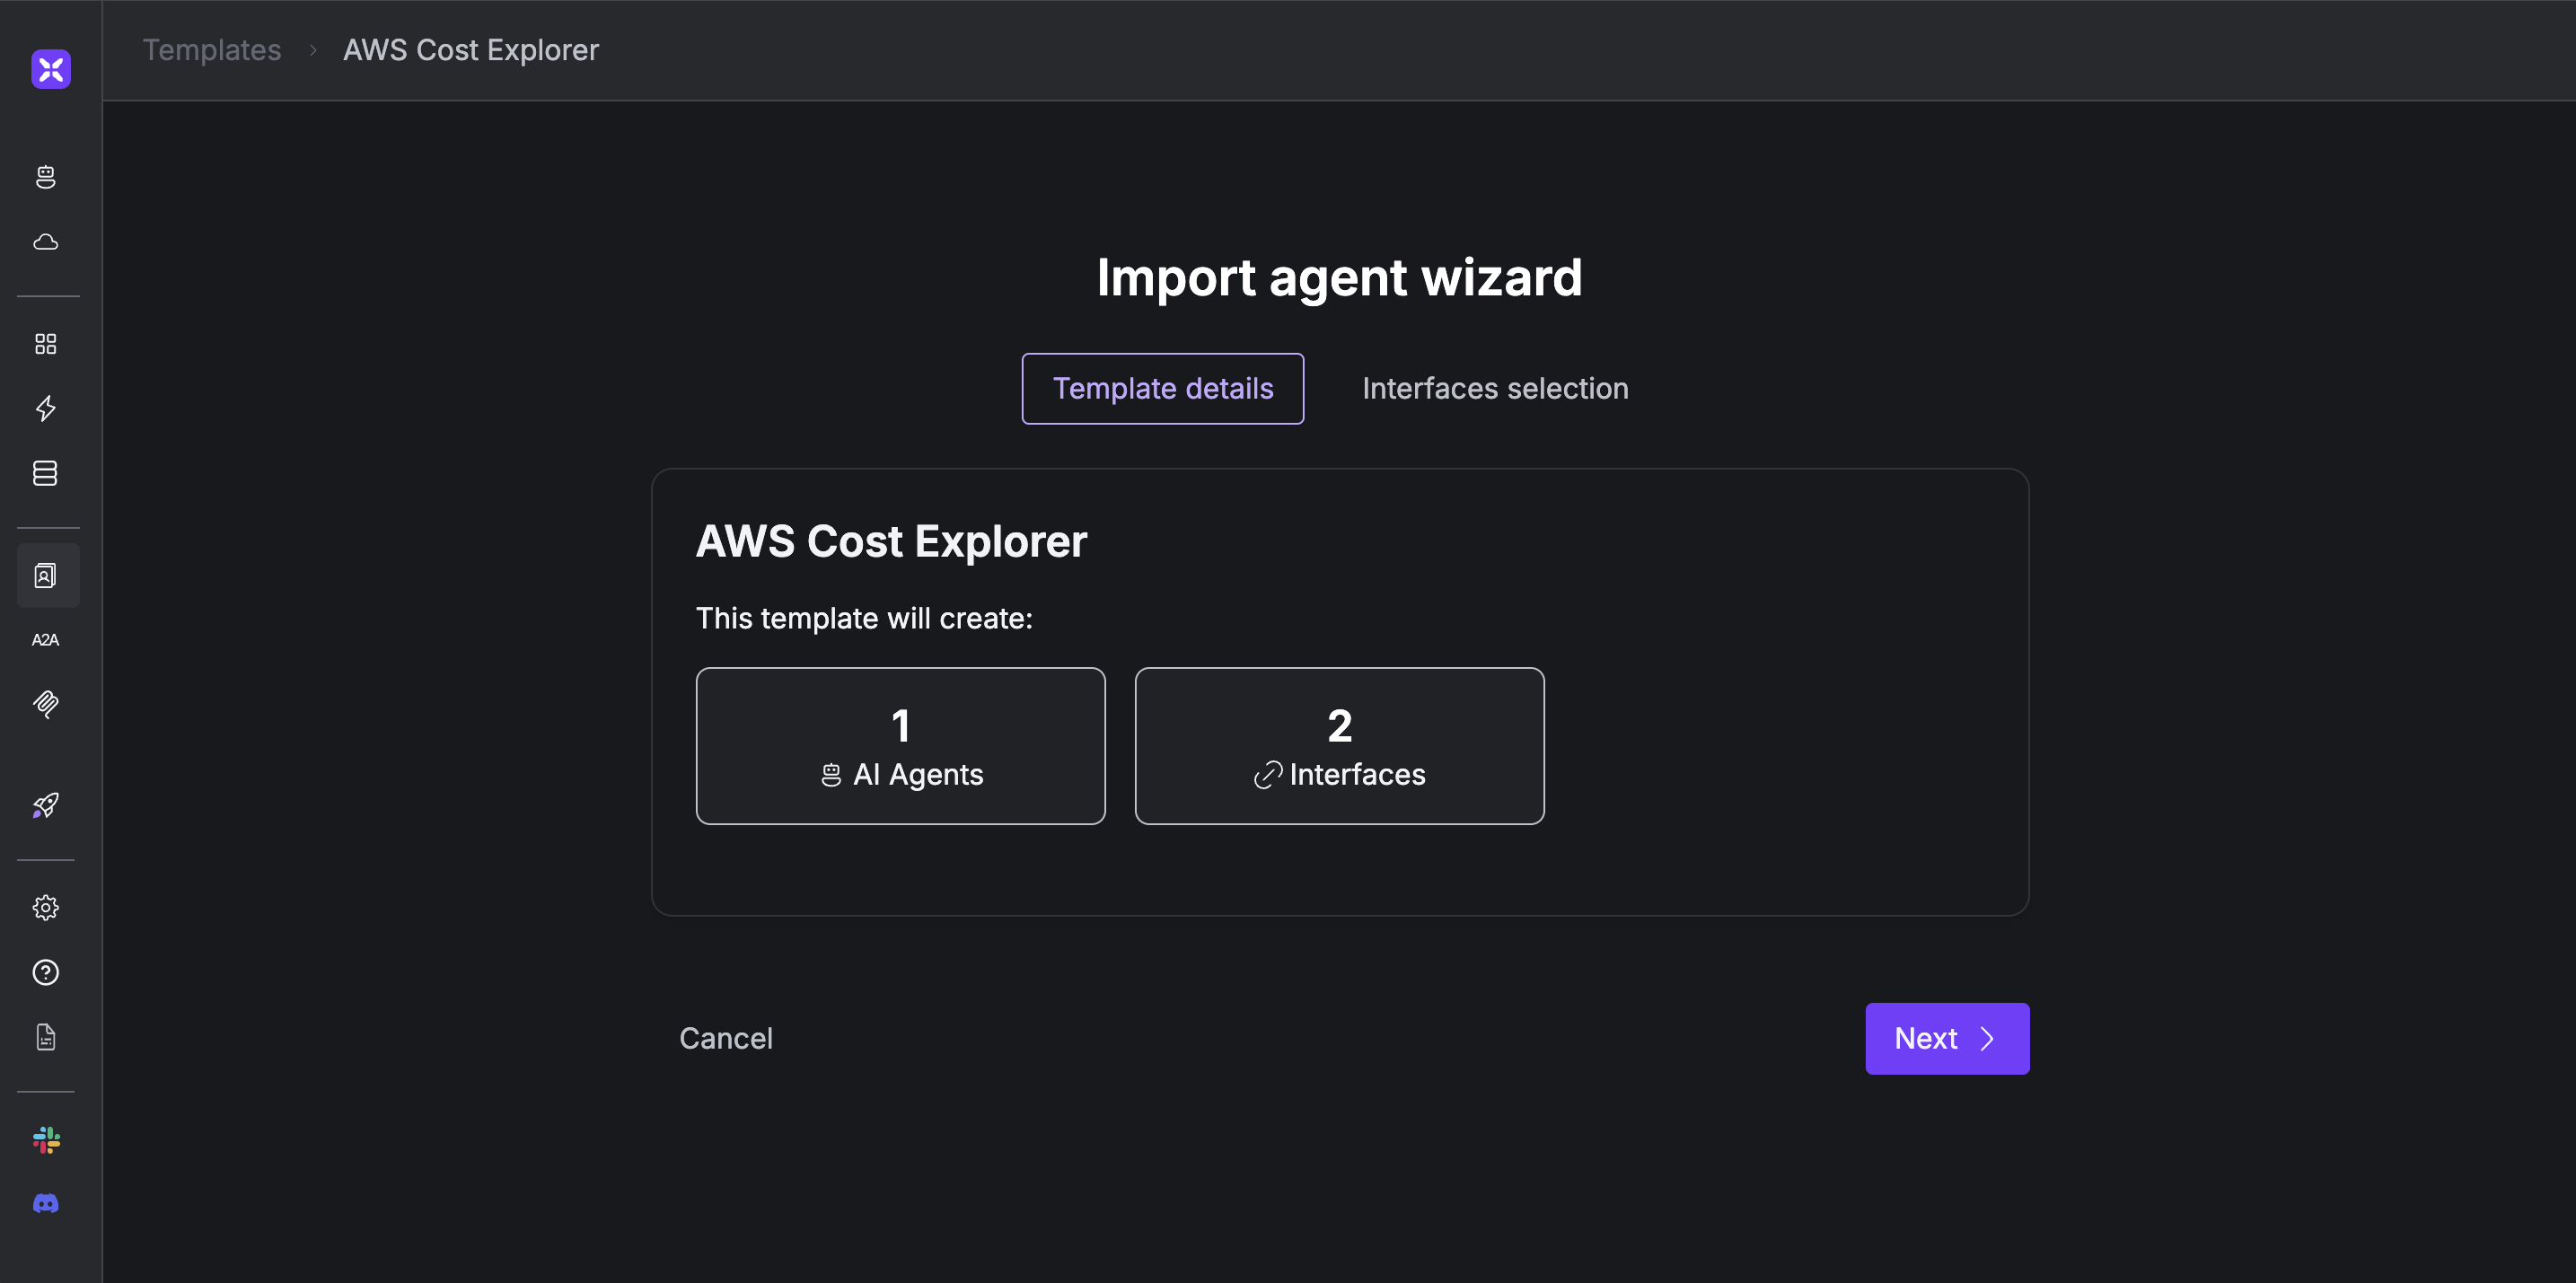 Click “Next” to start creating the agent. Then, select the Notion interface you want to use.
If you haven’t set up a Notion account, click “New Notion Interface”.
Click “Next” to start creating the agent. Then, select the Notion interface you want to use.
If you haven’t set up a Notion account, click “New Notion Interface”.
 If you choose “New Notion Interface” without having connected a Notion account, a red warning will appear in the agent graph.
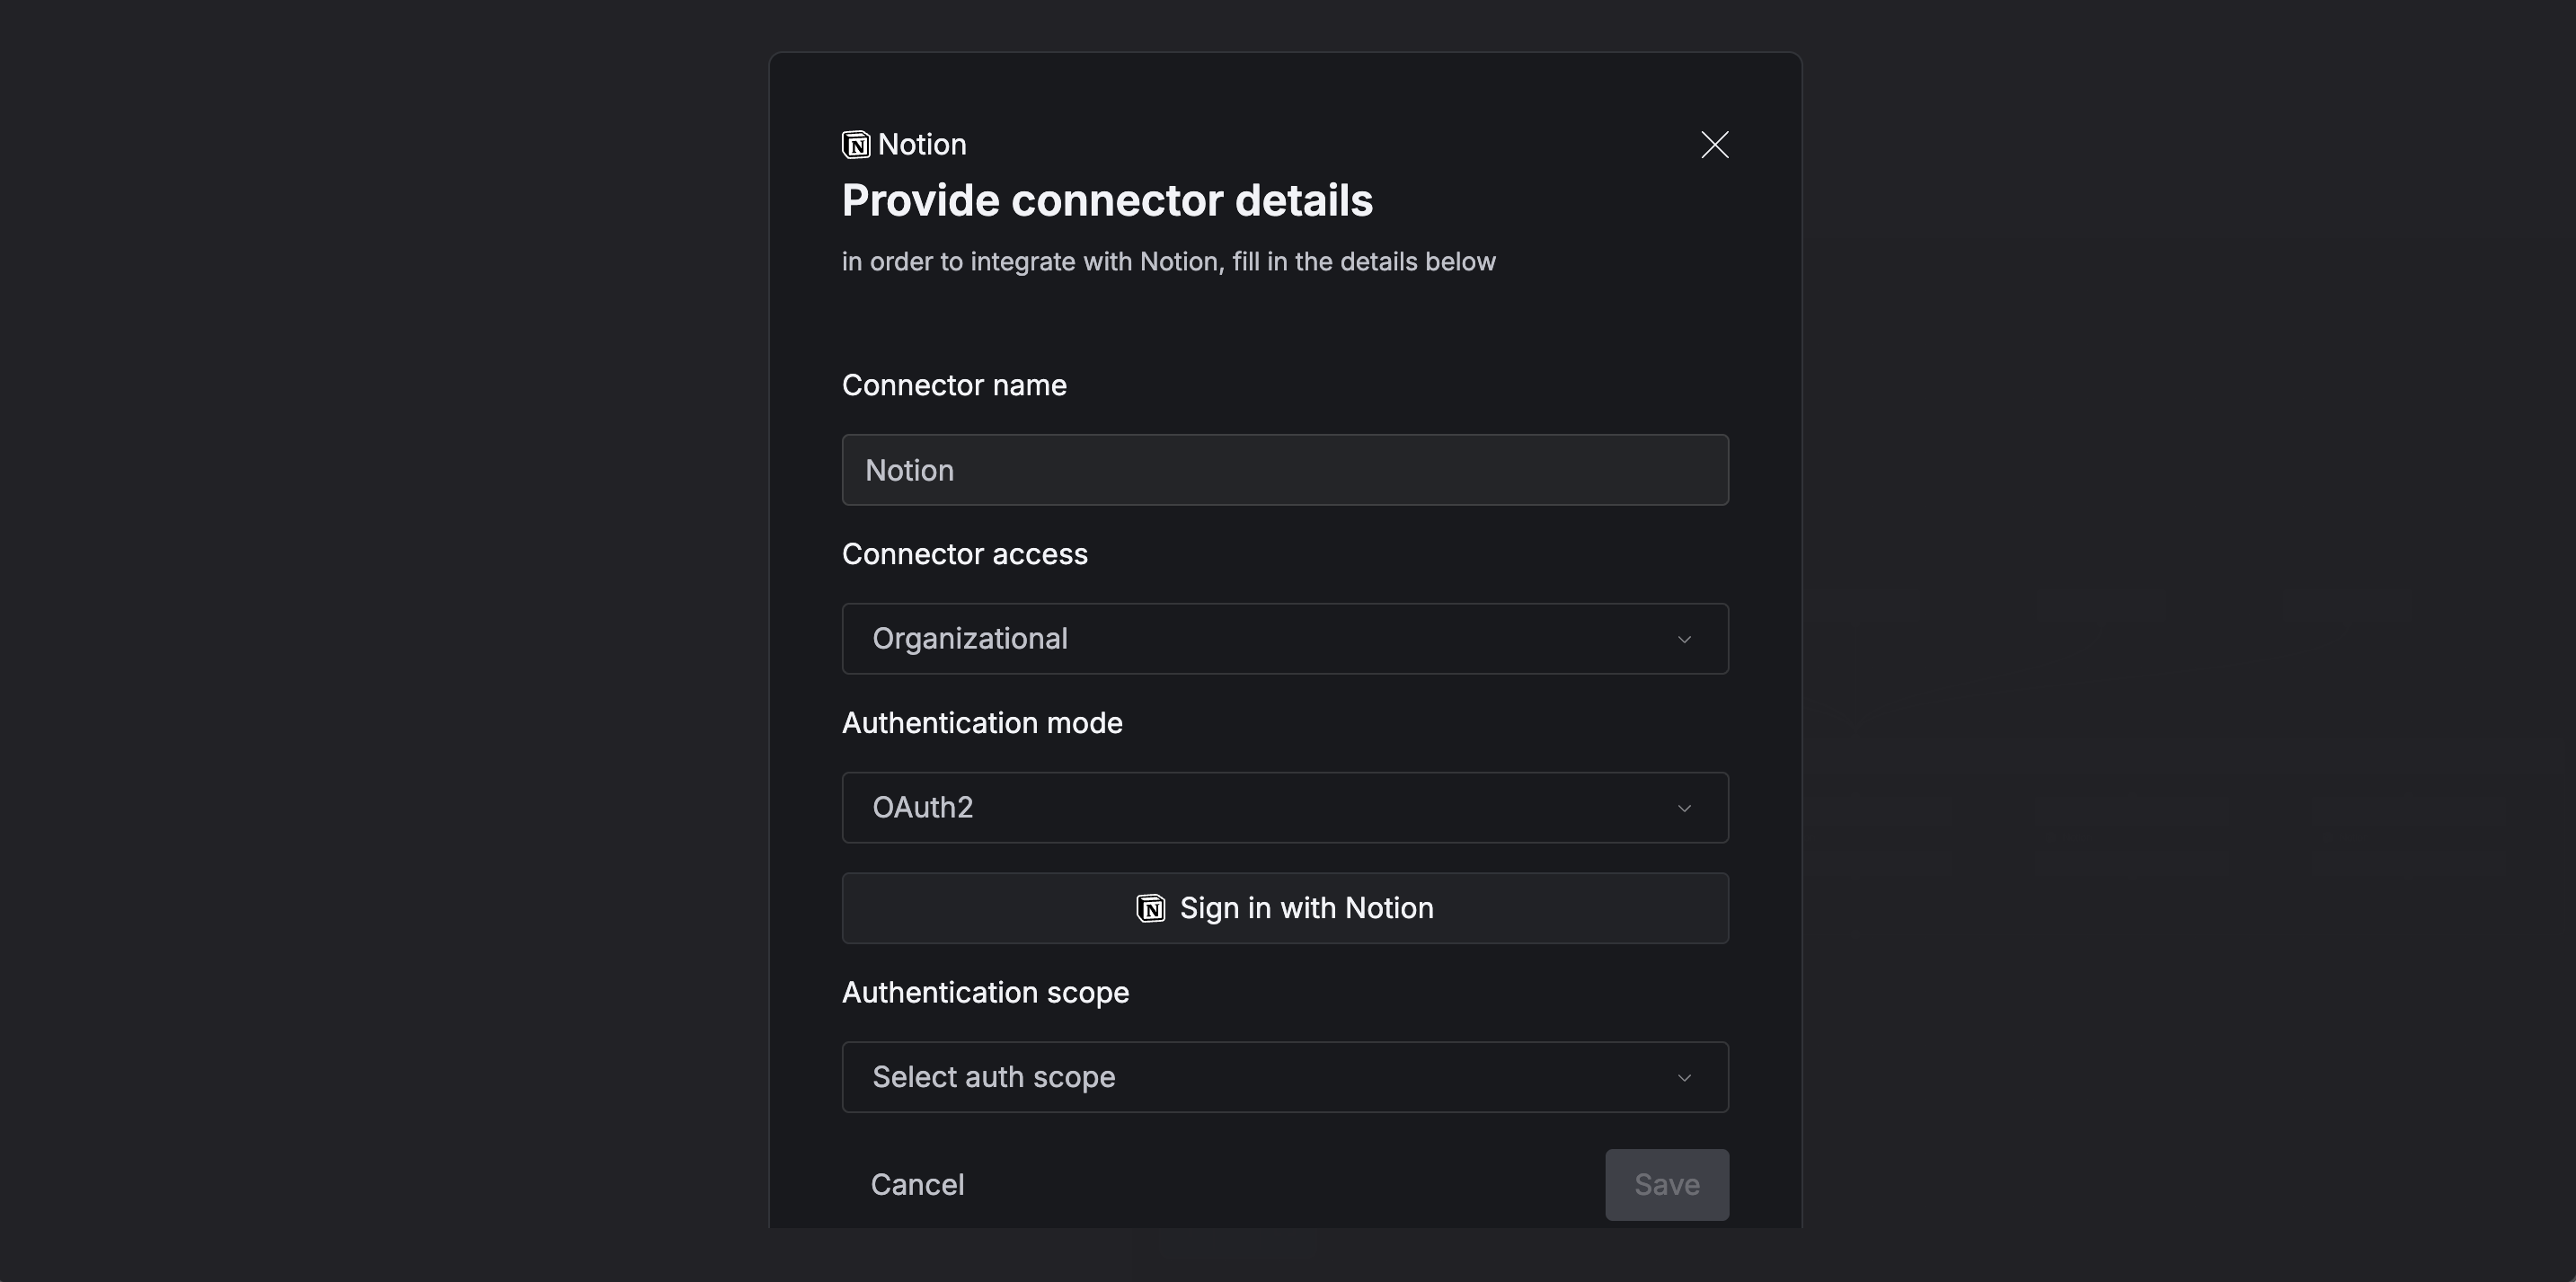
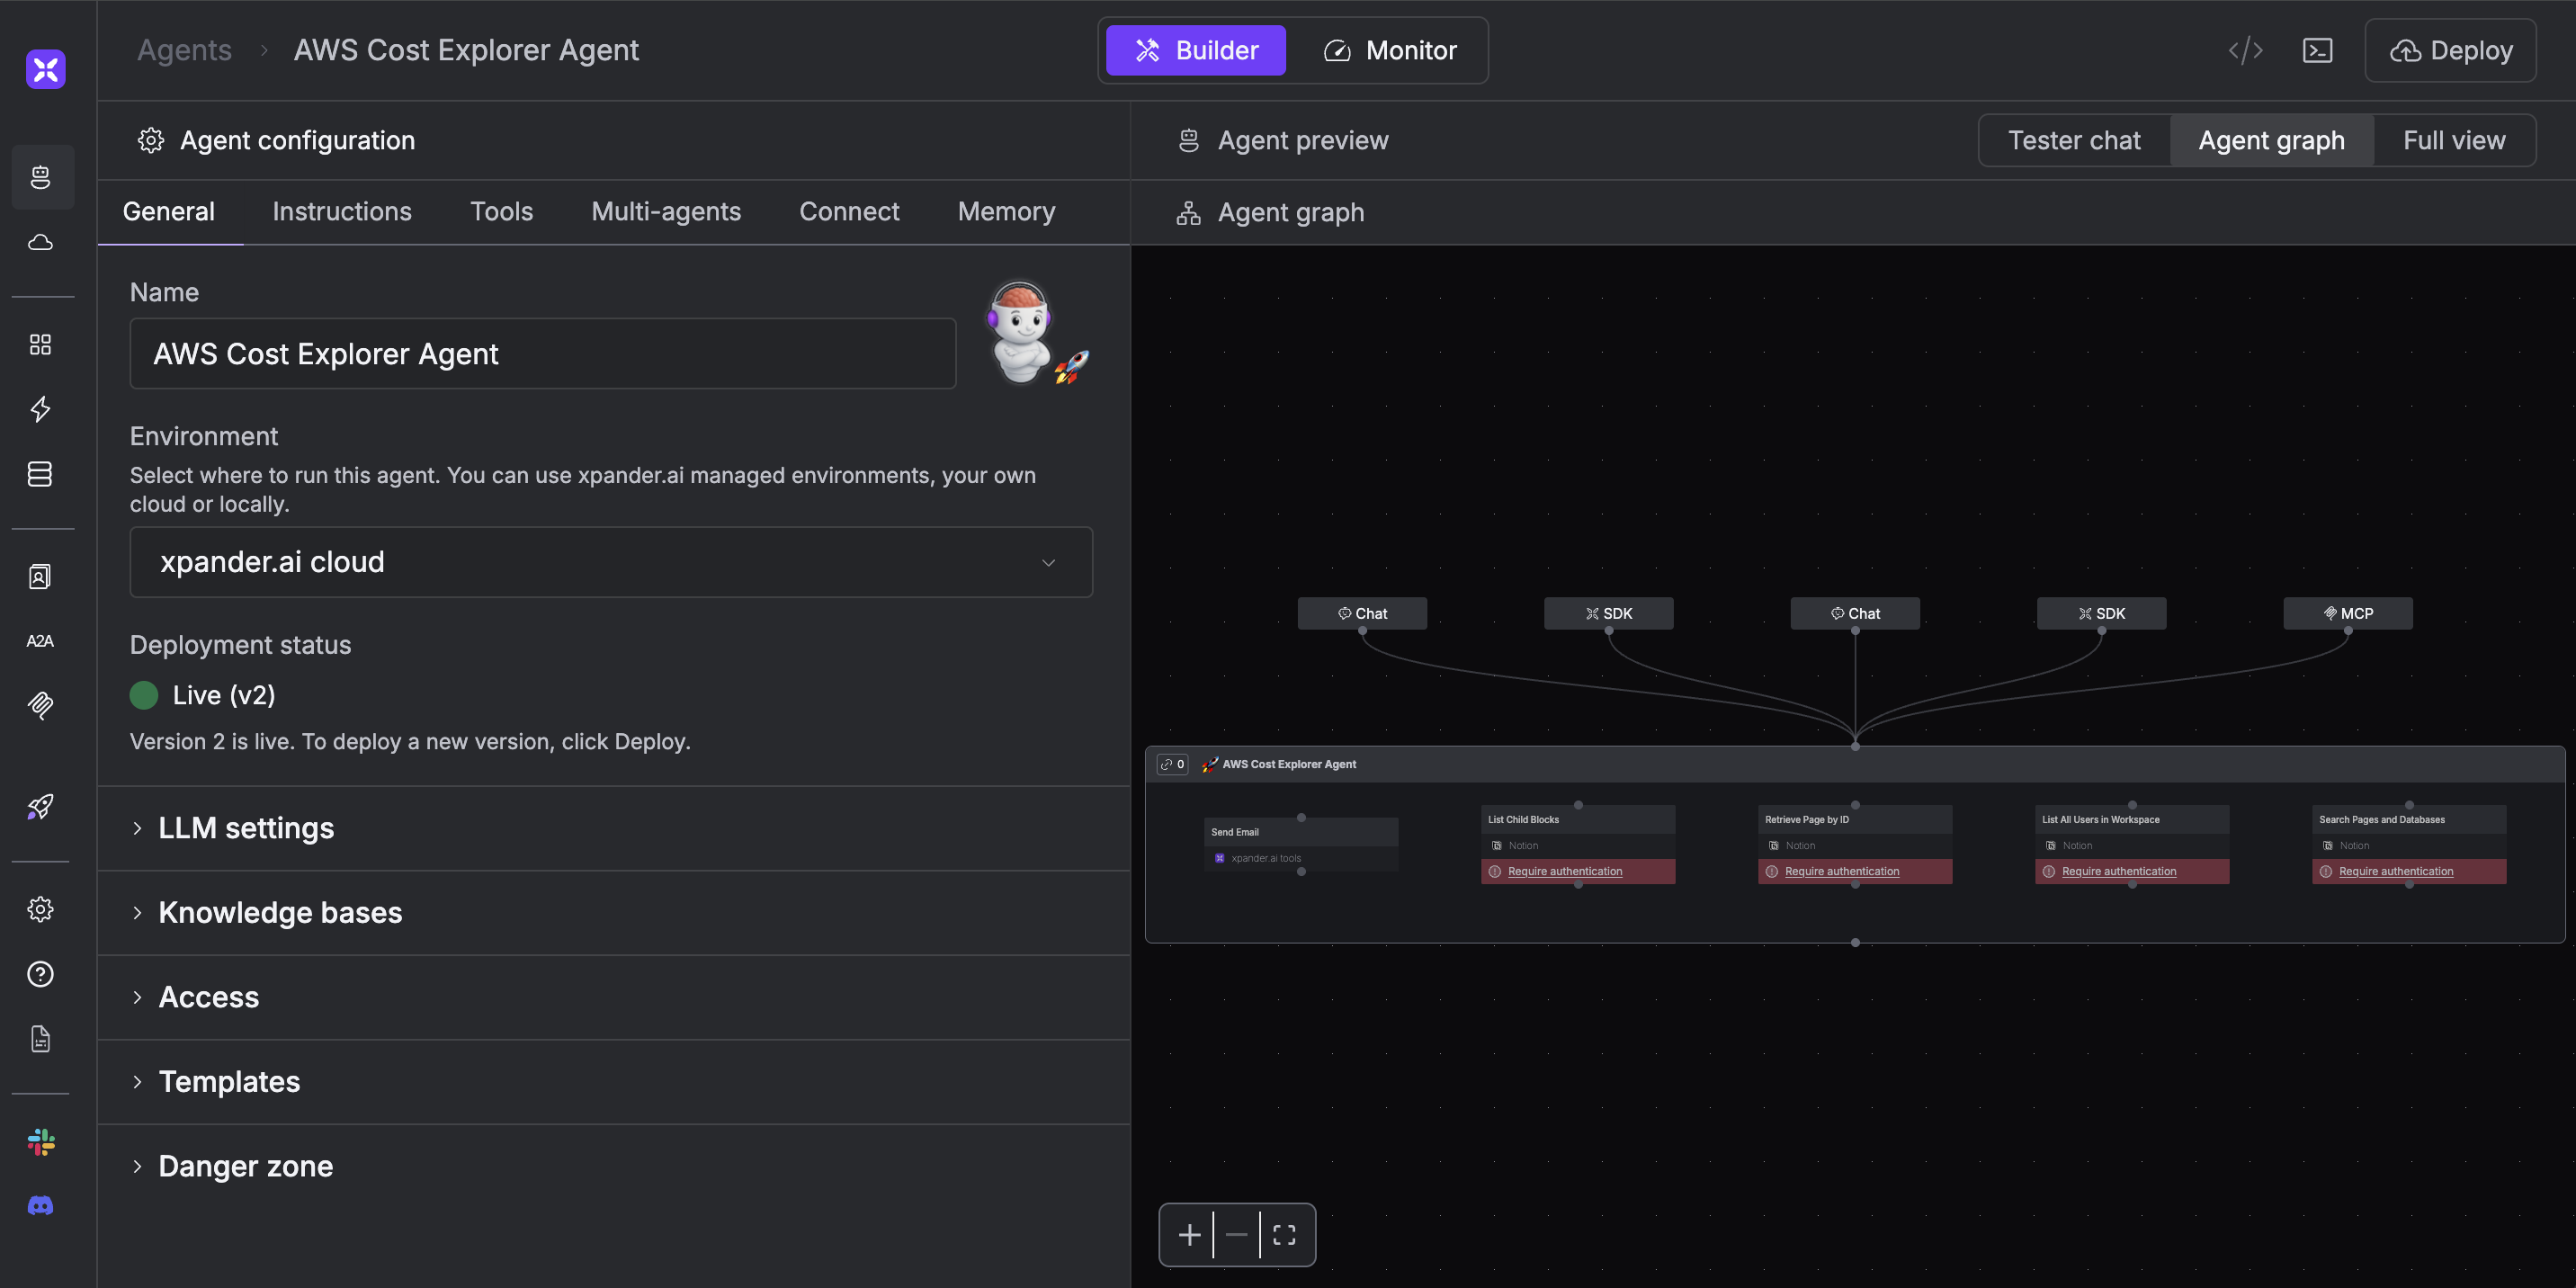 To resolve this, click the warning icon and complete the authentication process for your Notion account using your preferred method.
Create an xpander configuration file
Add your xpander configuration, such as agent ID, organization ID, and xpander API key, into a file namedxpander_config.json as follows:
Create AI Agent Execution Logic
To connect the AWS Cost Explorer MCP server to our AI agent, we’ll use Agno. Agno is a Python framework for building multi-agent systems that allows us to integrate MCP servers as tools for our AI agents. Next, we’ll wrap the AWS MCP-powered Agno agent with the xpander backend, which is already equipped with tools like the Notion and Email interfaces you created from the template in the previous section.env argument of the MultiMCPTools class from Agno.
To build the agent, we’ll use the Agent class from Agno. In the tools argument, we’ll provide:
- The MCP tools created using
MultiMCPTools, and - The tools associated with the xpander agent graph we created from the template in the previous section.
- Persistent storage of chat history, state, and sessions
- Built-in multi-user and multi-session support
- Web-based Chat UI and Agent Builder for easy interaction and configuration
- Centralized analytics, monitoring, and logging for all agent activity
- Seamless deployment to xpander’s cloud infrastructure (with scaling, monitoring, and production readiness)
- Customizable system prompts, tools, and storage via the backend
Create xpander Event Streaming Script
Now that we’ve built the agent’s execution logic, we’re ready to run the AI agent and perform the task. As mentioned above, one major benefit of xpander’s backend integration is the ability to interact with the agent through the Agent Builder and web-based Chat UI. To support this, xpander provides an event streaming feature that enables real-time chat with our AI agent.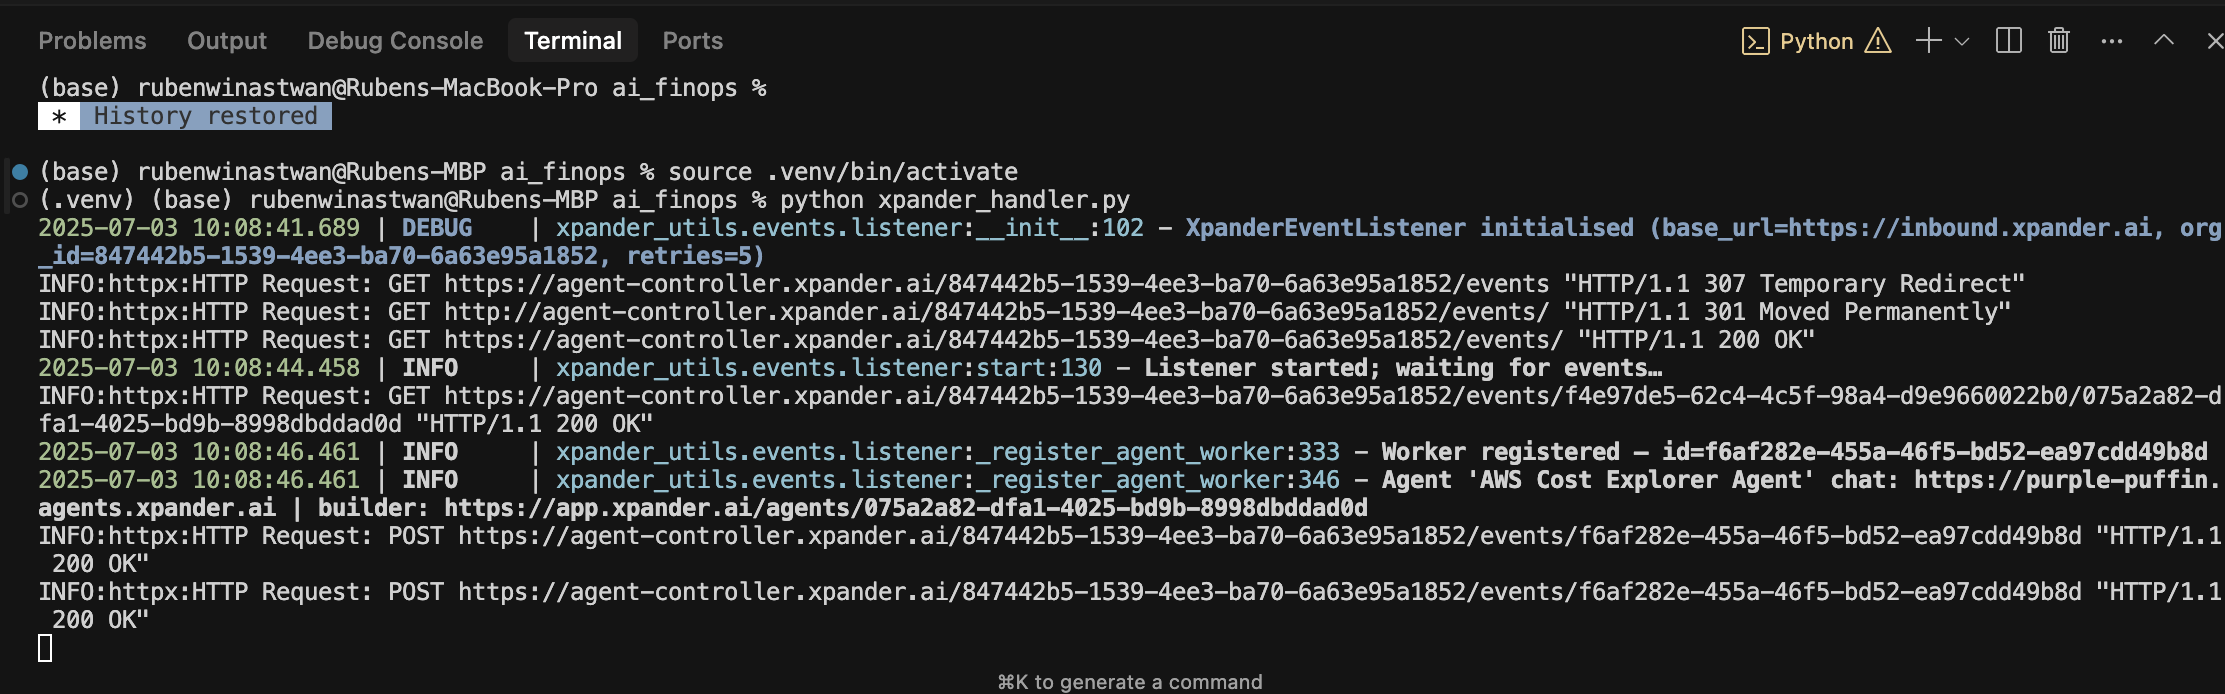 After running the script, you’ll see two links, each redirecting you to a different channel where you can interact with your agent: The web-based Chat UI and the Agent Builder
Interact with AI Agent
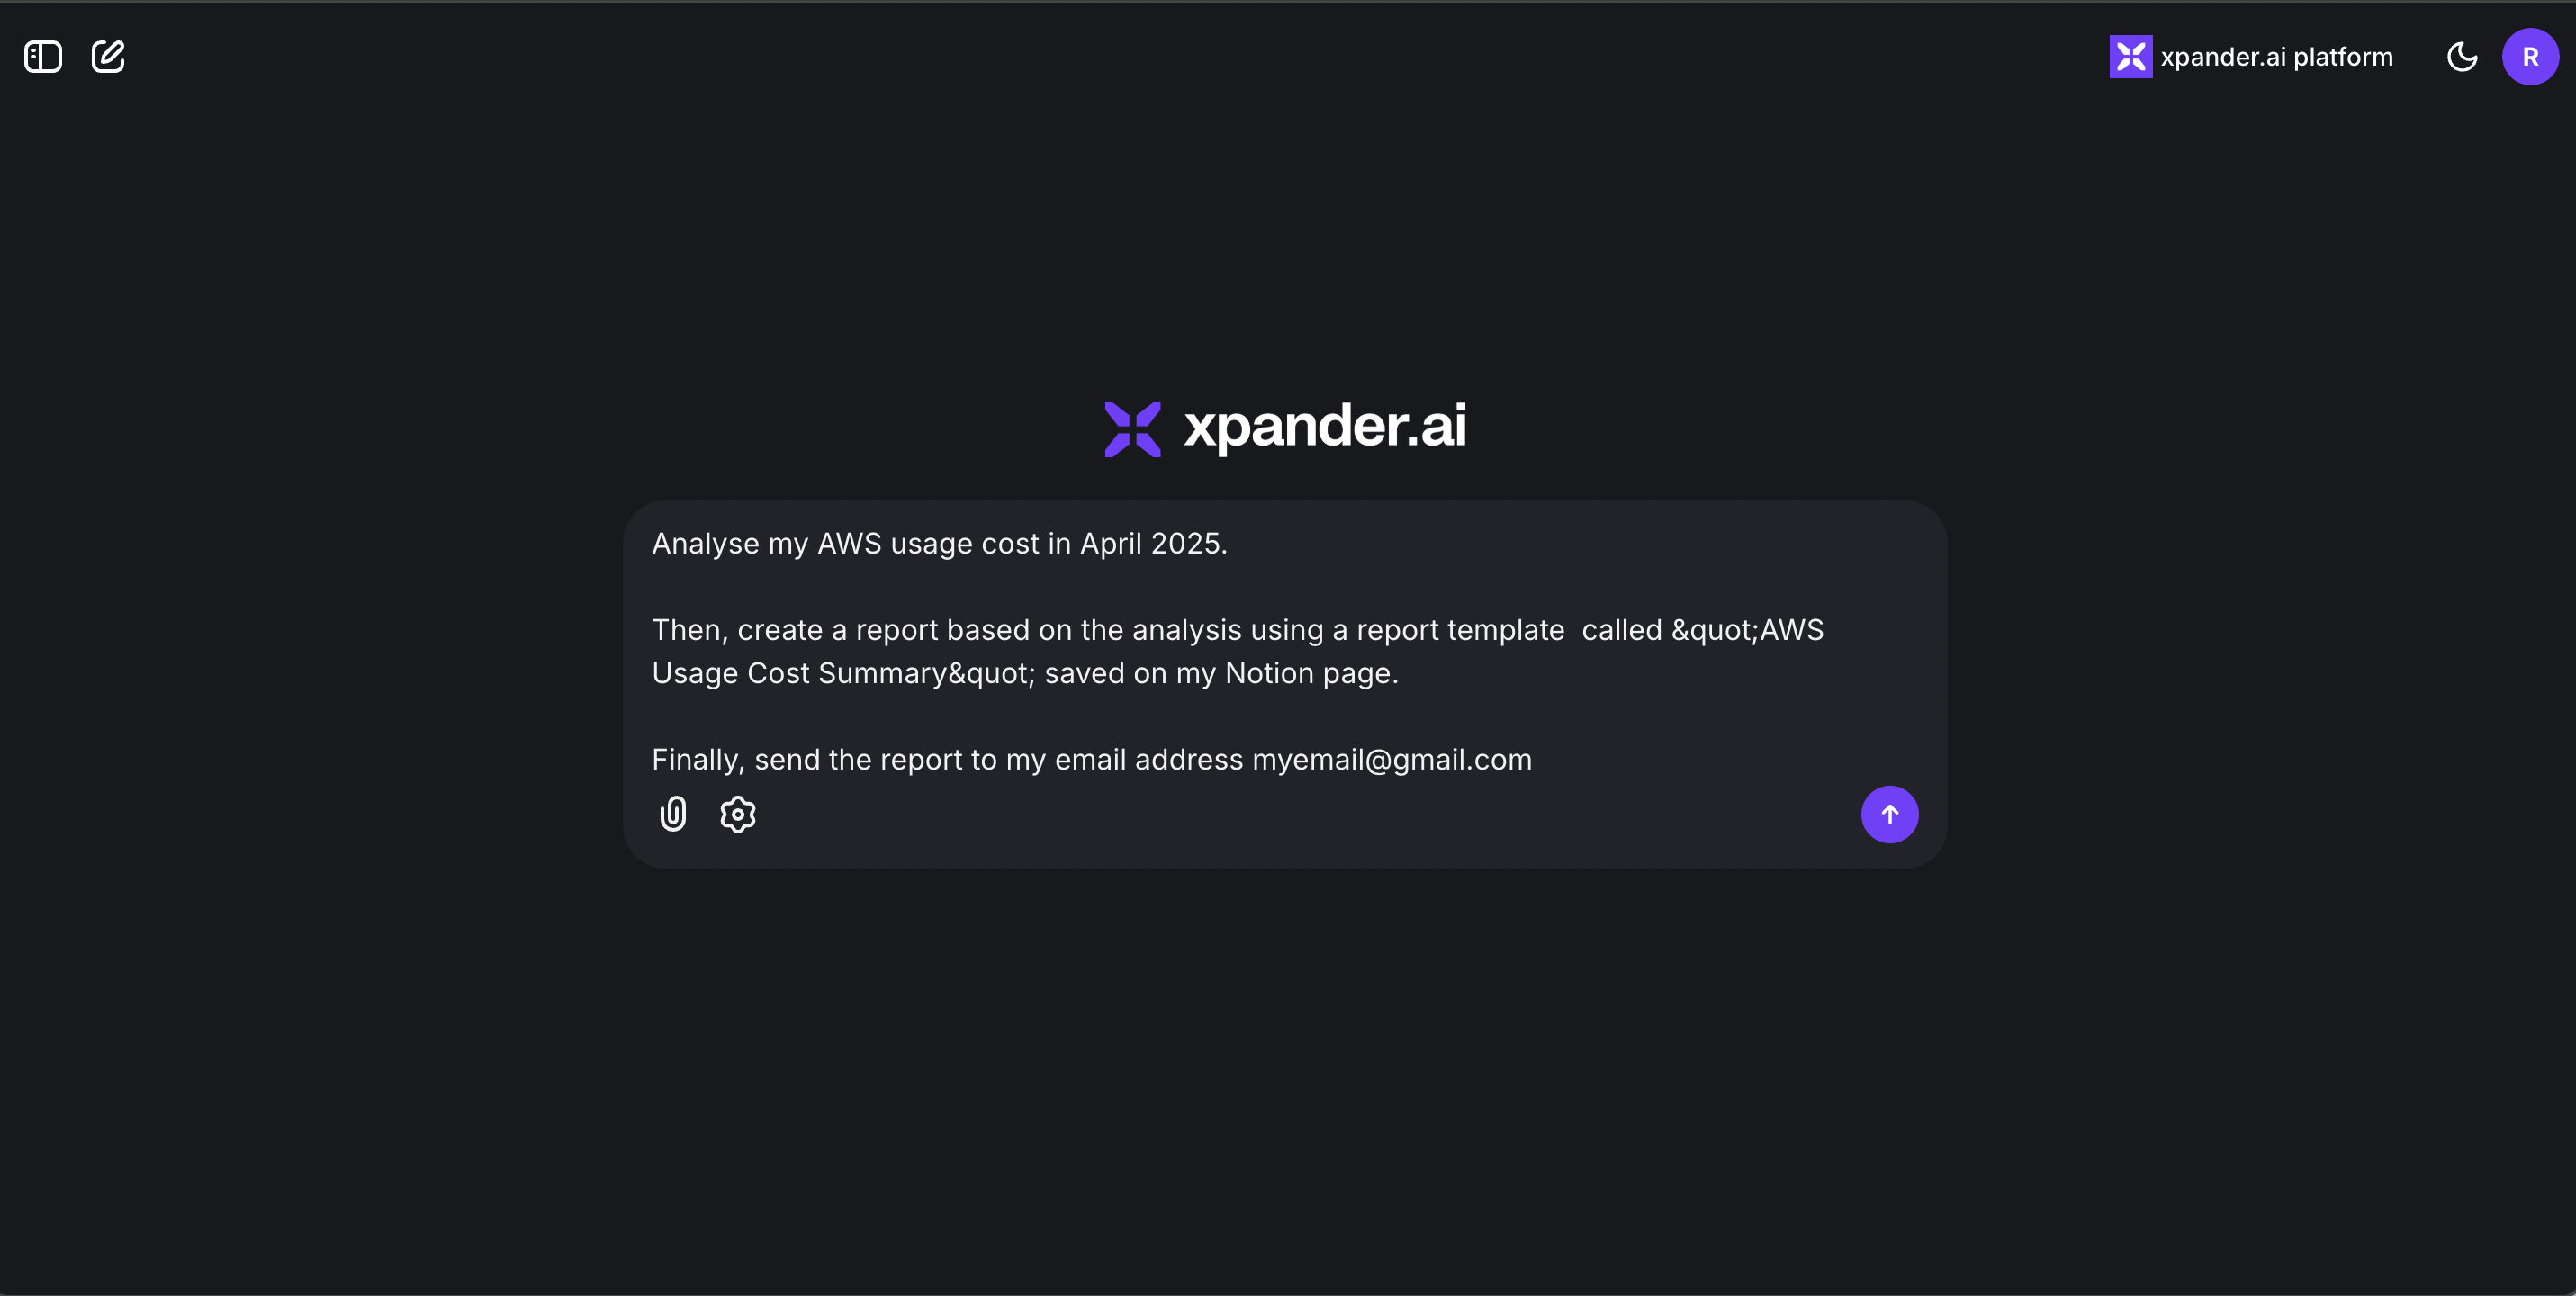
Let’s test our AI agent using the Chat UI to verify it can perform the intended task. As mentioned at the beginning of this tutorial, the agent should be able to:- Analyze the cost of your AWS account
- Generate a report based on the Notion template we provided
- Send the report to your email address
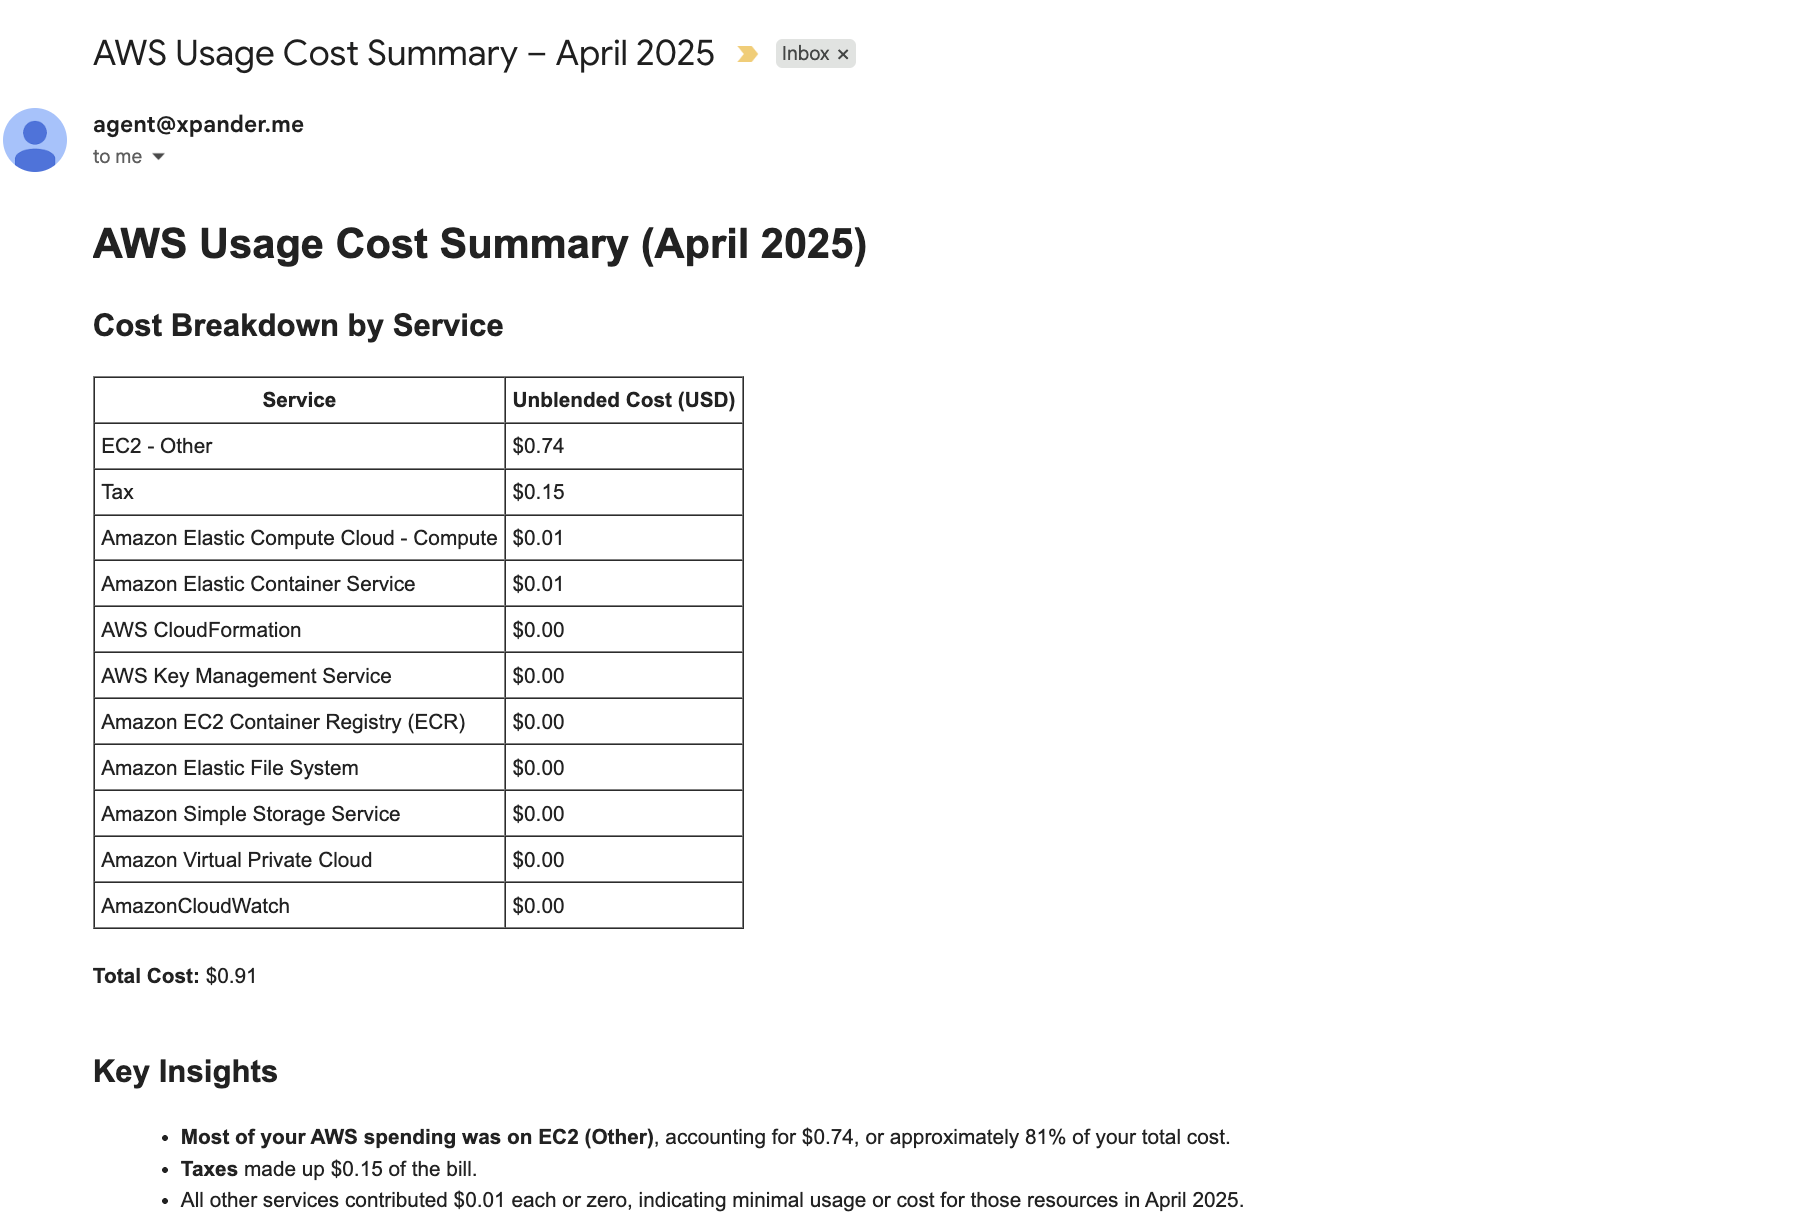
 If everything works as expected, you’ll receive an email from the AI agent containing a detailed breakdown of your AWS service costs, along with key insights.
You’ll also notice that the structure of the report strictly follows the Notion template provided to the agent.
If everything works as expected, you’ll receive an email from the AI agent containing a detailed breakdown of your AWS service costs, along with key insights.
You’ll also notice that the structure of the report strictly follows the Notion template provided to the agent.
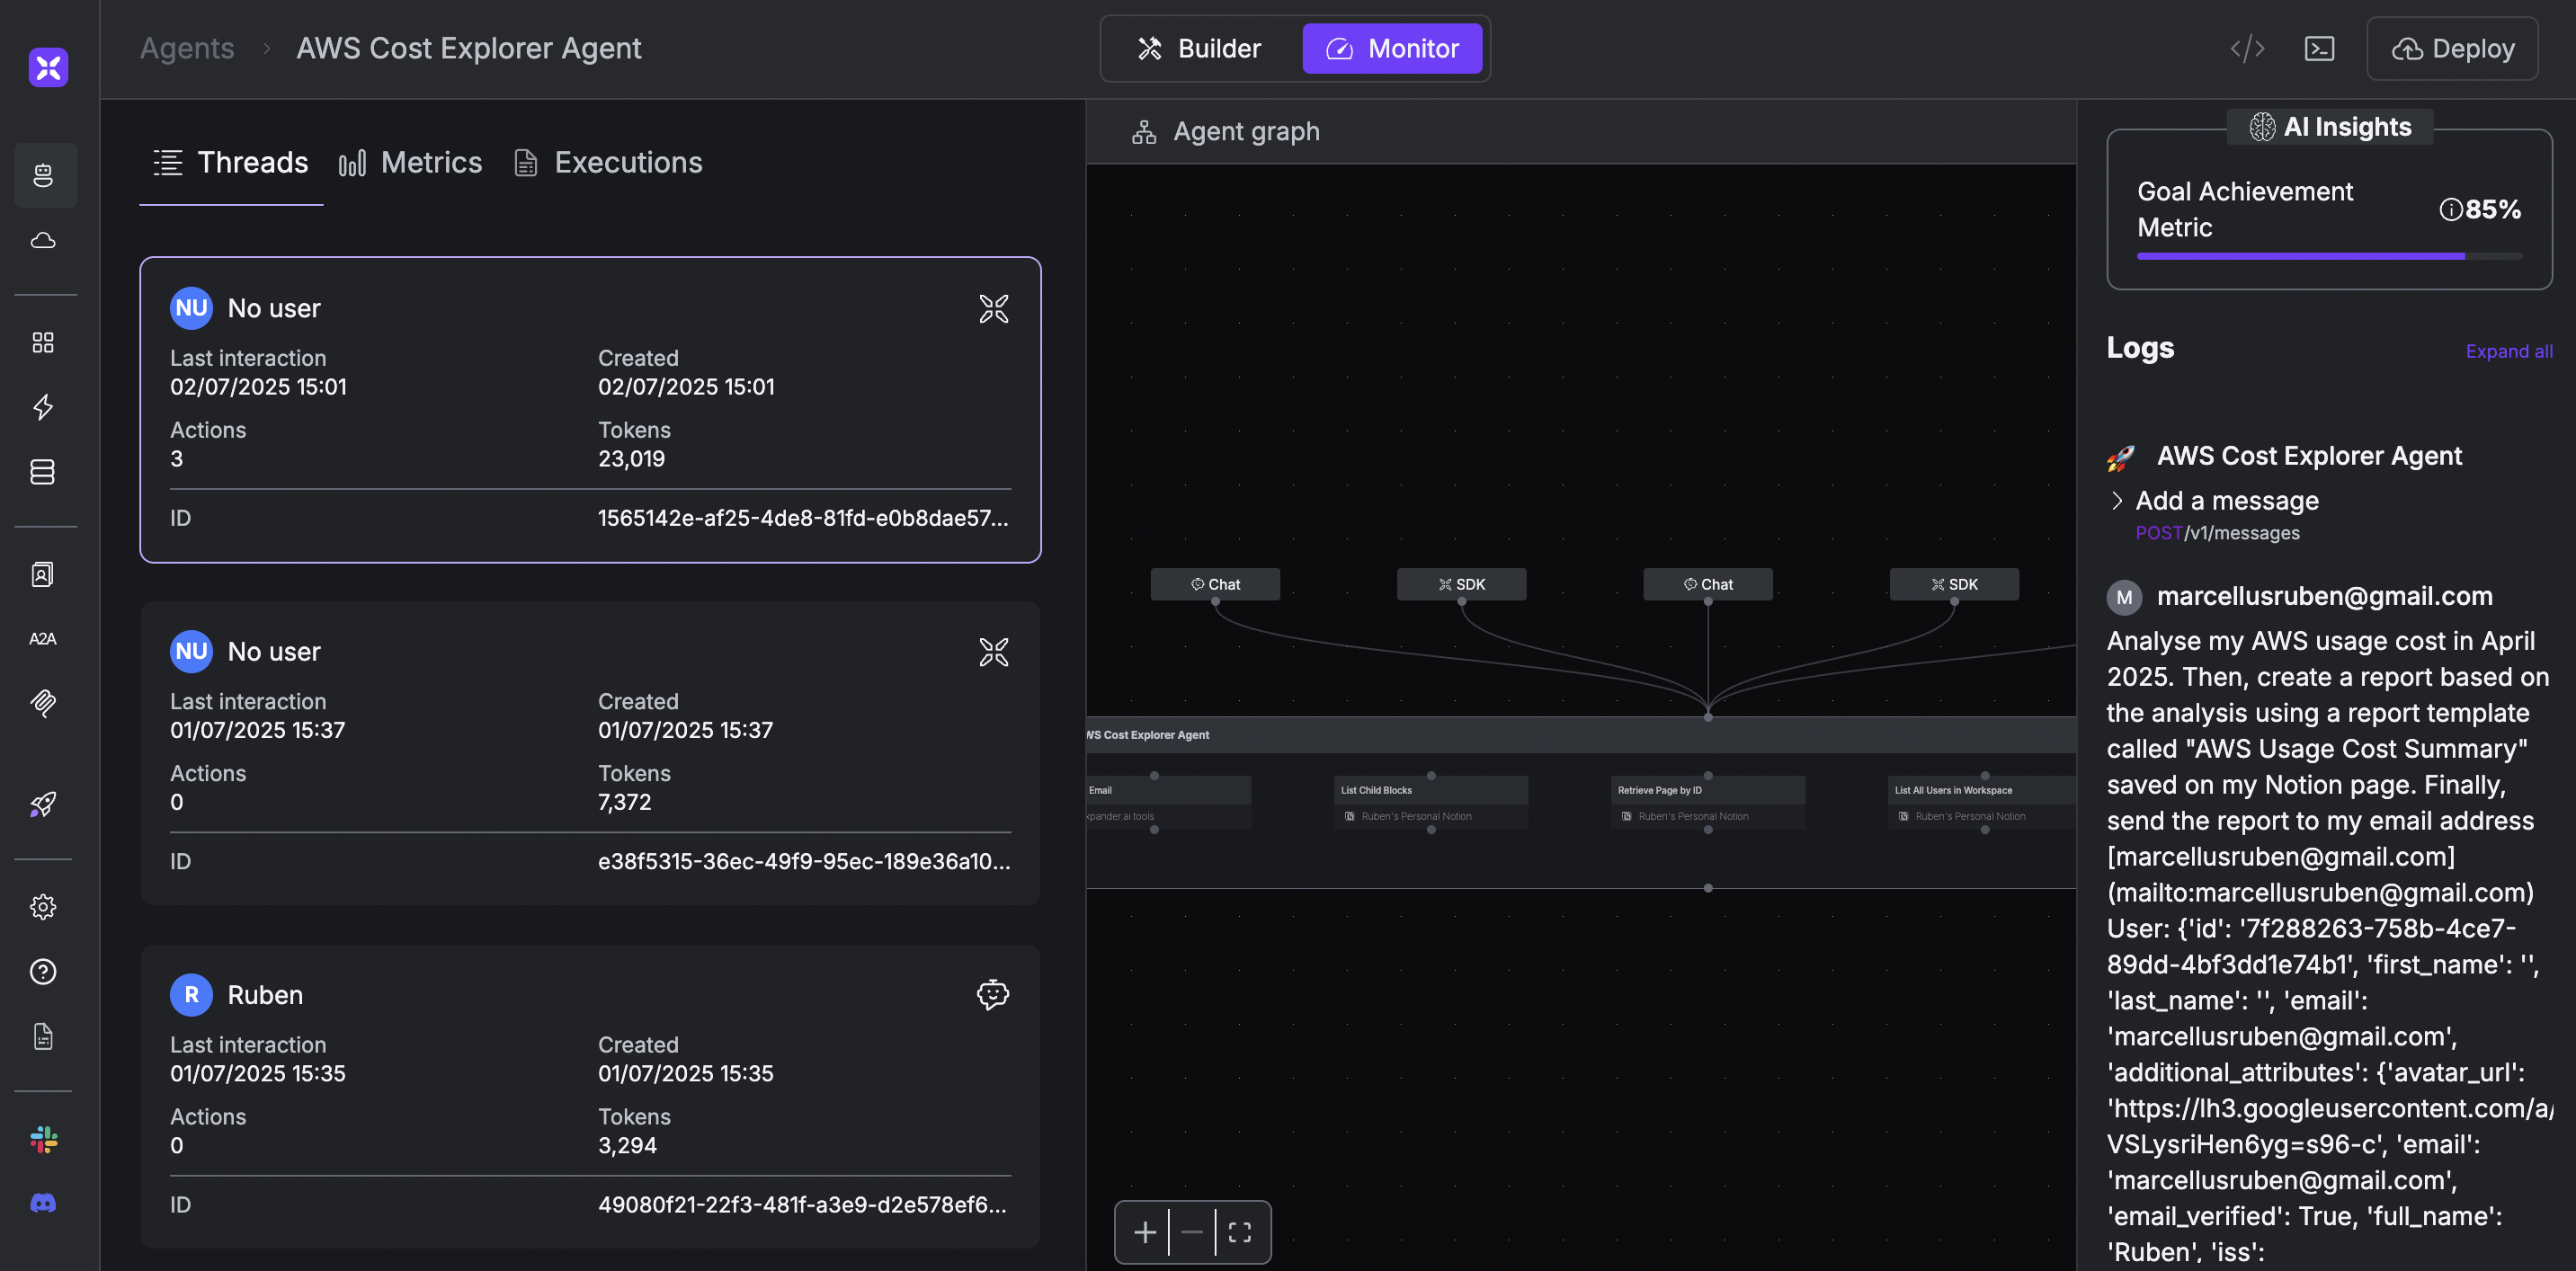
 Another benefit of integrating xpander’s backend into your agent is the ability to monitor various metrics, such as token usage (for both prompt and completion), number of requests, and execution logs
To access these metrics, click on the “Monitor” tab at the top of your xpander dashboard.
Another benefit of integrating xpander’s backend into your agent is the ability to monitor various metrics, such as token usage (for both prompt and completion), number of requests, and execution logs
To access these metrics, click on the “Monitor” tab at the top of your xpander dashboard.
Conclusion
By following this tutorial, you’ve successfully built an AI agent that can:- Analyze AWS usage costs
- Generate personalized reports using a Notion template
- Send those reports via email