SWE Cloud Agent
Module 1: Deploy and test your SWE agent
In this module, we’ll explore the SWE (Software Engineering) Agent template on the xpander.ai platform, connect it to GitHub, download the code locally, and test it.
Step 1: Template Import
To avoid manual configuration work around adding tools, setting instructions, etc., a SWE agent template is ready to be deployed on the platform. After clicking the Template import button, you will register or log in to xpander.ai and be redirected to the template deployment screen. Import Codex SWE Agent to your xpander.ai Account Follow the import steps as seen in the video:- In the agent import wizard, select “New GitHub Pull Requests interface”
- The exclamation mark (⚠️) on the GitHub tools indicates that the Connector for Github has not been authorized yet. Click on one of them to see the connector settings.
- In the popup window, connect to GitHub with OAuth2.
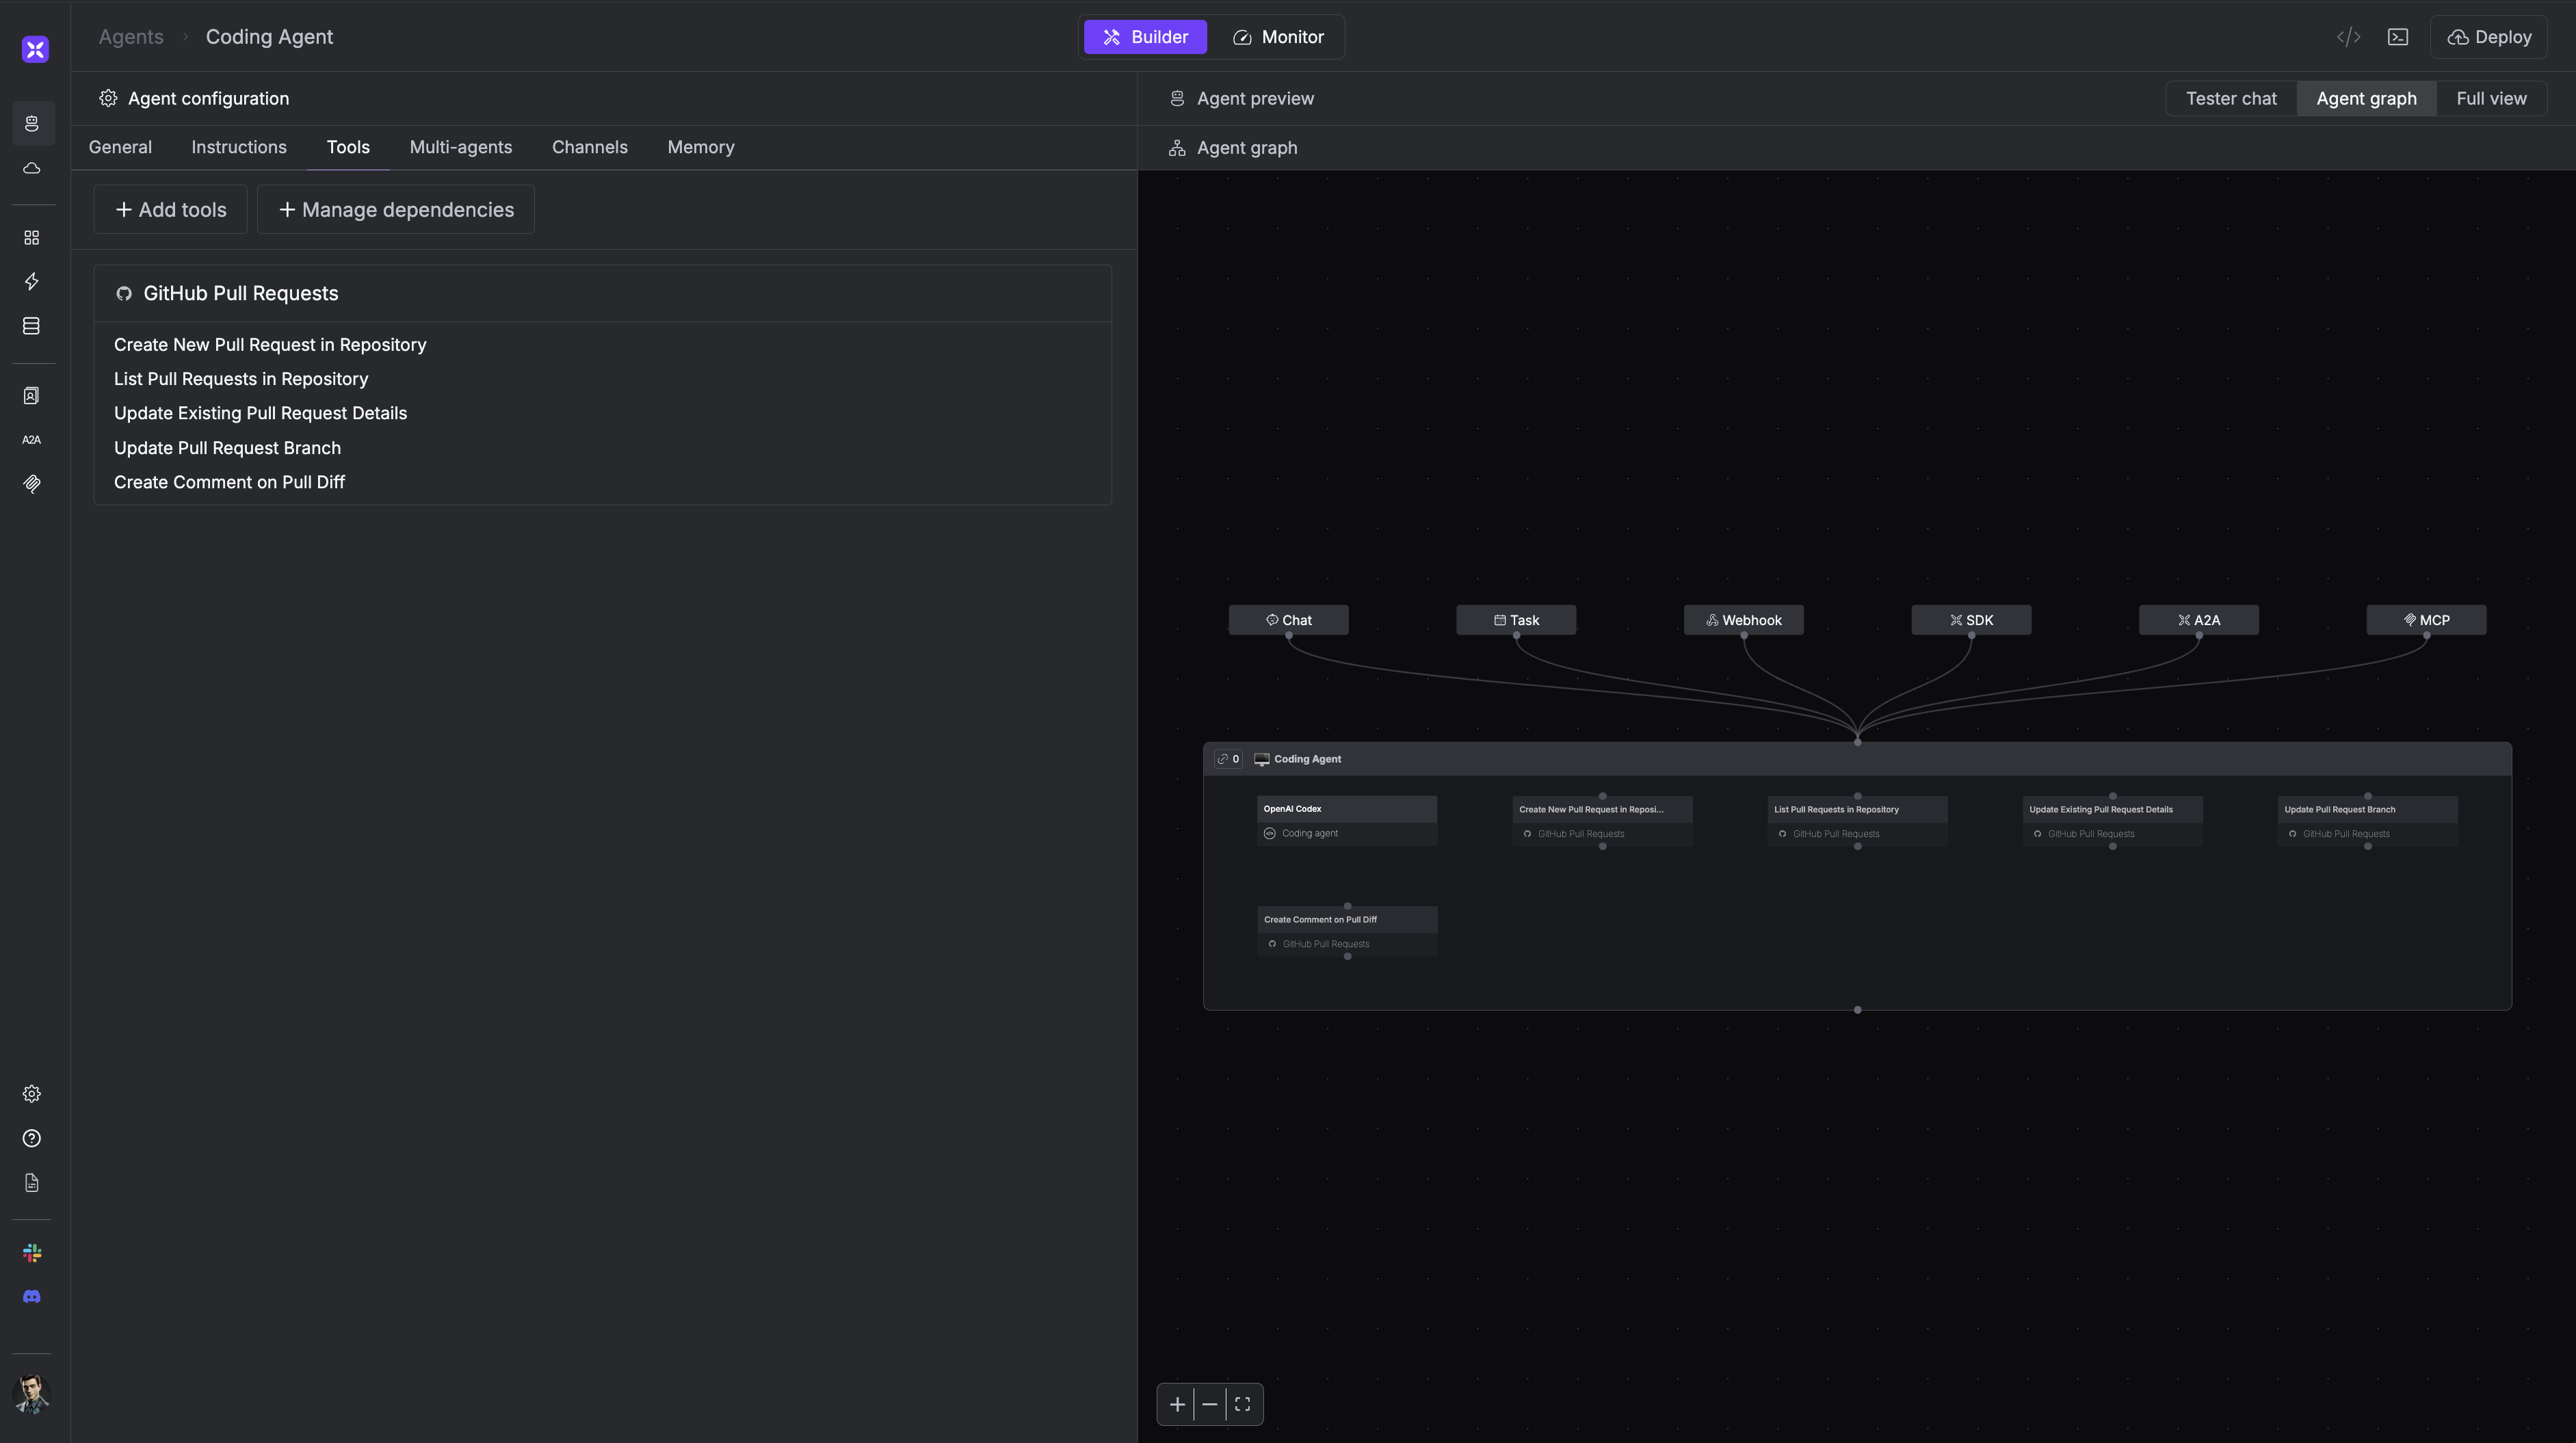
If the GitHub tools on the graph are displaying a red exclamation mark, it’s because you still need to authorize the GitHub connector. Click on the exclamation mark and go through the Auth process with OAuth2
Codex CLI built into the agent?
Codex CLI built into the agent?
The Coding Agent runs on GPT-4.1 and handles high-level reasoning, task planning, and decision-making.
It uses tools to complete actions - one of them being the Codex tool.The Codex tool is a containerized, sandboxed version of the Codex CLI, running with the agent’s own Git credentials.
It’s powered by the codex-mini-latest model, optimized for fast, focused code generation.The agent sends coding tasks to this tool - for example, “add tests for this function” - and the Codex tool writes or modifies the code.
Combined with the GitHub integration, the agent can autonomously list, create, update, and comment on pull requests.
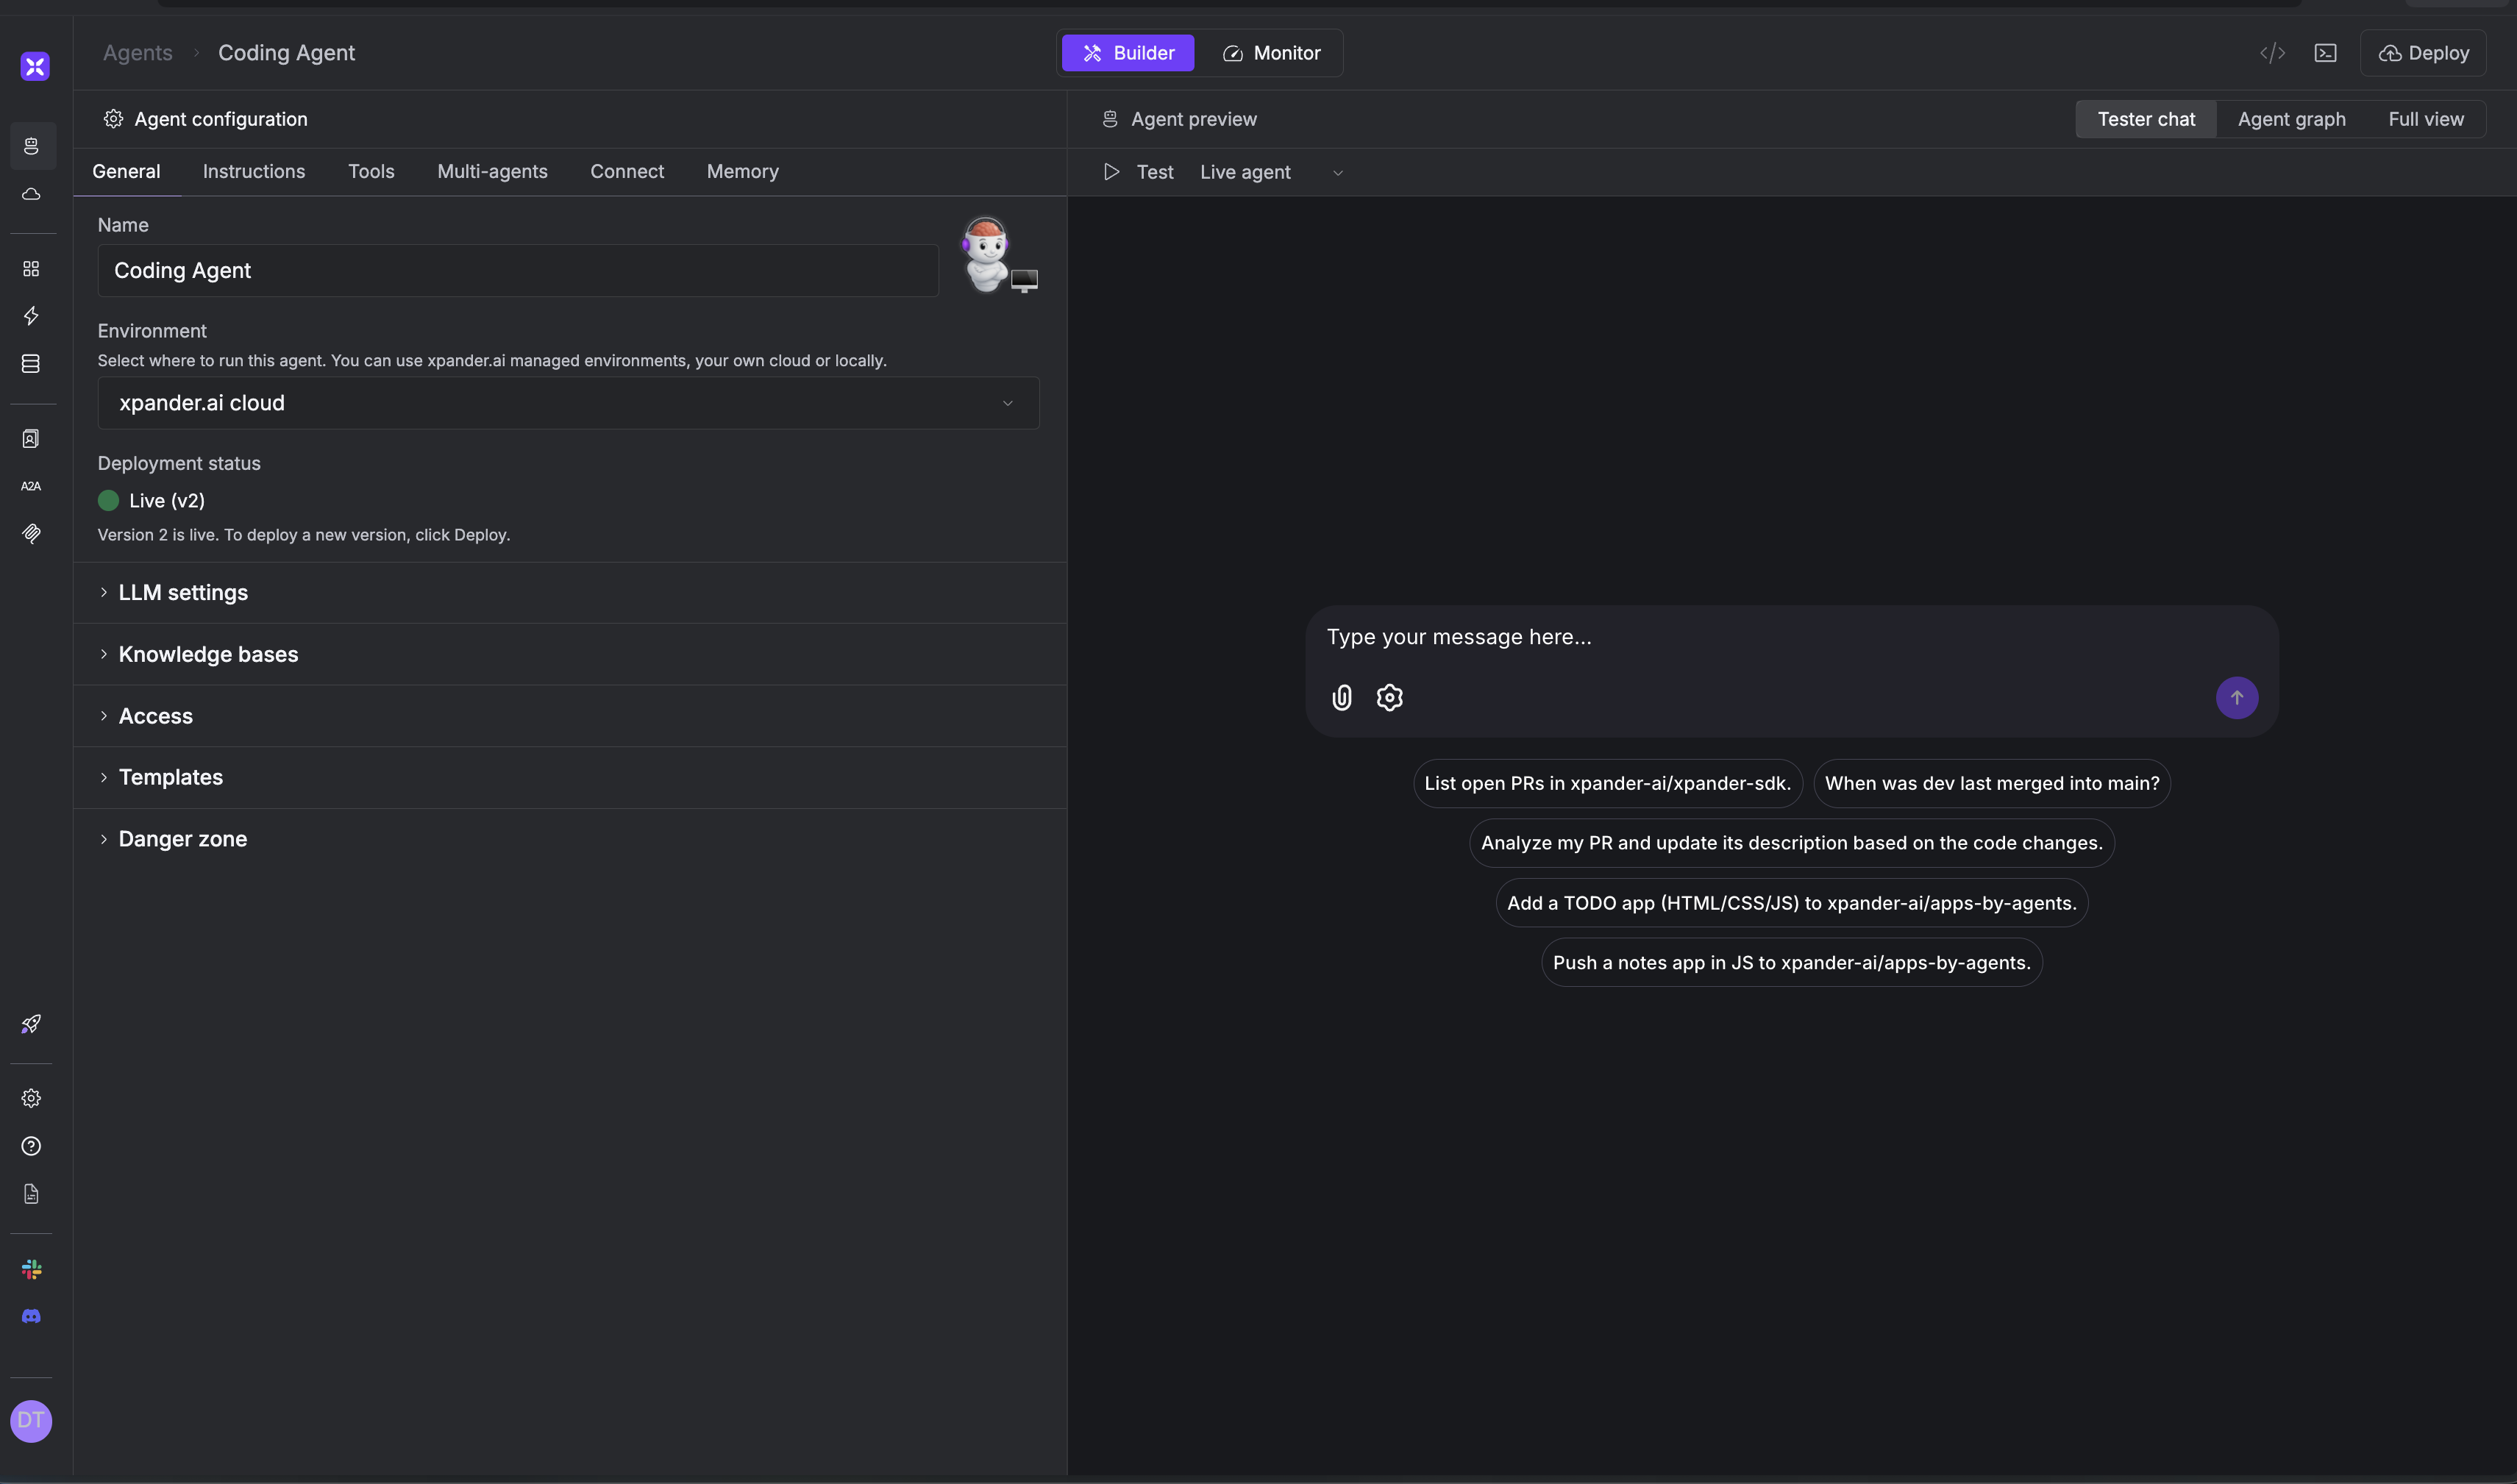
Step 2: Test your agent using the visual AI Workbench
Let’s walk through a real GitHub workflow using your agentTest 1: The agent’s capabilities
In the left tab of the AI Workbench (Tester tab), submit this prompt: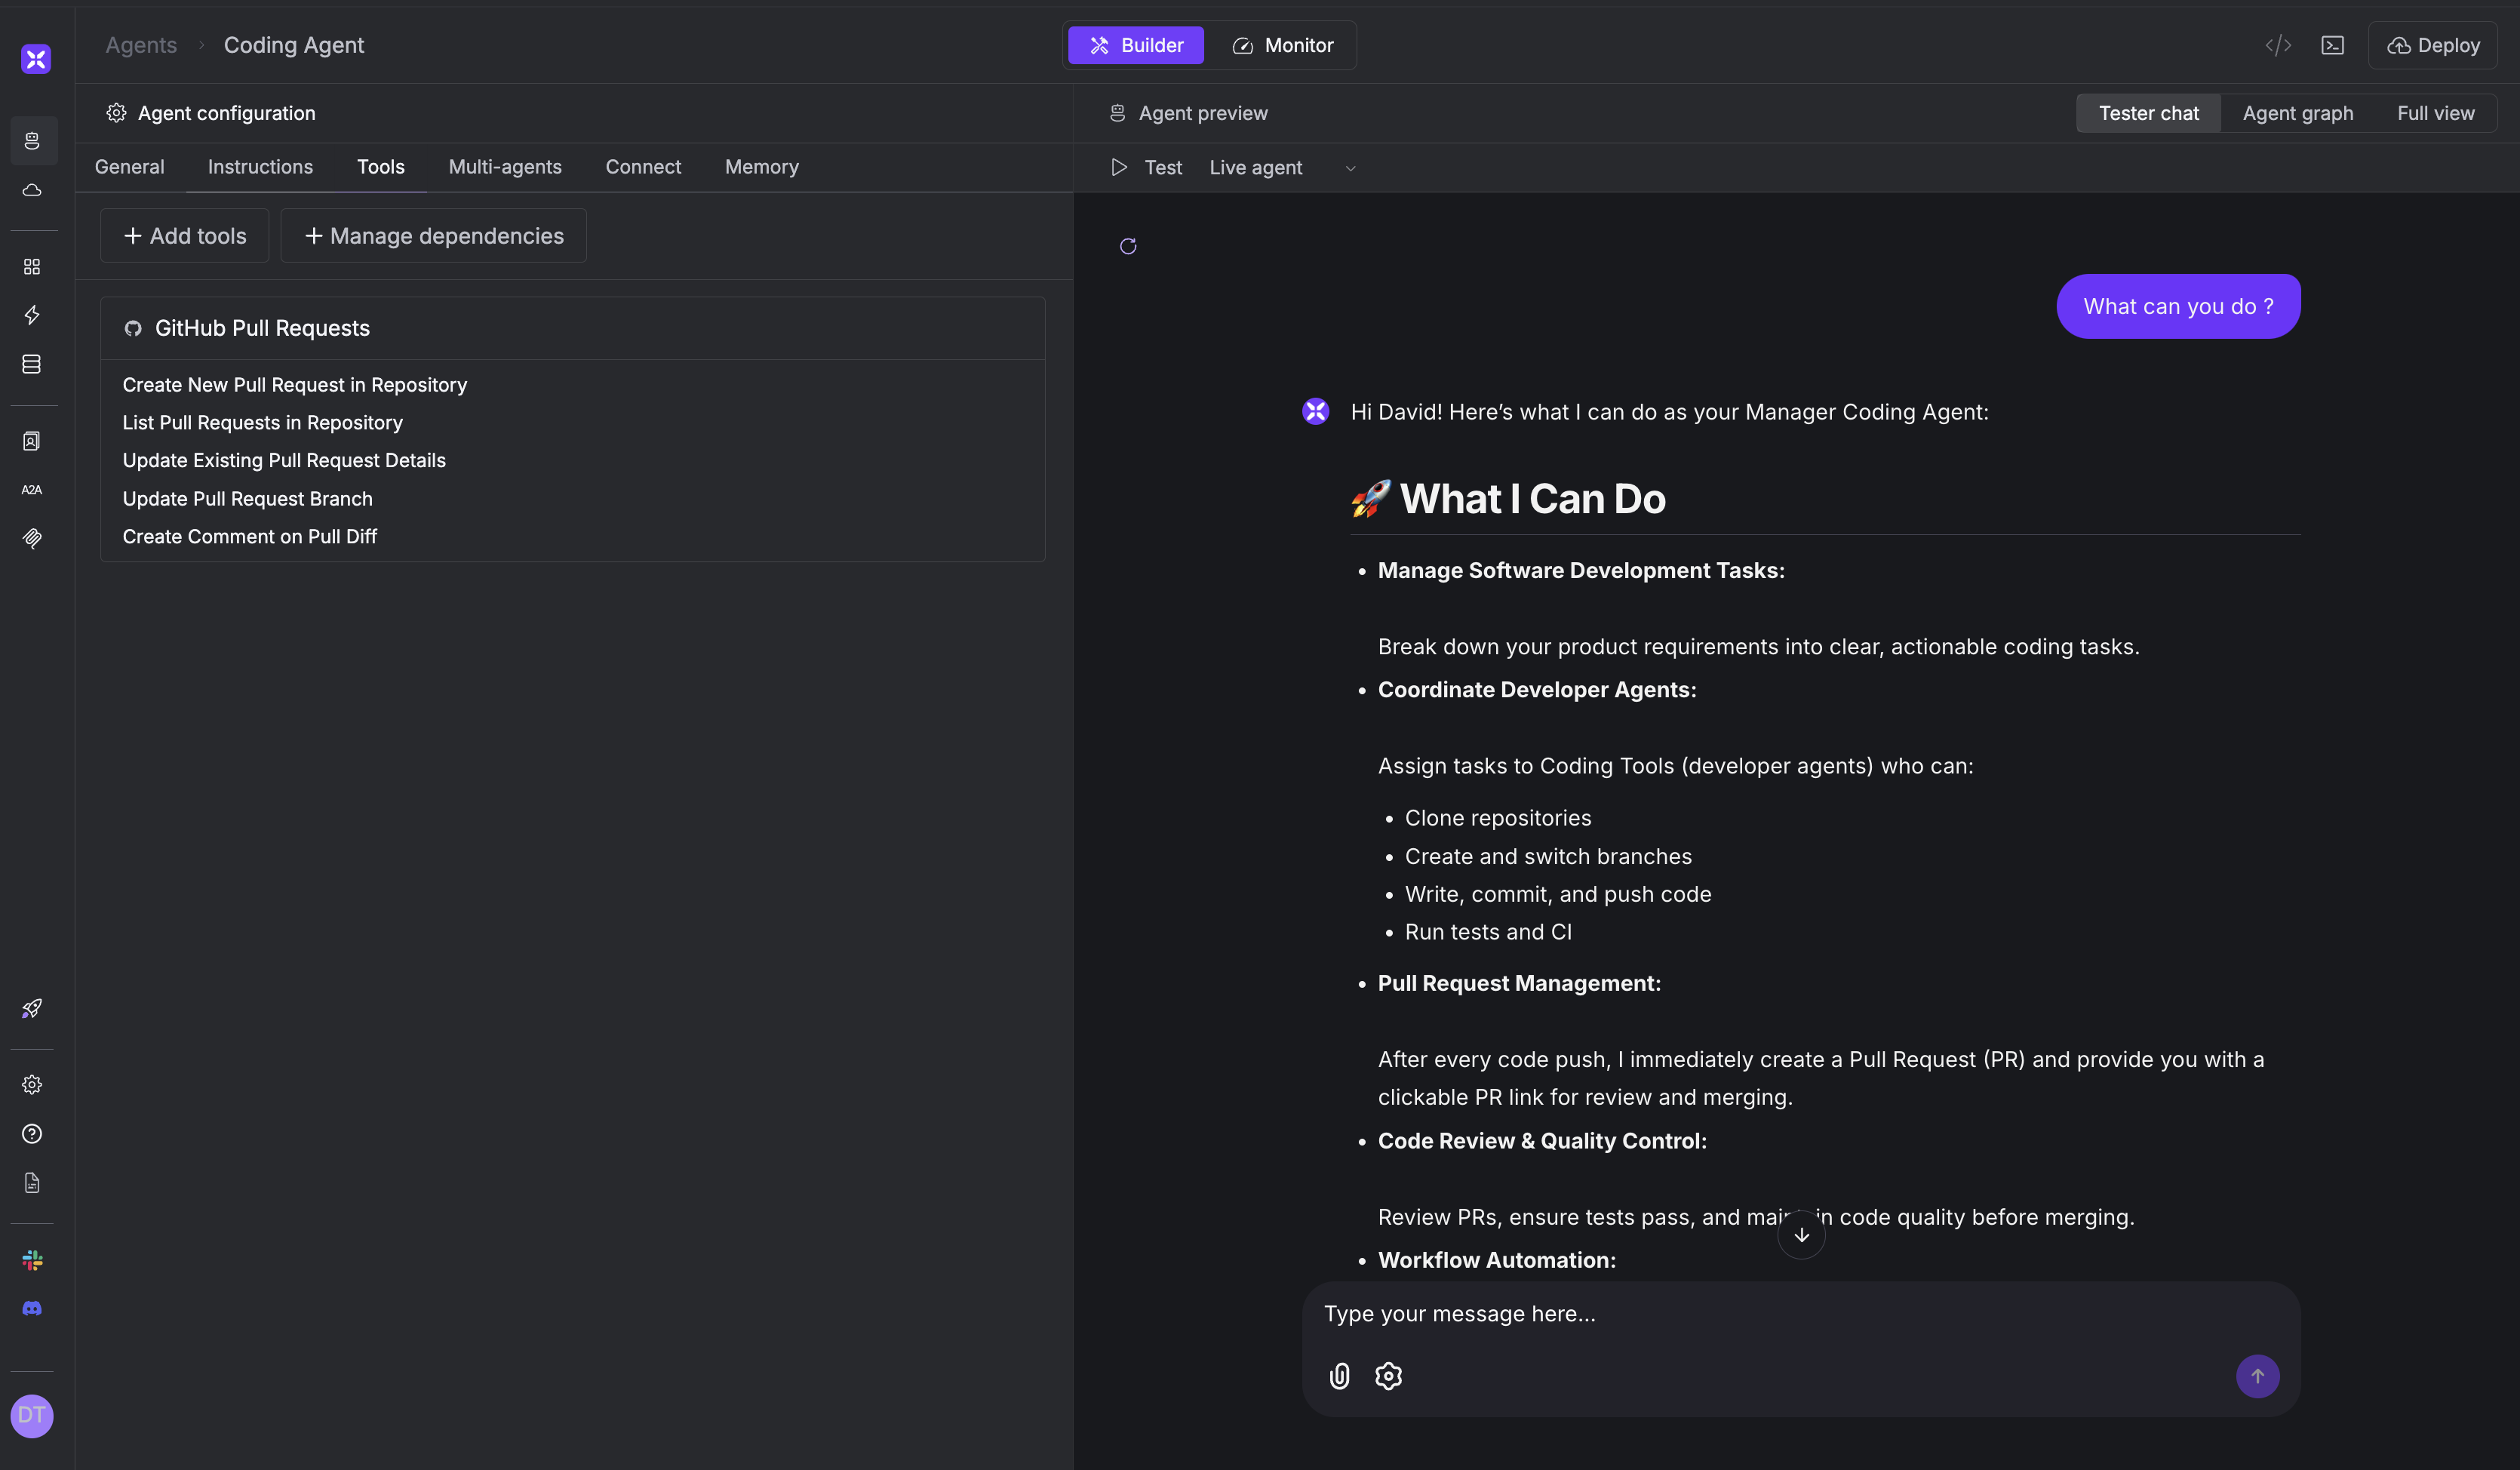
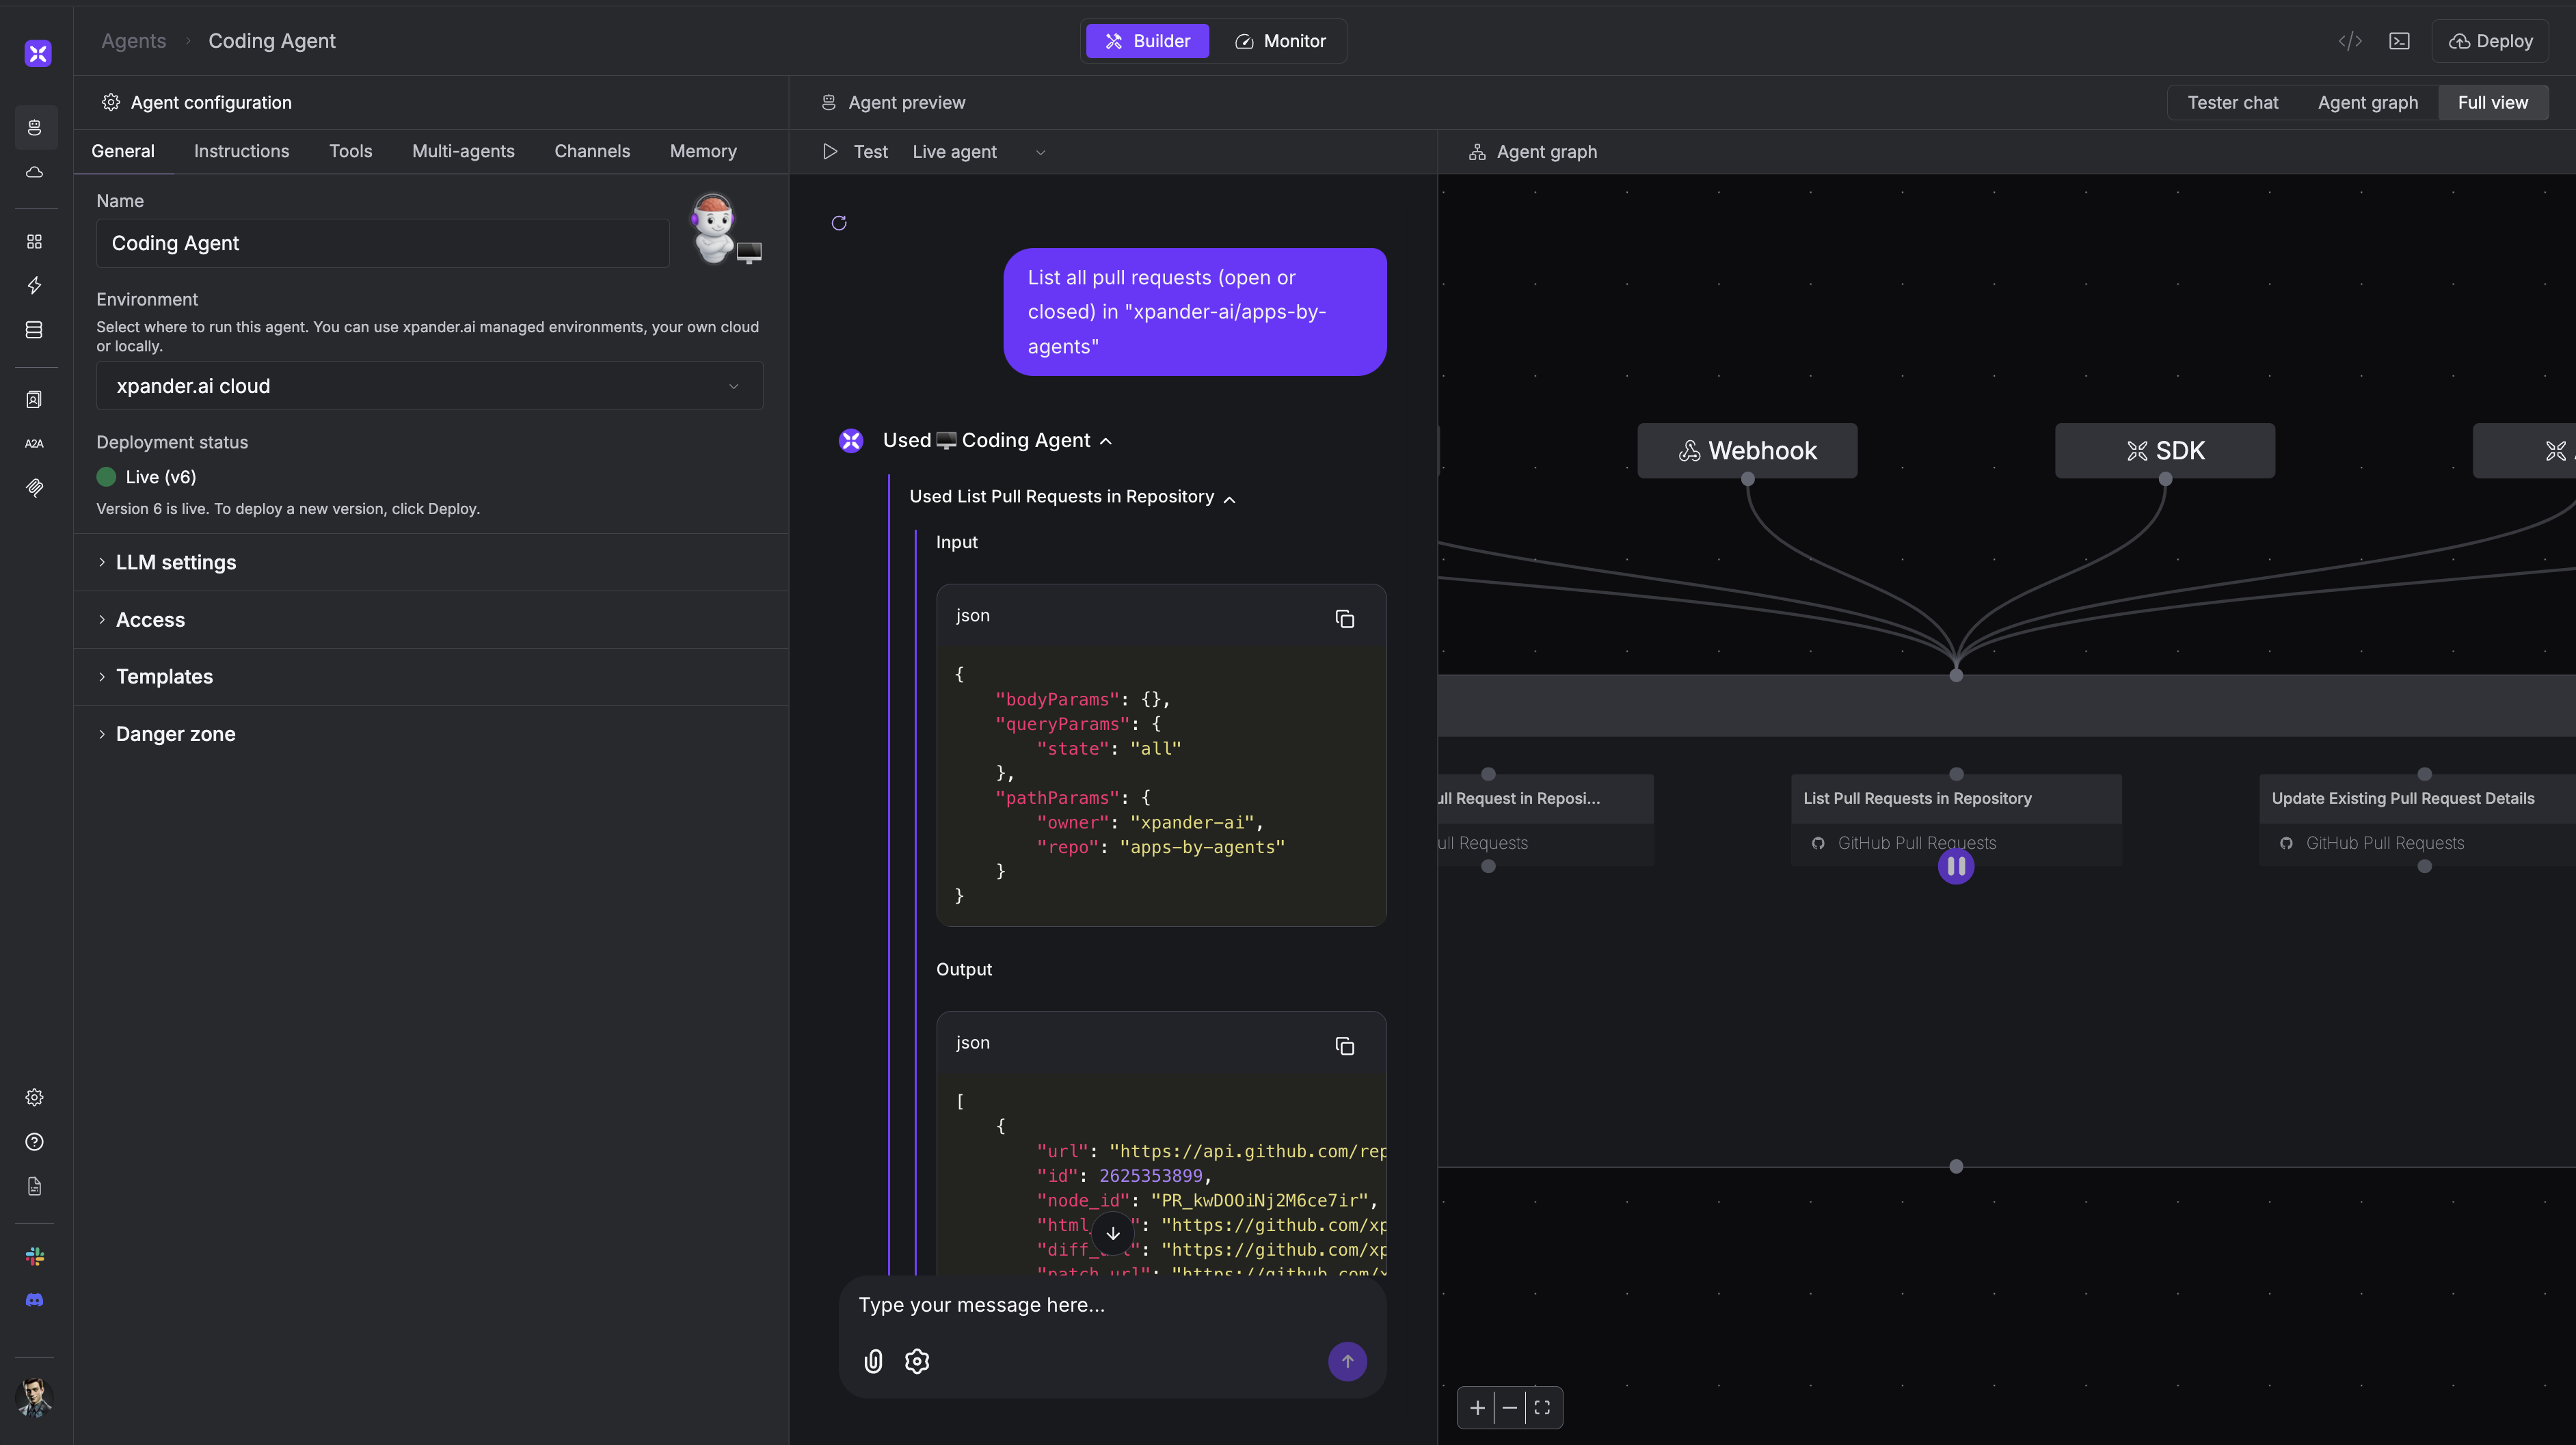
Test 2: List Pull Requests
In the left tab of the AI Workbench (Tester tab), submit this prompt:Change the view to Full View and expand the API calls to see the generated parameters from the AI model to the different APIs and the payload returned to the AI model.
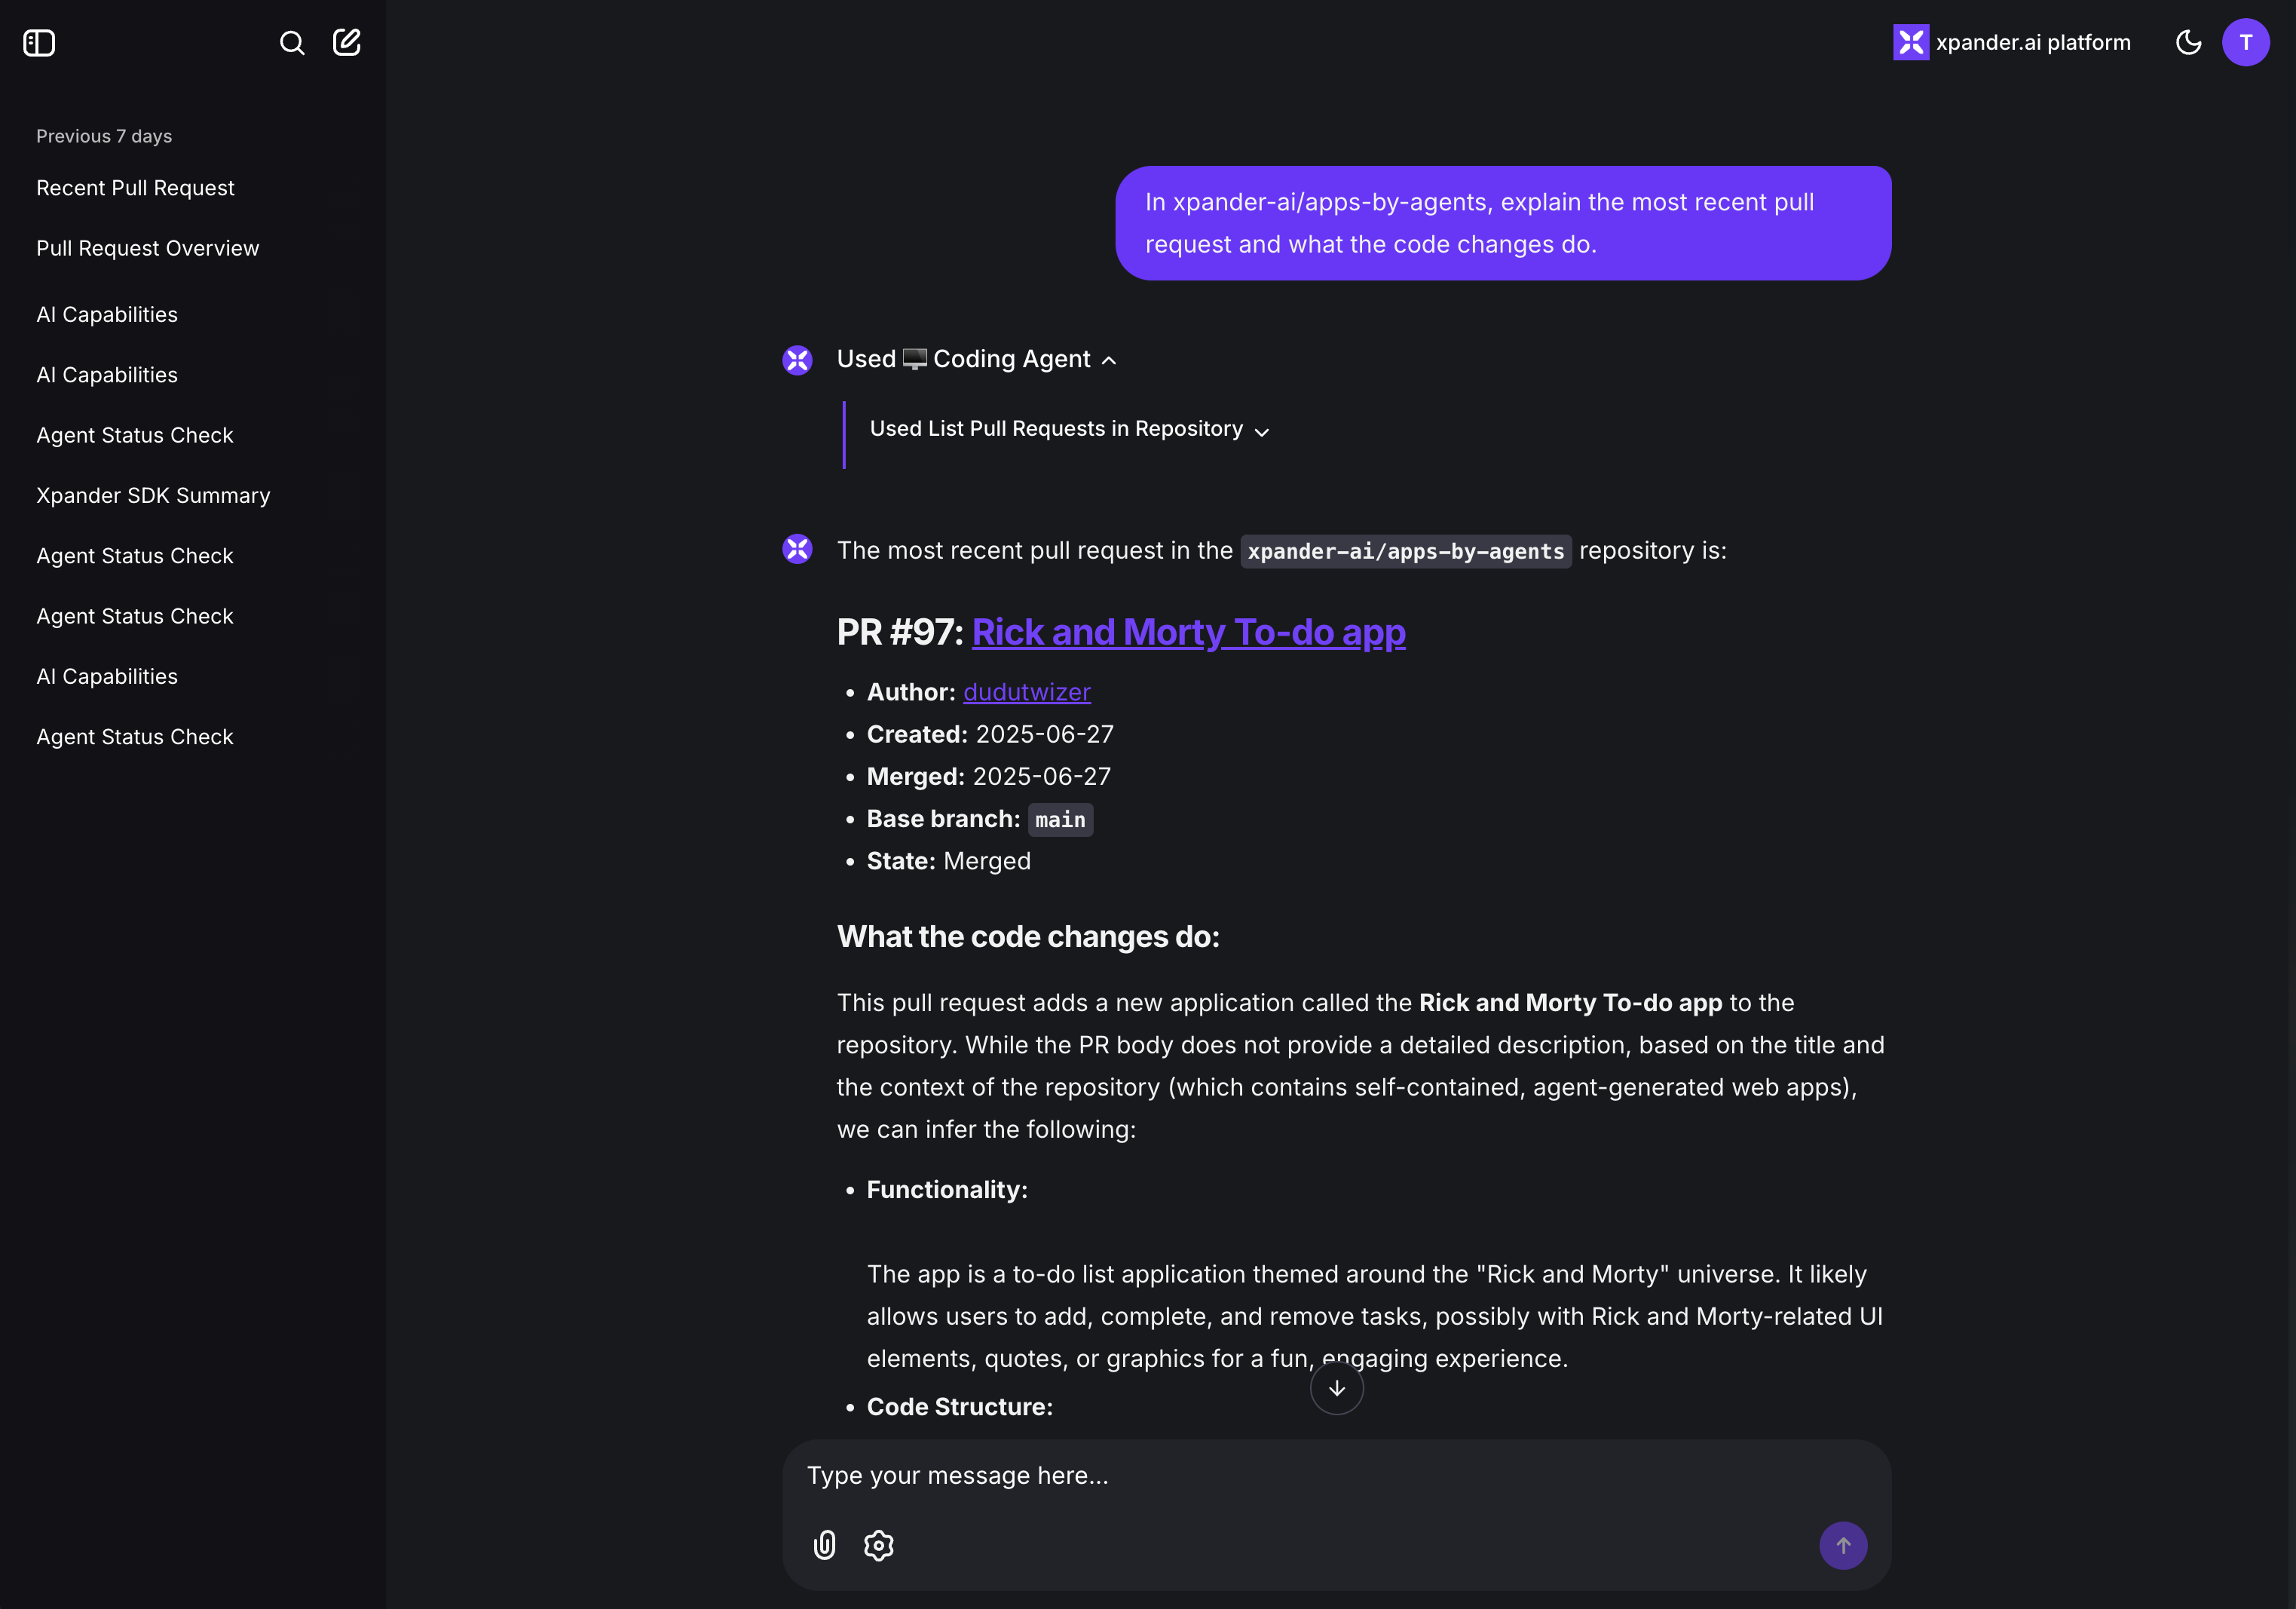
Test 3: Summarize the Latest PR
Click on “Channels” and go to “Chat” and open Markdown rich Web Interface built-in for your agent
Step 3: Load the agent locally (Optional)
Click on the CLI icon at the top left, and run the code snippet that is shownxpander-cli requires Node.js v22 or higher and CLI version 0.0.31 or above. If you install the CLI but it shows an old version, your system is likely using a cached or outdated install
Follow these steps to fix it
Follow these steps to fix it
Step 1: Use Node.js v22+If you have nvm (Node Version Manager) installed:If you don’t have nvmAlternatively, if you prefer not to use nvm, make sure your Node.js version is at least 22:Step 2: Remove any old xpander-cli installsIf it still shows a path, delete the old binary:Step 3: Install the latest CLI
You can now pull a list of the agents withExample output
Step 4: Run the agent locally (Optional)
python xpander_handler.py to register your machine to receive events to the agent, open the chat URL and send some message then monitor terminal.
You should see something similar to the following log.
Keep the xpander_handler.py running for the remainder of the workshop.
We now have the backend ready. The UI can help us control the agent tools, the model, the events that are coming, the authentication, and all the infrastructure needed for the agent.