Two Paths to Build Agents
xpander.ai supports two main paths, depending on how you prefer to build agents:No-Code Agent Builder
Production-ready agents via Visual Workbench - no code requiredBest for: Chatbots, support agents, DevOps assistants, task automation
Code + Containers
Use your preferred framework with xpander’s backend infrastructureBest for: Custom logic, multi-modal apps, deterministic pipelines
No-Code Agent Builder
Build and deploy production-ready agents directly in the UI without writing code. Select tools, edit the system prompt, enable memories and other advanced features - the platform manages the Agno runtime for you.More frameworks will be added to the no-code offering soon. Join the beta to get early access.
1
Create your agent
Use the Workbench at app.xpander.ai to set up your agent’s instructions, model, tools, and knowledge bases through the intuitive web interface.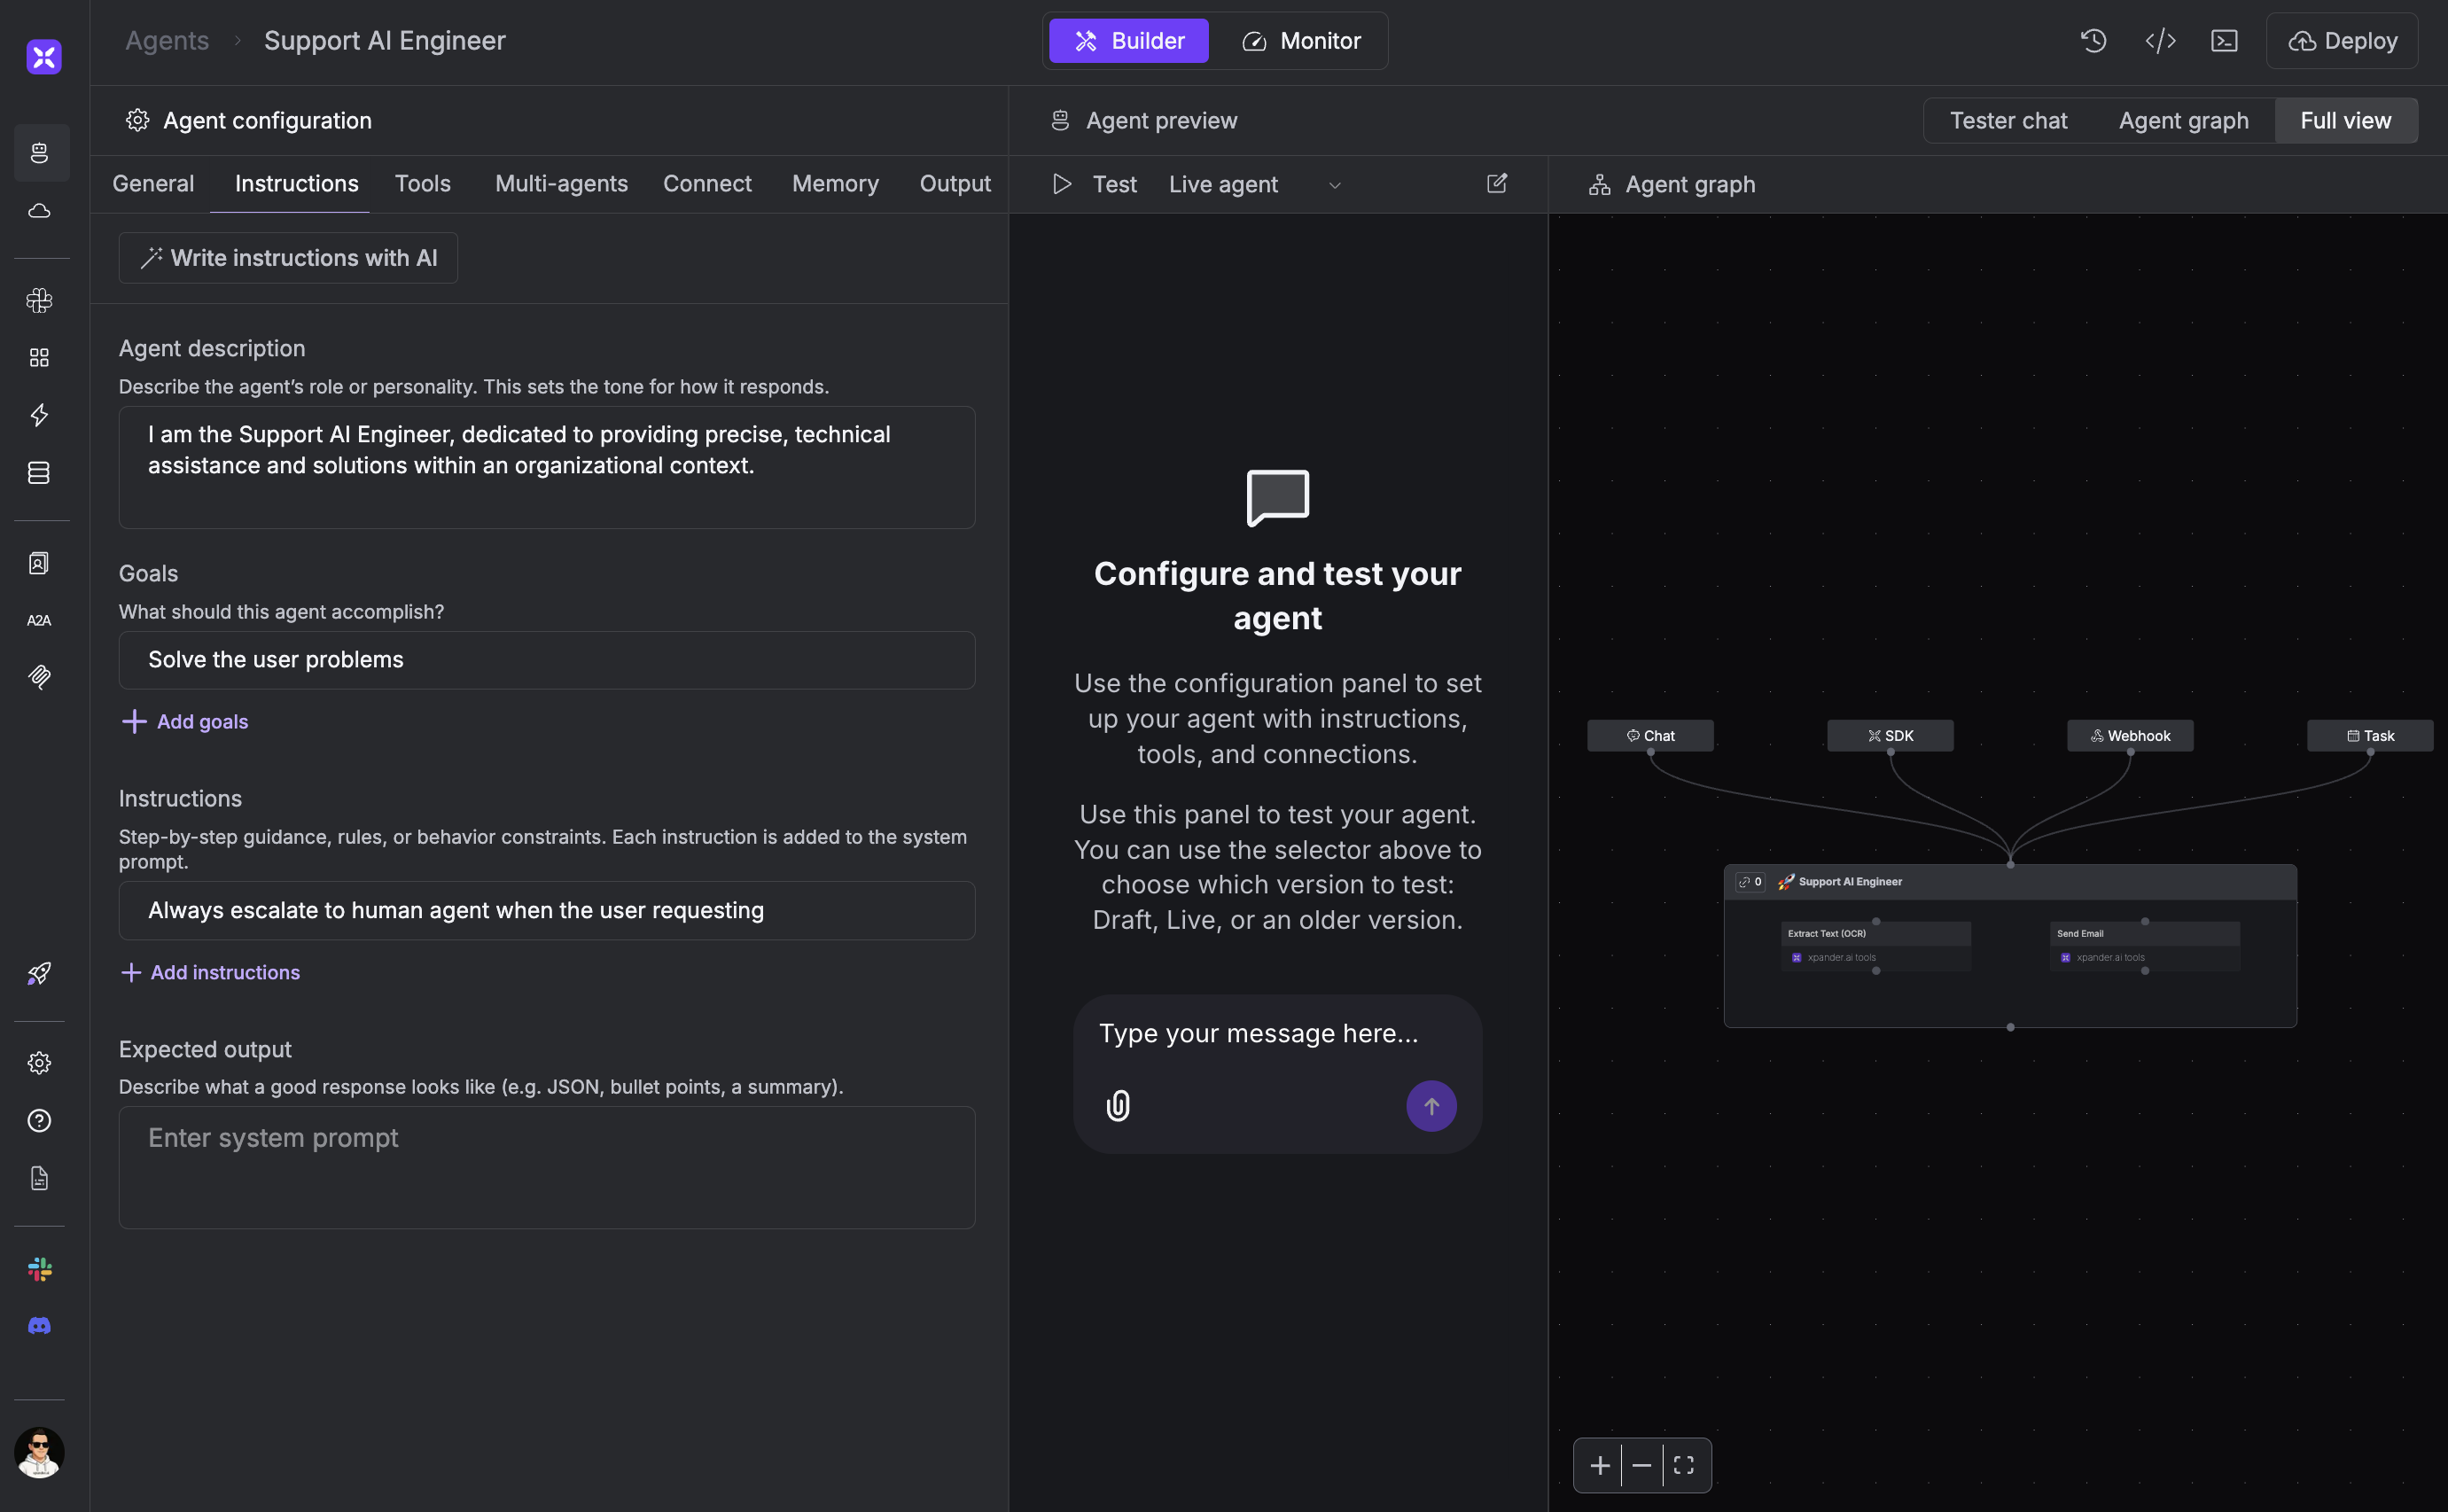
The Agent Workbench - configure your agent without code
2
Configure the backend
Set up your agent’s capabilities:
- AI Model - Choose from OpenAI, Anthropic, or bring your own keys
- System Prompt - Define your agent’s role, personality, and behavior
- Tools - Add connectors from the catalog (Slack, GitHub, Jira, etc.)
- Knowledge Base - Upload documents for RAG capabilities
- Memory - Enable conversation history and user context
3
Connect task sources
Choose how users will interact with your agent:
- Slack - Deploy directly to your workspace
- Web UI - Get a hosted chat interface
- Webhooks - Trigger from external systems
- API - Invoke programmatically
- Scheduled Tasks - Run on a schedule
4
Test and deploy
Test your agent in the Workbench chat, then deploy with one click. Your agent is live with automatic scaling and monitoring.
Using the API
You can also create and invoke no-code agents programmatically:Code + Containers
If you need custom logic, use multiple frameworks, or require deterministic behavior:- Agno - The fastest agent framework
- Strands - AWS Strands integration
- Google ADK - Google’s Agent Development Kit
- OpenAI Agents SDK - OpenAI’s agent framework
- LangChain - Popular LLM orchestration framework