When to use this template
Use this template when you want to automate your support process, reduce manual workload, or migrate from an existing support tool to a custom Support AI Agent. It’s ideal for:- Teams looking to build their own support automation
- Organizations migrating from legacy ticketing systems
- Deploying a support agent in your community Slack or joint customer channels for instant, AI-powered help. Read more at Slack Agents
How to Deploy the Support Agent template
Import the Template
Click this link to open the template: Support Agent Template
If you are not registered on the platform yet, you will be prompted to sign up.
Complete the Import Wizard
In Step 2 you’ll be prompted to select which connectors will be used by the deployed agents. For both Calendly and Notion, you’ll see a dropdown to select the “matching connector.” You can choose an existing Calendly or Notion connector if you’ve already authorized them in xpander, or you can create a new authorization for these systems. If you choose to create a new one, you’ll be asked to authorize them when you land in the AI Workbench in the next step.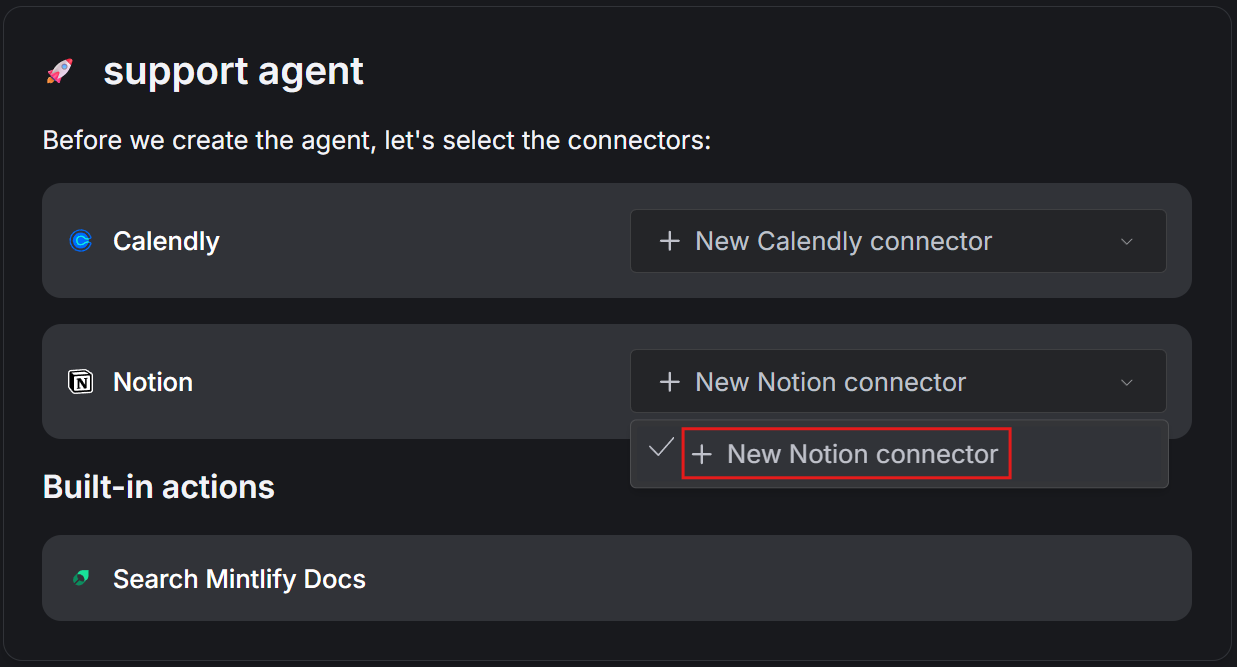
The tools included in this template (Calendly and Notion) are for demonstration and a quick start purposes. If your organization uses different systems for ticketing, scheduling, or other workflows, you can easily add or swap tools in the AI Workbench to match your requirements.
Explore the Agent Configuration
Review and explore the different configurations of your new Support Agent(s), generated from the template.You can go to the Multi-agents tab to see the three other agents that are being used by the main Support Engineer AI Agent. For each of these agents, you can click Edit agent to open its configuration Workbench and explore or modify its setup individually.
Test and configure the Support multi-agent system
Using Notion as a Support Ticket Database If you want to experiment with Notion as a simple support ticket database, you can duplicate our example Notion database and connect your agent to it:- Click this link: Example Notion Support Database
- Click the Duplicate button on the top right and select your desired workspace.
- In the next steps, when prompted to connect to Notion in the xpander Workbench, allow access to your newly created page.
Test the Agent with Notion as a support database
Use the Agent preview section of the Workbench to test the agent’s support capabilities and see how it handles typical support queries.For example, try to open a new support ticket with a generic title, as seen in the example: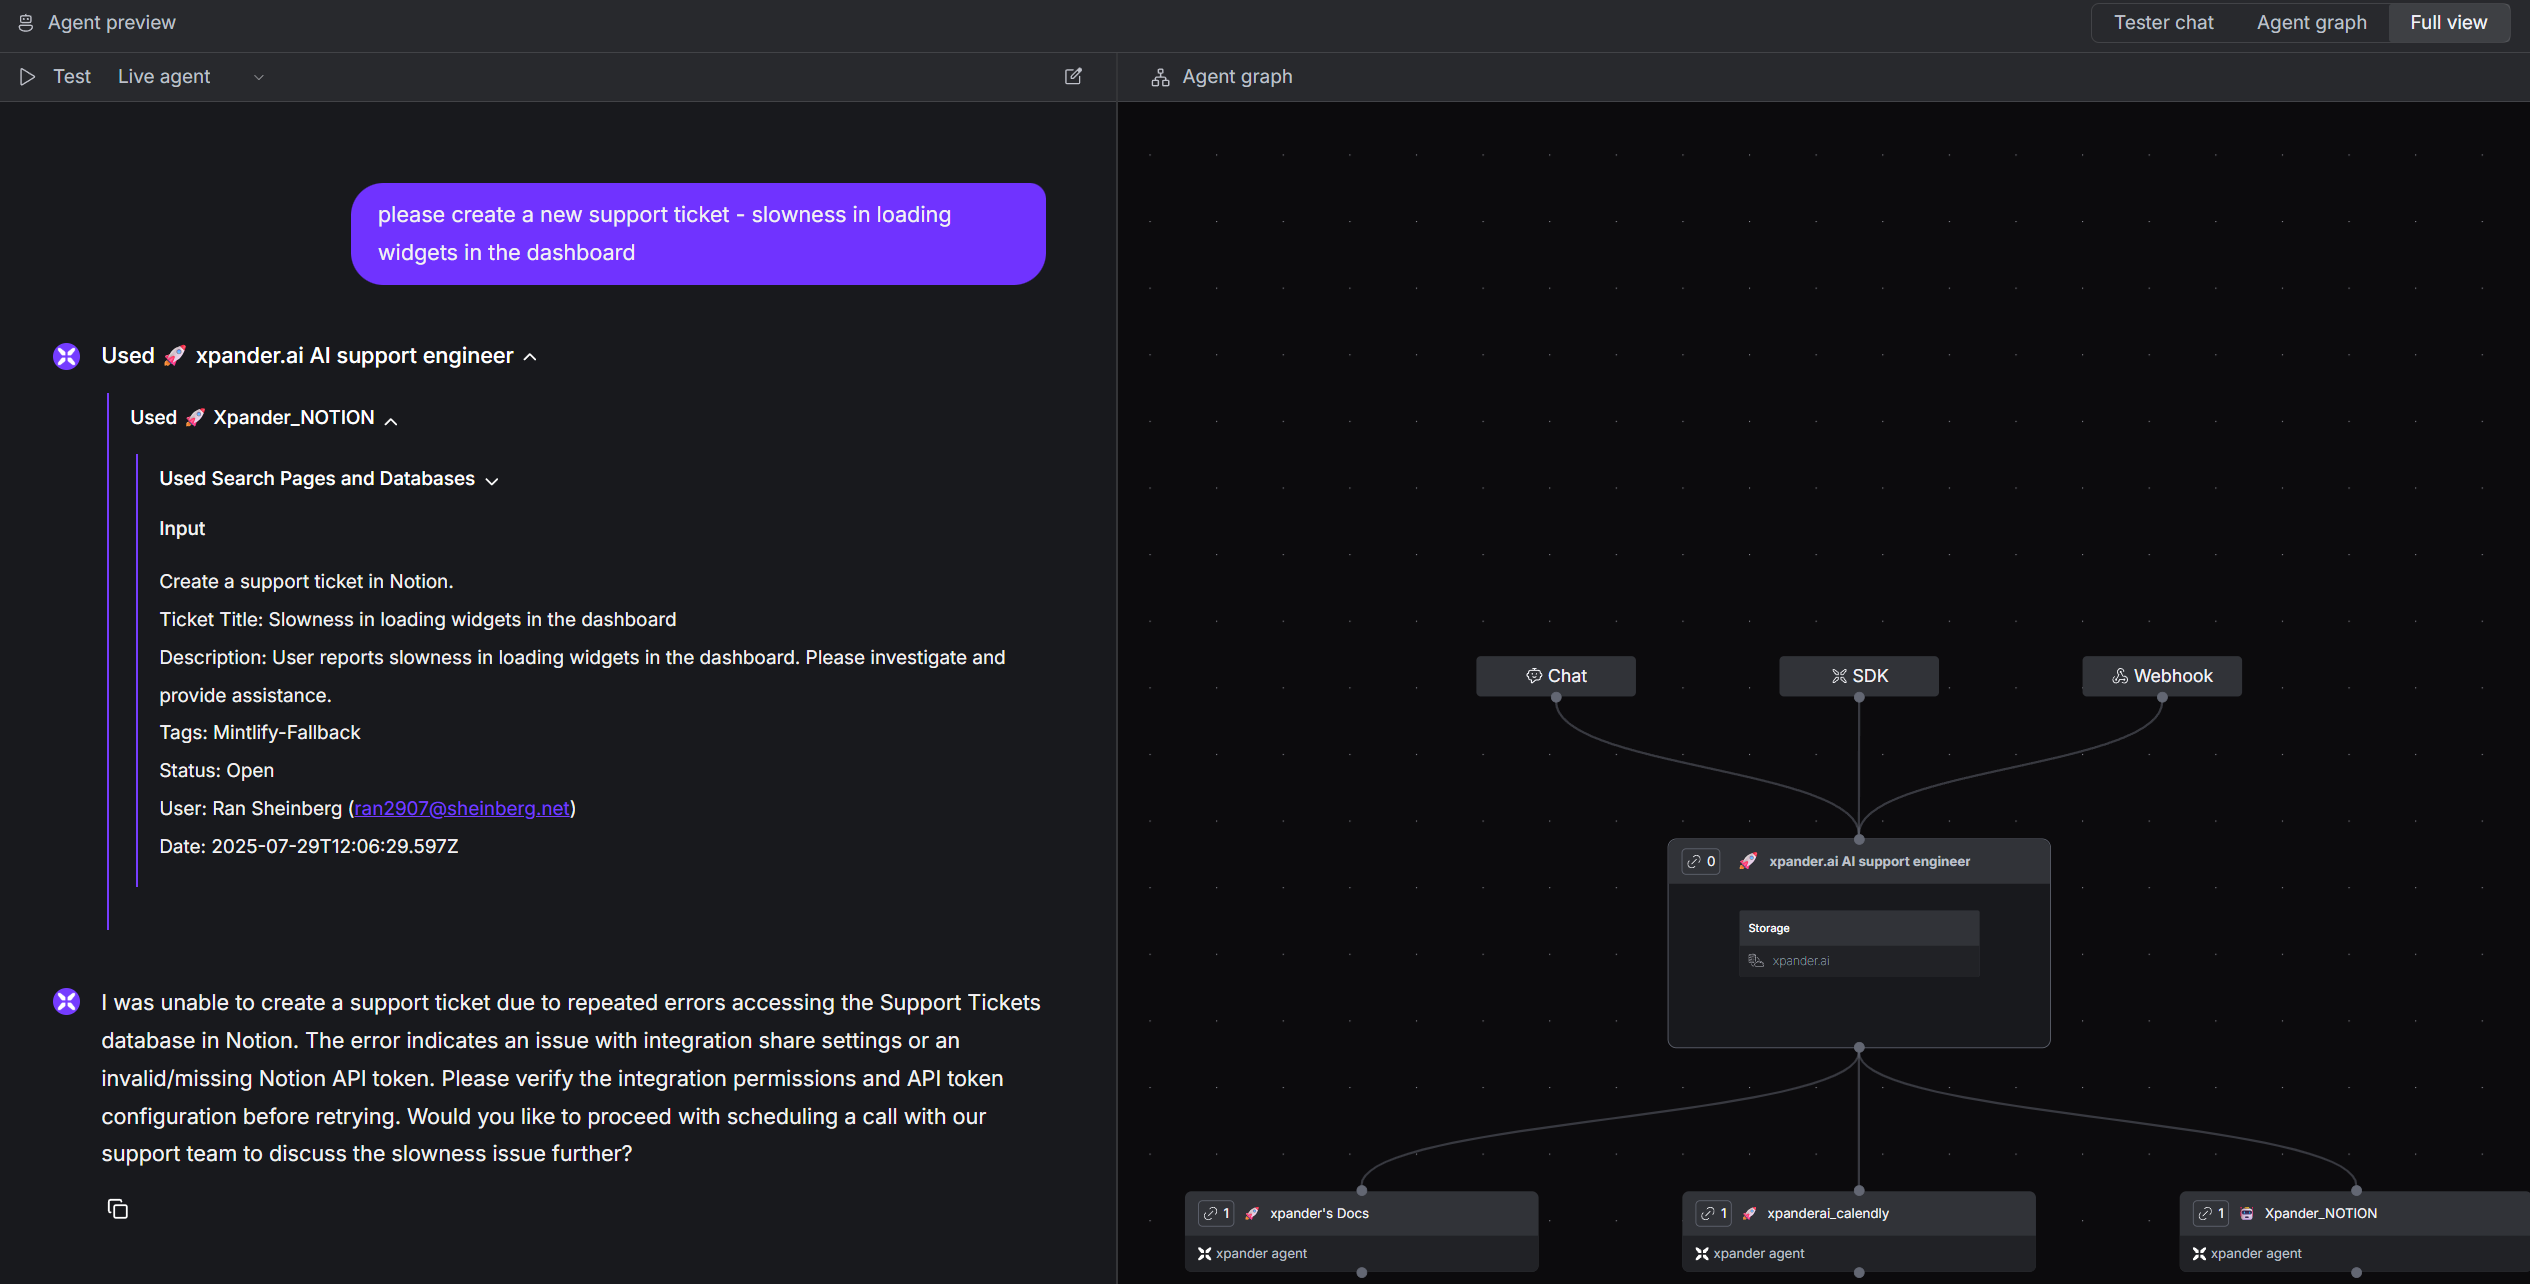
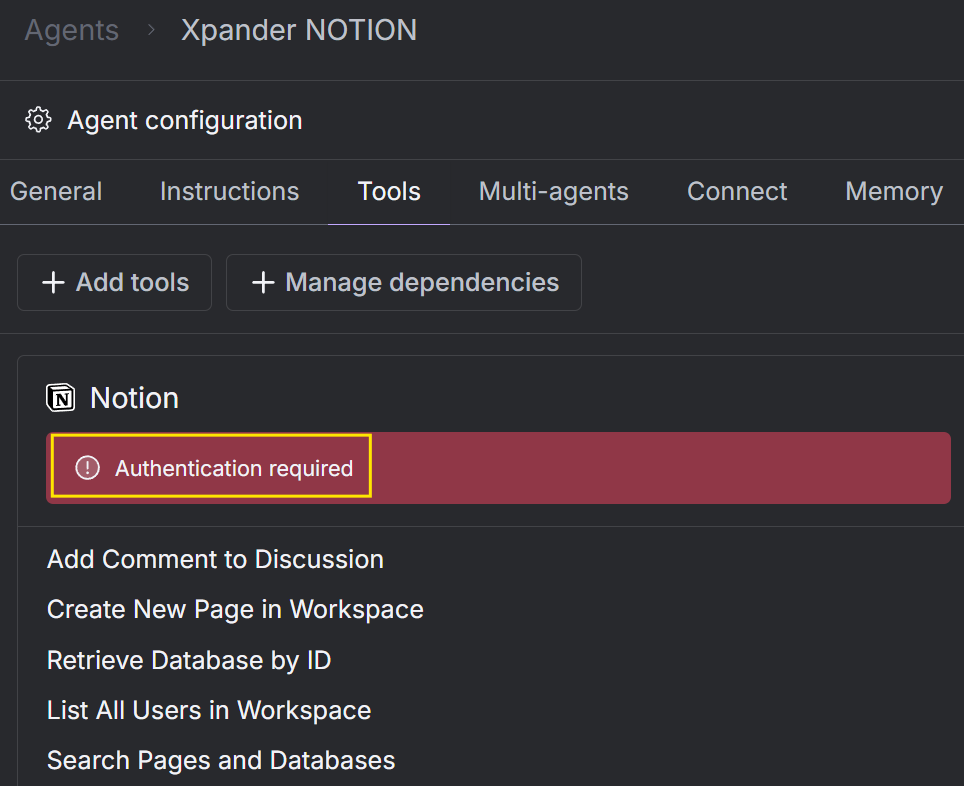
Configure the Notion connector
a. In the Multi-agents tab, click “Edit agent” under the xpander_Notion agent section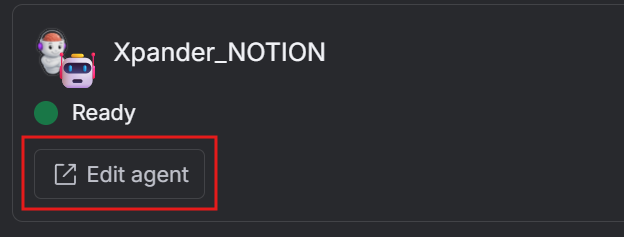
Try opening a support ticket again
Go back to the Support Engineer agent in the Workbench, and submit the prompt again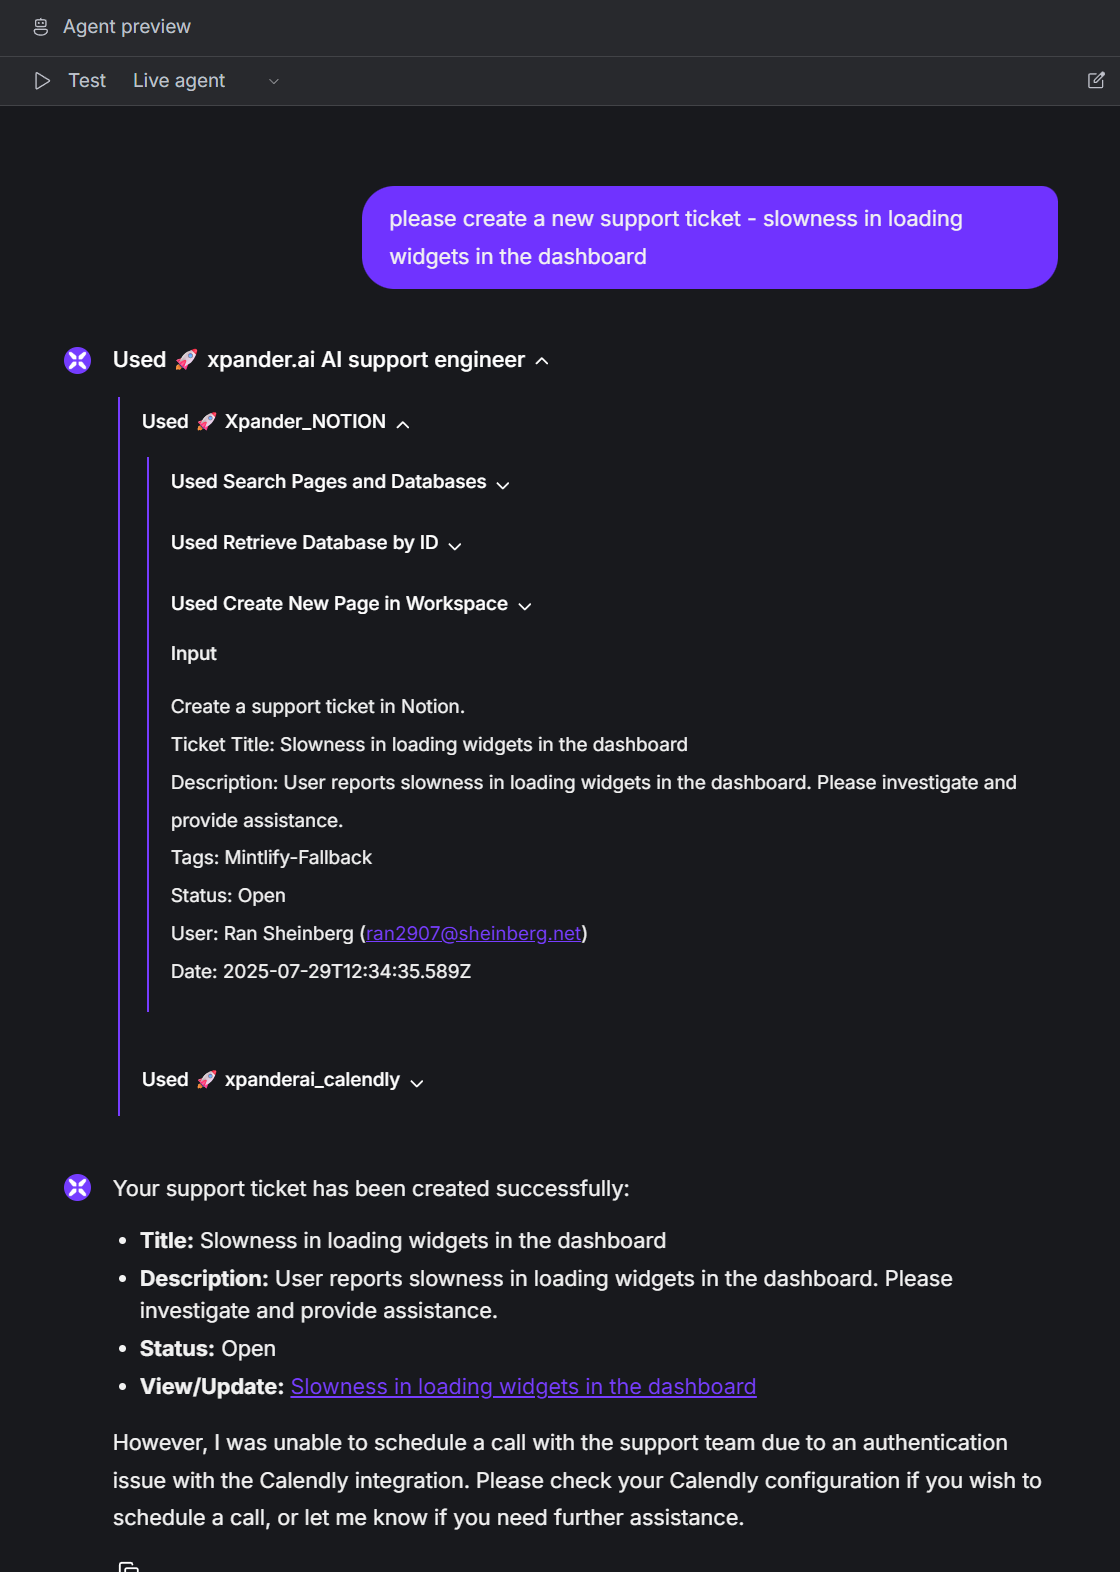
Next steps
-
Connect to Slack
Integrate your Support Agent with Slack to provide instant support in your team’s workspace, community workspace, or joint customer channels. See the Slack Agents documentation for setup instructions. -
Further customize your agent
Use your own support system such as Zendesk or Jira (the xpander platform has ready-to-use connectors for those), adjust the Calendly agent to work with your own scheduling system, and customize prompts and tools as needed using the AI Workbench. -
Need to customize with code?
Click the Download code button in the top right of the AI Workbench to export your agent and implement custom logic as needed.
Have questions or need help? Join our community on Slack or Discord!