The canvas
Every workflow is built on a horizontal canvas that flows left to right: a START block, an END block, and your logic in between. Add nodes by clicking the + button on the connection line.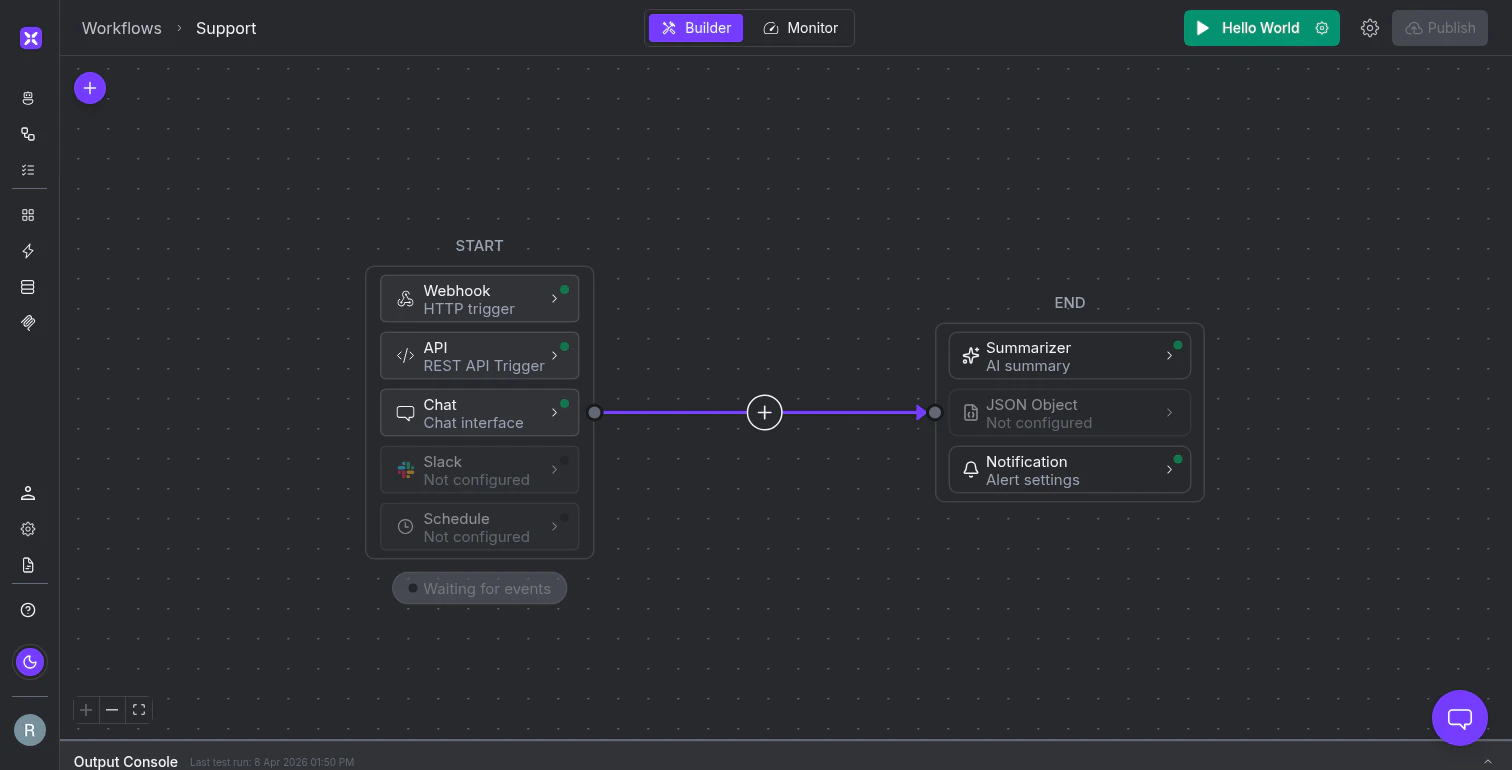
The workflow canvas. START holds your triggers, END holds your outputs, and the purple connection line is where you add nodes.
Between START and END, nodes handle processing in three categories.
Agent nodes use AI to reason about data: an Agent queries connected systems and makes decisions, a Classifier routes inputs to branches based on intent, and a Summarizer condenses large inputs into structured output.
Action nodes run without an LLM for fast, deterministic execution: invoking any of the 2,000+ connectors (Salesforce, GitHub, Slack, BigQuery), sending emails, extracting text with OCR, running Python code, or nesting a workflow as a sub-process.
Flow control nodes handle branching and validation: conditions split the flow, guardrails use an AI judge to validate output, wait nodes pause for human approval, and parallel nodes run independent branches simultaneously.
The END block offers three output options.
- A Summarizer generates a natural language digest of everything the workflow processed.
- A JSON Object returns structured data against a schema you define (or generate with AI) for downstream systems that need a predictable format.
- Notifications send emails or webhooks on success or failure.
When to use workflows
Workflows fit when a process should run automatically in response to an event, without a human in the conversation loop:- A Stripe webhook fires, kicking off invoice reconciliation across your ERP and billing system
- A daily schedule enriches new leads overnight and updates Salesforce
- An inbound email gets parsed, classified by urgency, and routed to the right support queue in Jira
- A GitHub push triggers compliance scanning, and a guardrail node blocks deployment if PII is detected
What’s next
Workflow Canvas
Navigate the canvas, add and connect nodes, save and version your work.
Triggers
Configure webhooks, schedules, API calls, and other trigger types.
Agent Nodes
Use AI to reason about data, classify inputs, and summarize results.
Action Nodes
Invoke tools, send emails, run code, and execute deterministic operations.