

Where it lives
Open Platform > Agents > Skills registry and select a skill that signs people in. Its card has a Sign-in app section (The app people sign in through when they connect Gmail.) whose first line says which app is in use:
Once an app is set up, the line also shows its Client ID. Members see this line and nothing else. Where no app is available to them, it reads Ask an organization admin to set up the sign-in app.
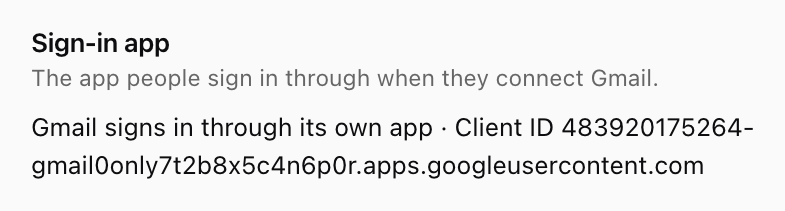
A member's view of the Sign-in app section: which app Gmail signs in through, and its client ID. Shown with sample data.
Shared app or one per skill
Admins choose between two apps:
A skill with its own app uses it before the shared one. To go back, remove its app with Use the shared app.
Set it up
1
Open the form
On the skill’s card, pick the shared or separate app and select Set up.
2
Create the client at the provider
Copy the Redirect URI into your OAuth client as an authorized redirect URI. Open Scopes to enable and use Copy all scopes to copy them comma separated; add them on the app’s consent screen or API permissions. The Google steps are below.
3
Save the client
Paste the Client ID and Client secret and select Save. The section shows the app as Ready, and the next sign-in goes through it.
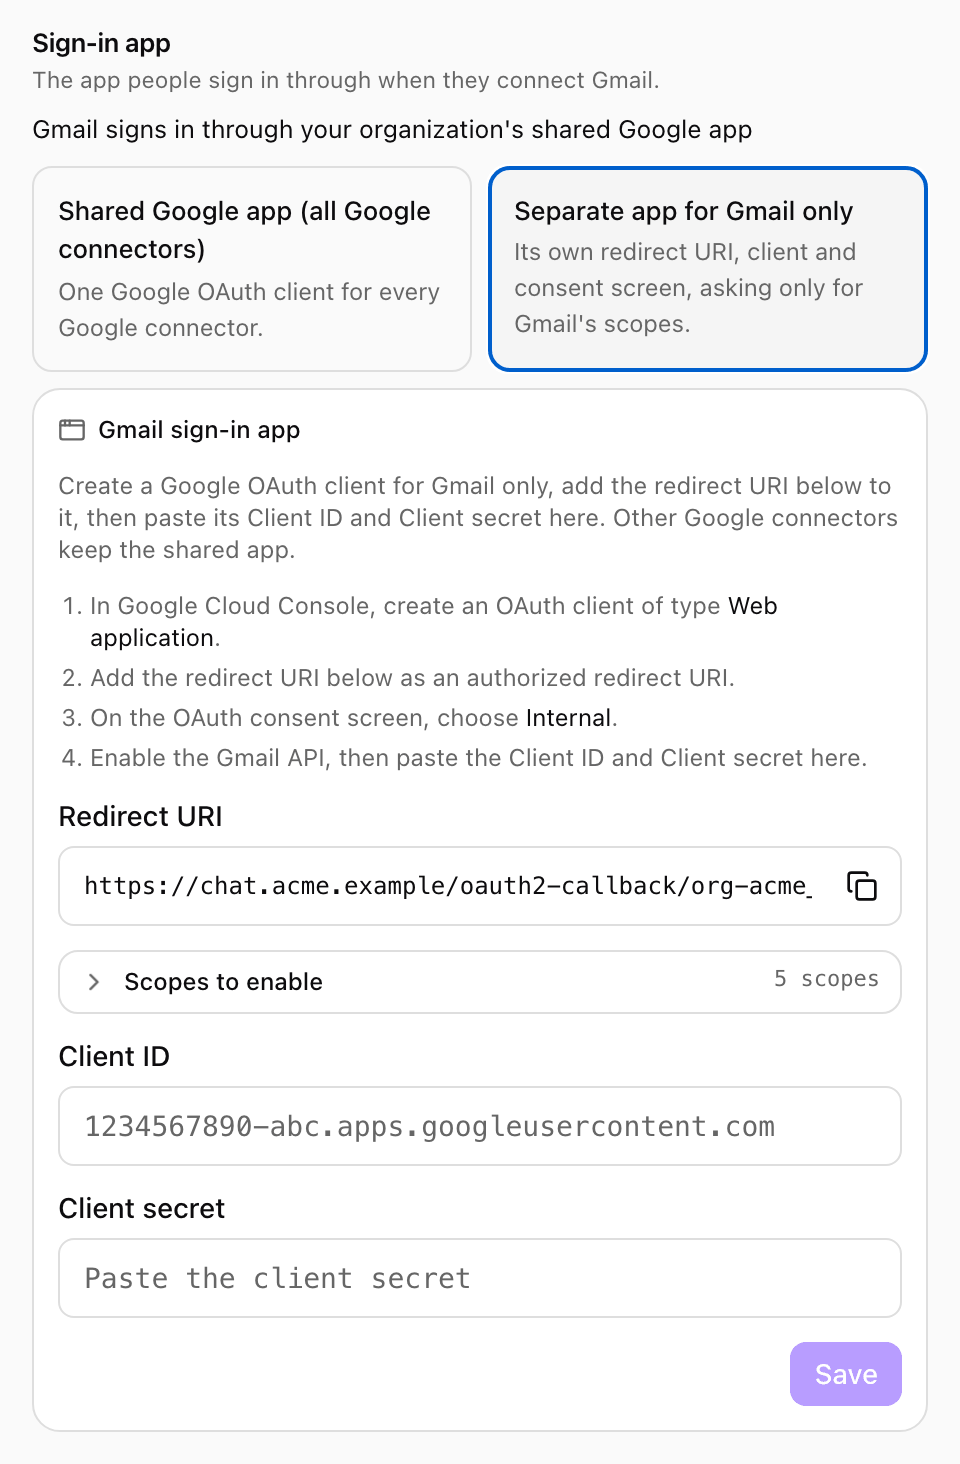
Setting up a separate app for Gmail: the steps for Google, the redirect URI to register, the scopes to enable, and the client fields. Shown with sample data.
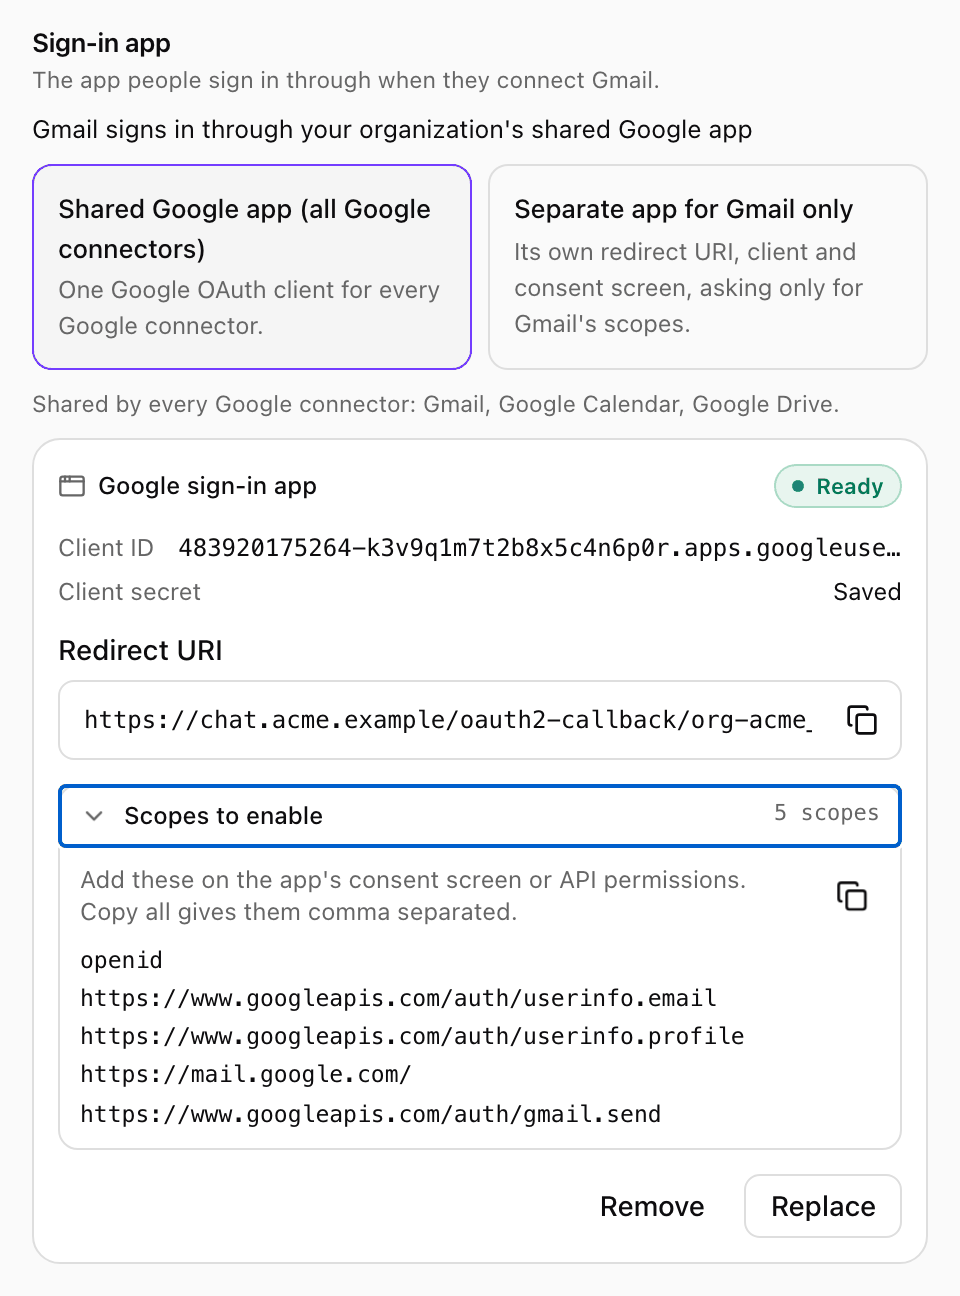
Your organization's shared Google app, ready: its client ID, the redirect URI, the scopes to enable, and Remove or Replace. Shown with sample data.
Where else it appears
- The connect dialog. An admin who connects an app with no sign-in app available can set one up right there; the dialog then reads You’ll sign in with Google through your organization’s app. Other people are asked to have an admin set it up.
- Company Brain. Platform > Agents > Knowledge > Settings > Sign-in apps shows the Google and Microsoft apps your sources sign in through, for example Google Drive sources sign in through it, and lets admins set them up there. When you add a source, admins also get a Sign-in app link there (Company Brain).
- Your own APIs. An API you add from an OpenAPI spec can use OAuth 2.0 (each person signs in) (admins only). Enter the Authorization server URL and select Find endpoints to fill the Authorize URL and Token URL from its OAuth metadata, or type them. Add the Scopes (separated by spaces), register the Redirect URI shown in your OAuth app, then paste its Client ID and Client secret. The secret is stored encrypted and never shown again. Its card in the Skills registry then shows its Sign-in app.
Google Cloud Console
1
Pick a project and enable the APIs
In Google Cloud Console, open the project for the app. Under APIs & Services > Library, enable the API of each skill the app serves, for example the Gmail API, Google Calendar API and Google Drive API.
2
Set up the consent screen
Under Google Auth Platform (the OAuth consent screen), set the audience to Internal, so only people in your Google Workspace can sign in, and fill in the app name and support email.
3
Add the scopes
Under Data access, choose Add or remove scopes and paste the scopes from Copy all scopes into Manually add scopes. Save.
4
Create the client
Under Clients, create an OAuth client of type Web application. Under Authorized redirect URIs, add the Redirect URI from the skill’s card. Create it, then copy the client ID and client secret into the card and select Save.
Microsoft
Register the app in the Microsoft Entra admin center as a multitenant app (accounts in any organizational directory), add the Redirect URI from the card as a Web redirect URI, add the scopes from Scopes to enable under API permissions, and create a client secret under Certificates & secrets. SharePoint and OneDrive also need your tenant admin’s consent (Company Brain).Self-hosted installs
Sign-in apps work the same on xpander cloud, Hybrid and Air-Gapped. An Air-Gapped install has no xpander apps, so every skill that signs people in needs your organization’s own app before anyone can sign in; until then the card reads Set up your organization’s app so people can sign in.Next steps
Whose account a skill uses
Each user signs in, or one shared account.
My tools
Where each person signs in, or uses a token.