Deploy on Channels
In the Agent Studio, click the gear icon and go to the Channels tab to see all available channels.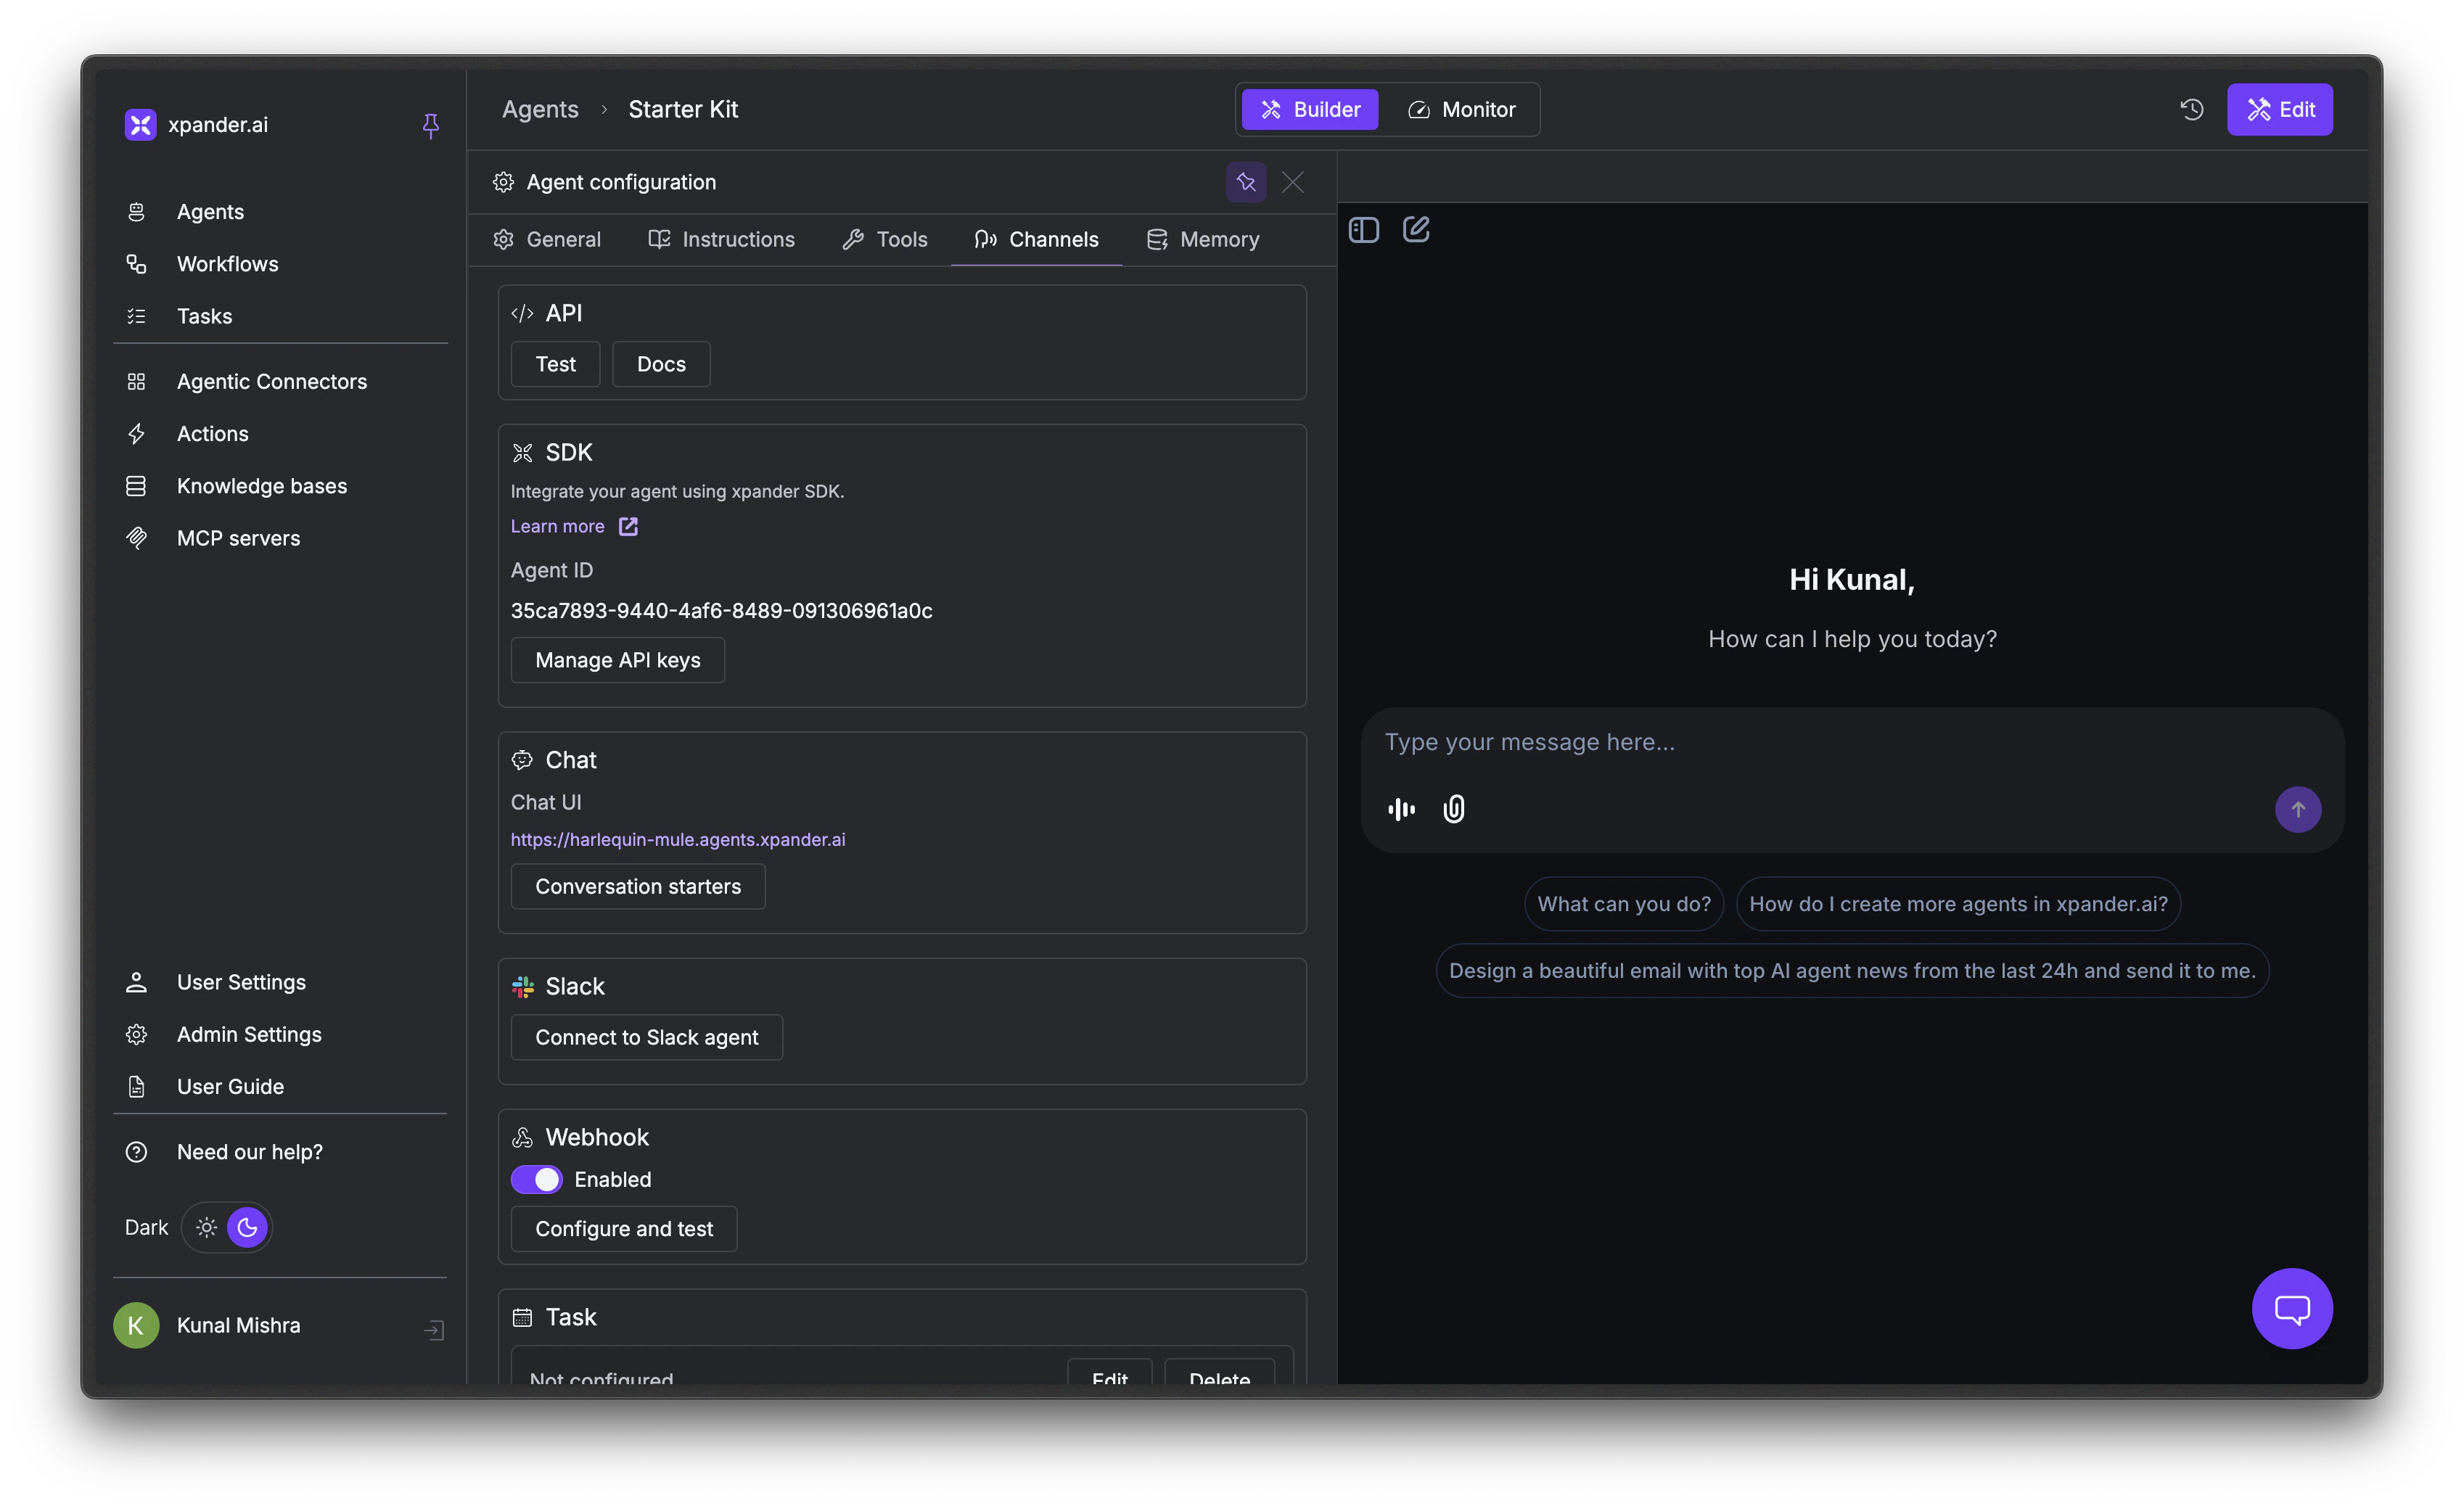
Chat
Open the Chat section in the Channels tab
https://peach-centipede.agents.xpander.ai). Share this link directly with users who have access.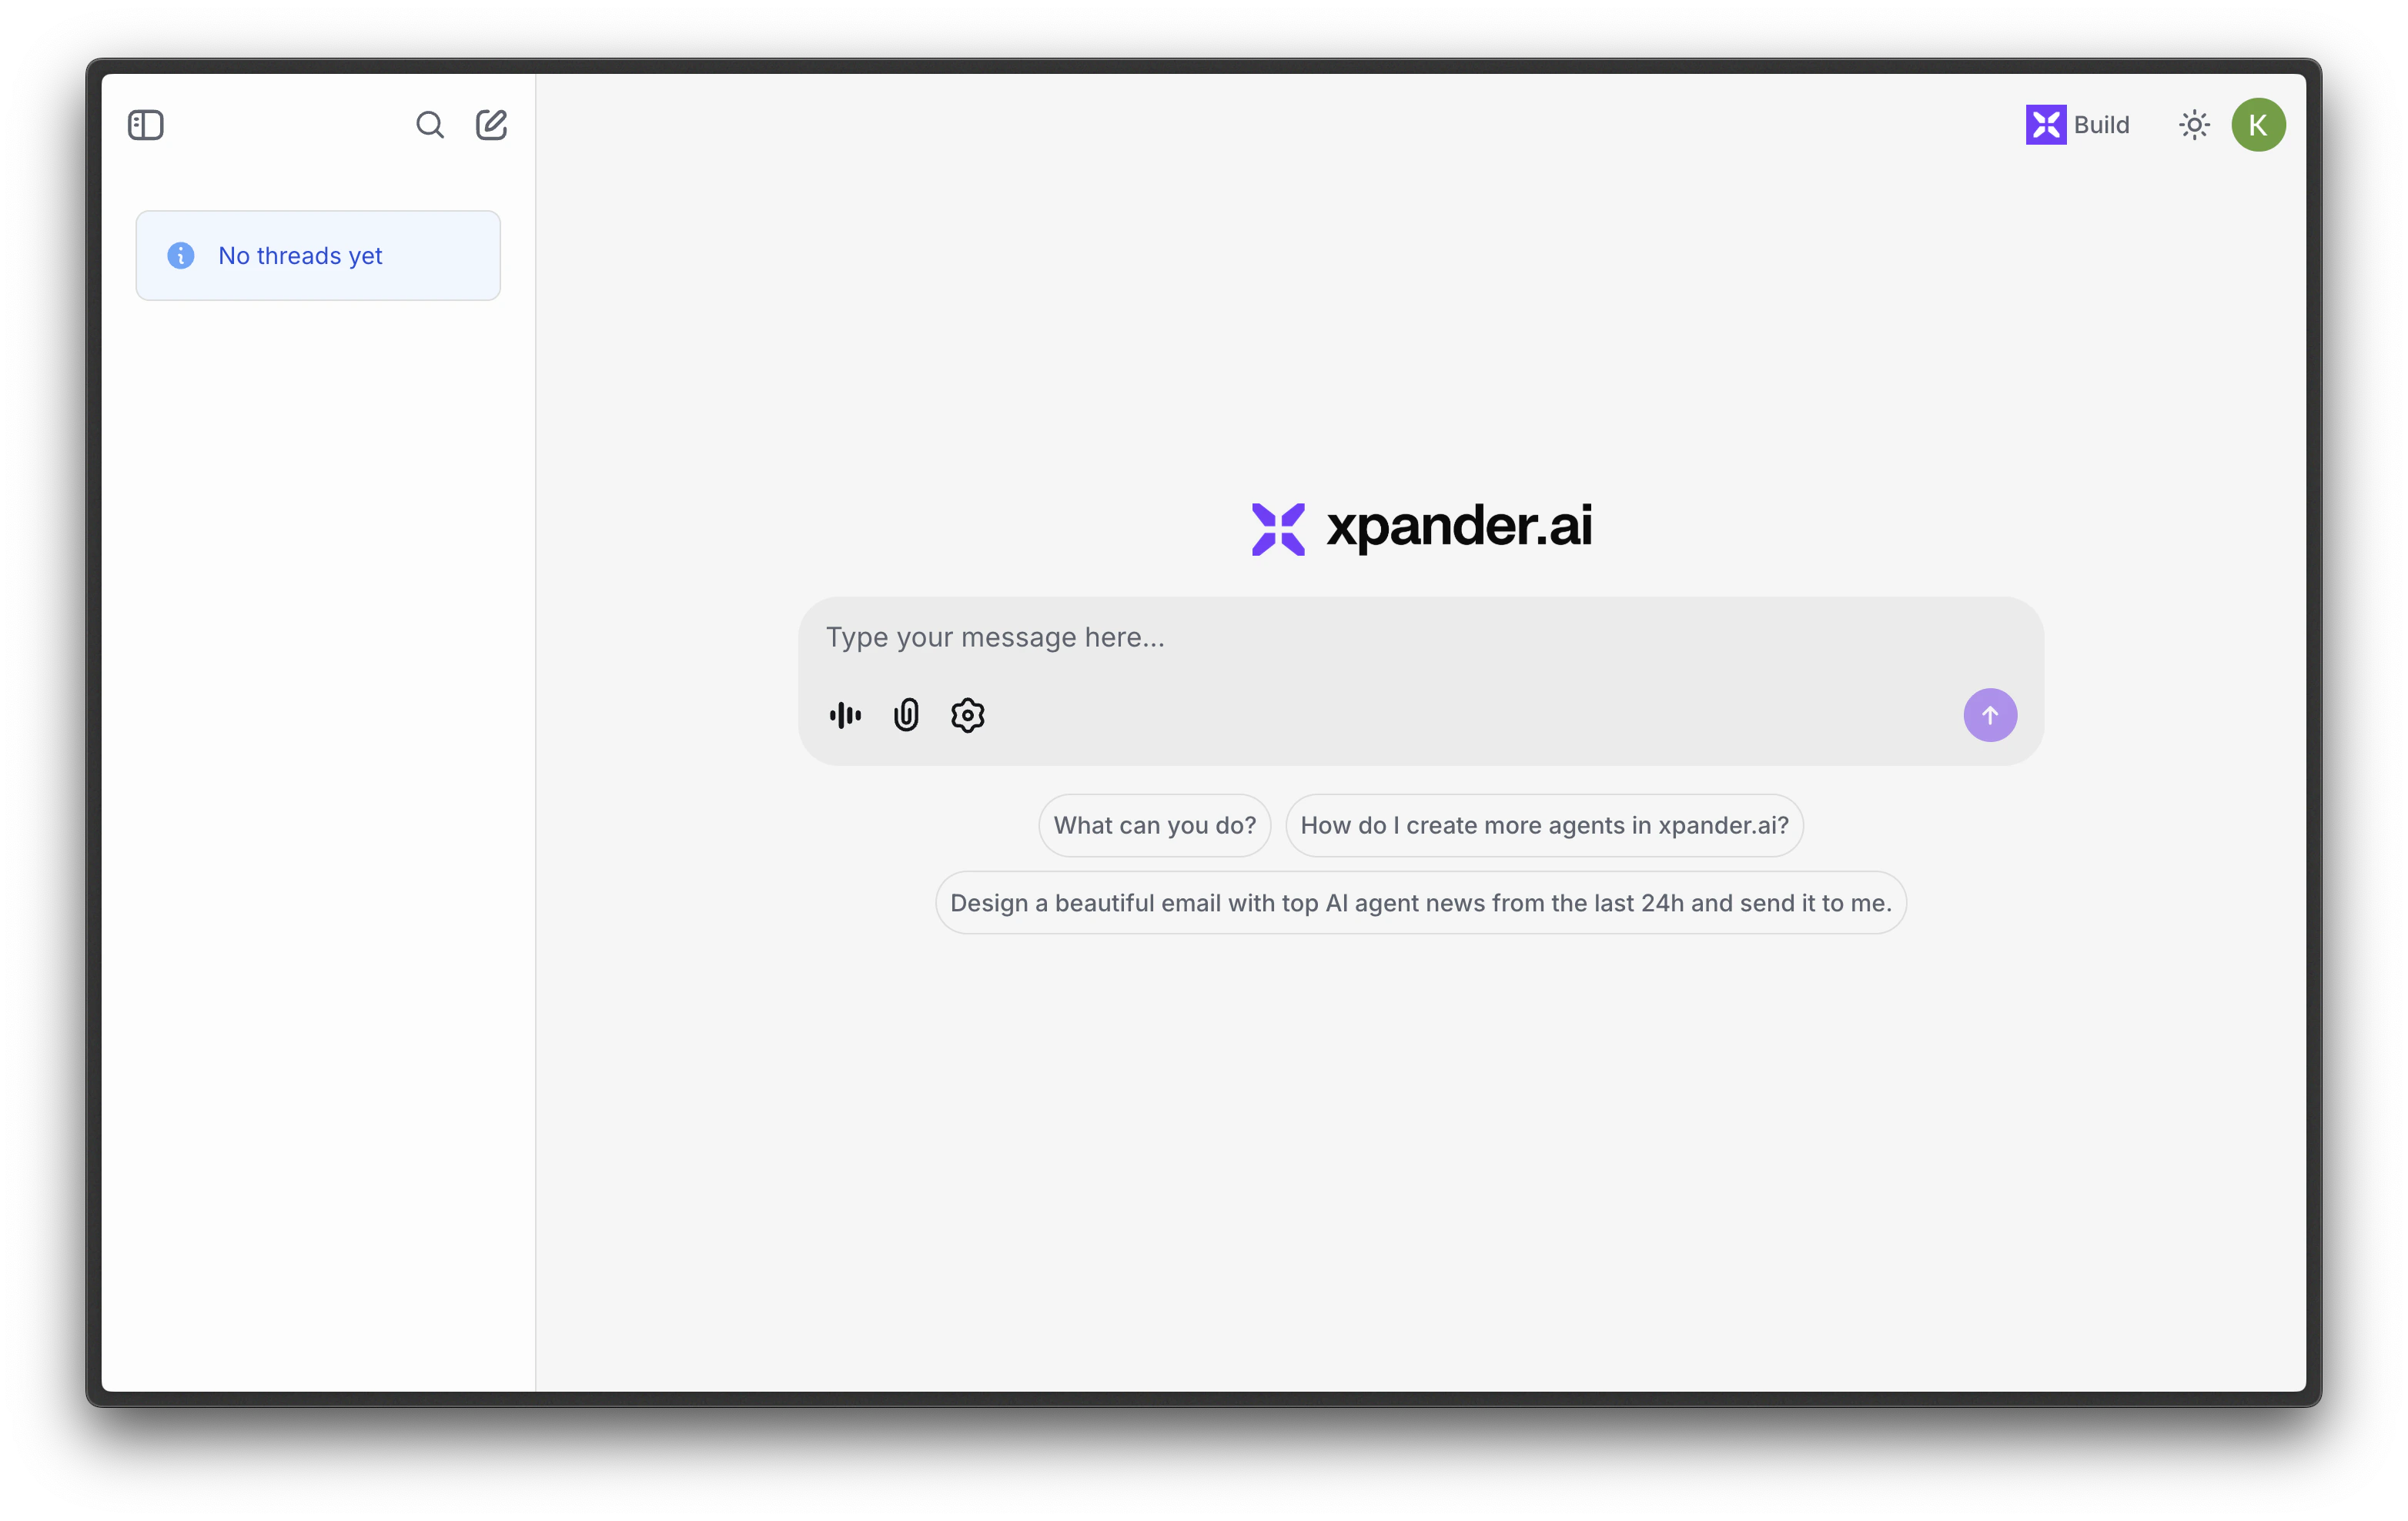
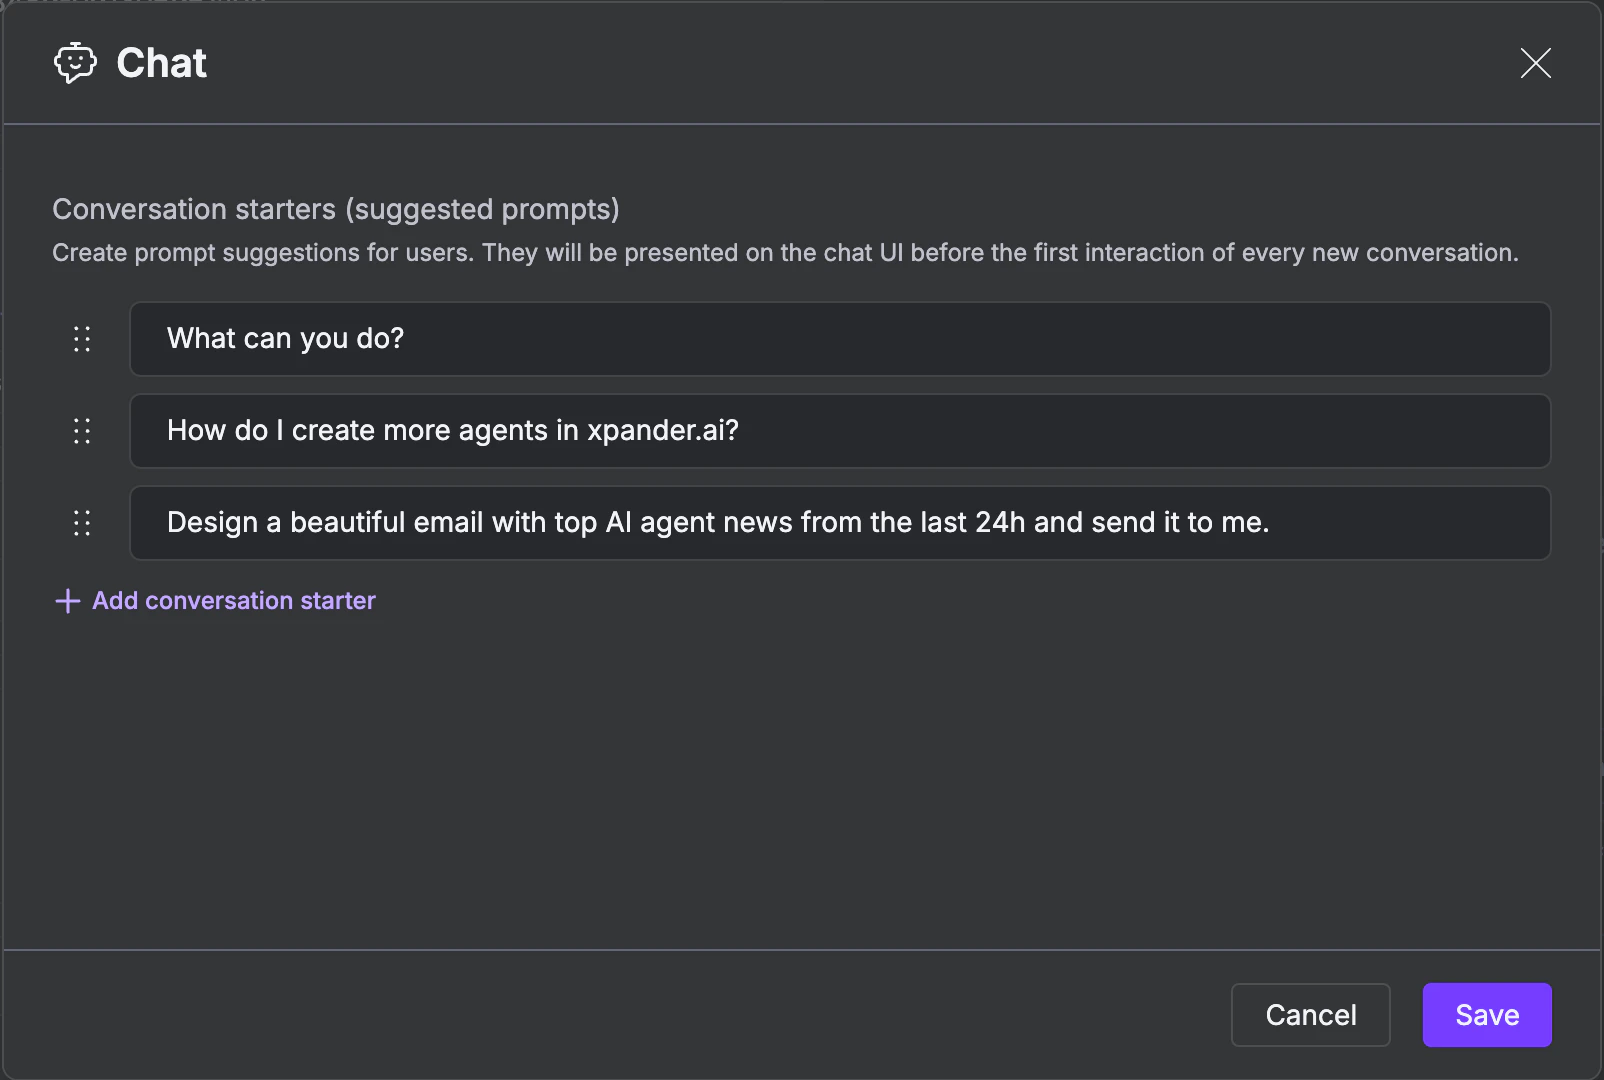
Configure conversation starters
Slack
Click Connect to Slack agent
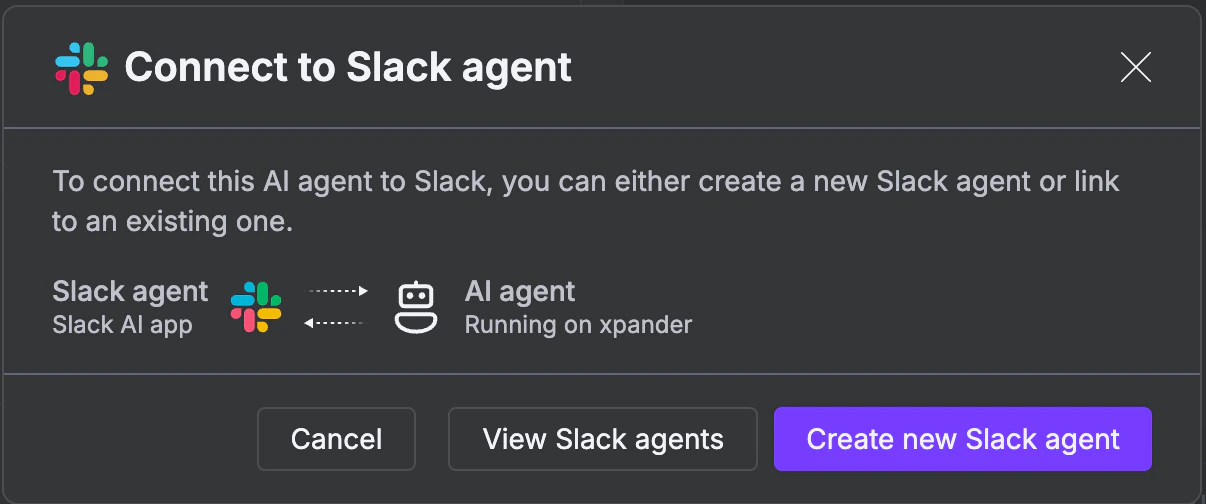
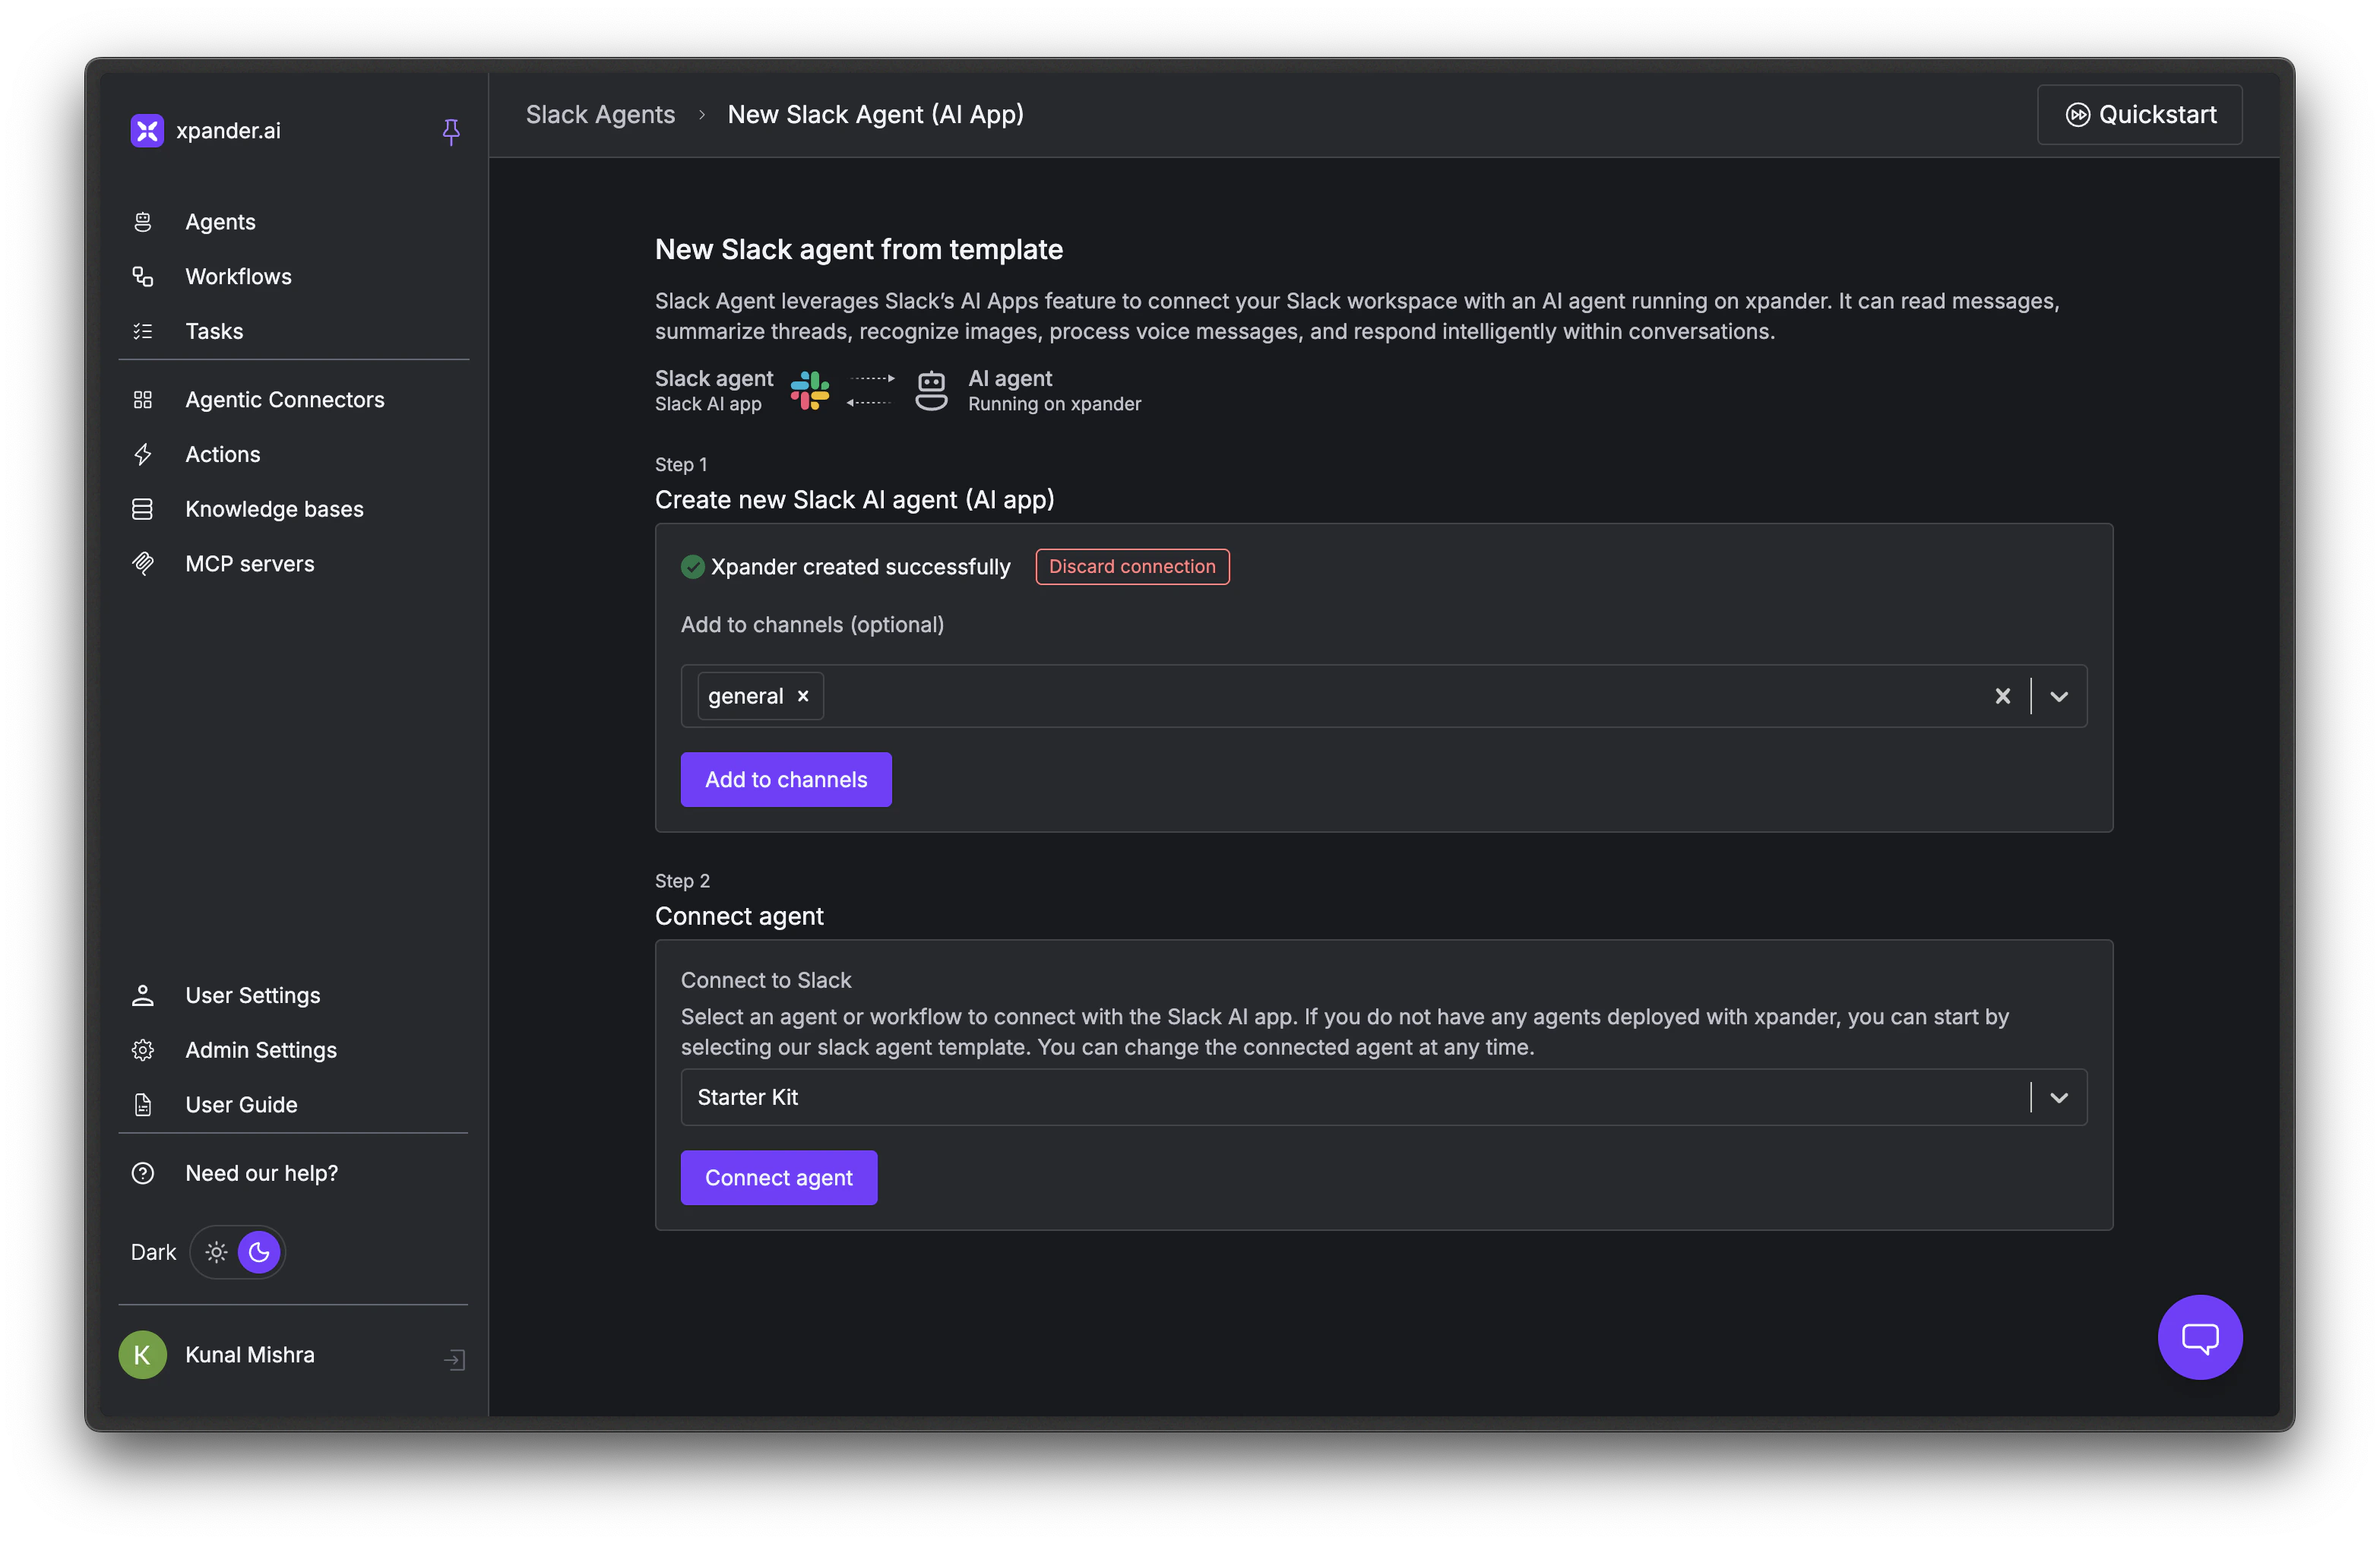
Set up a new Slack agent
- A name for your Slack bot
- Access tokens and Refresh tokens (See next step)
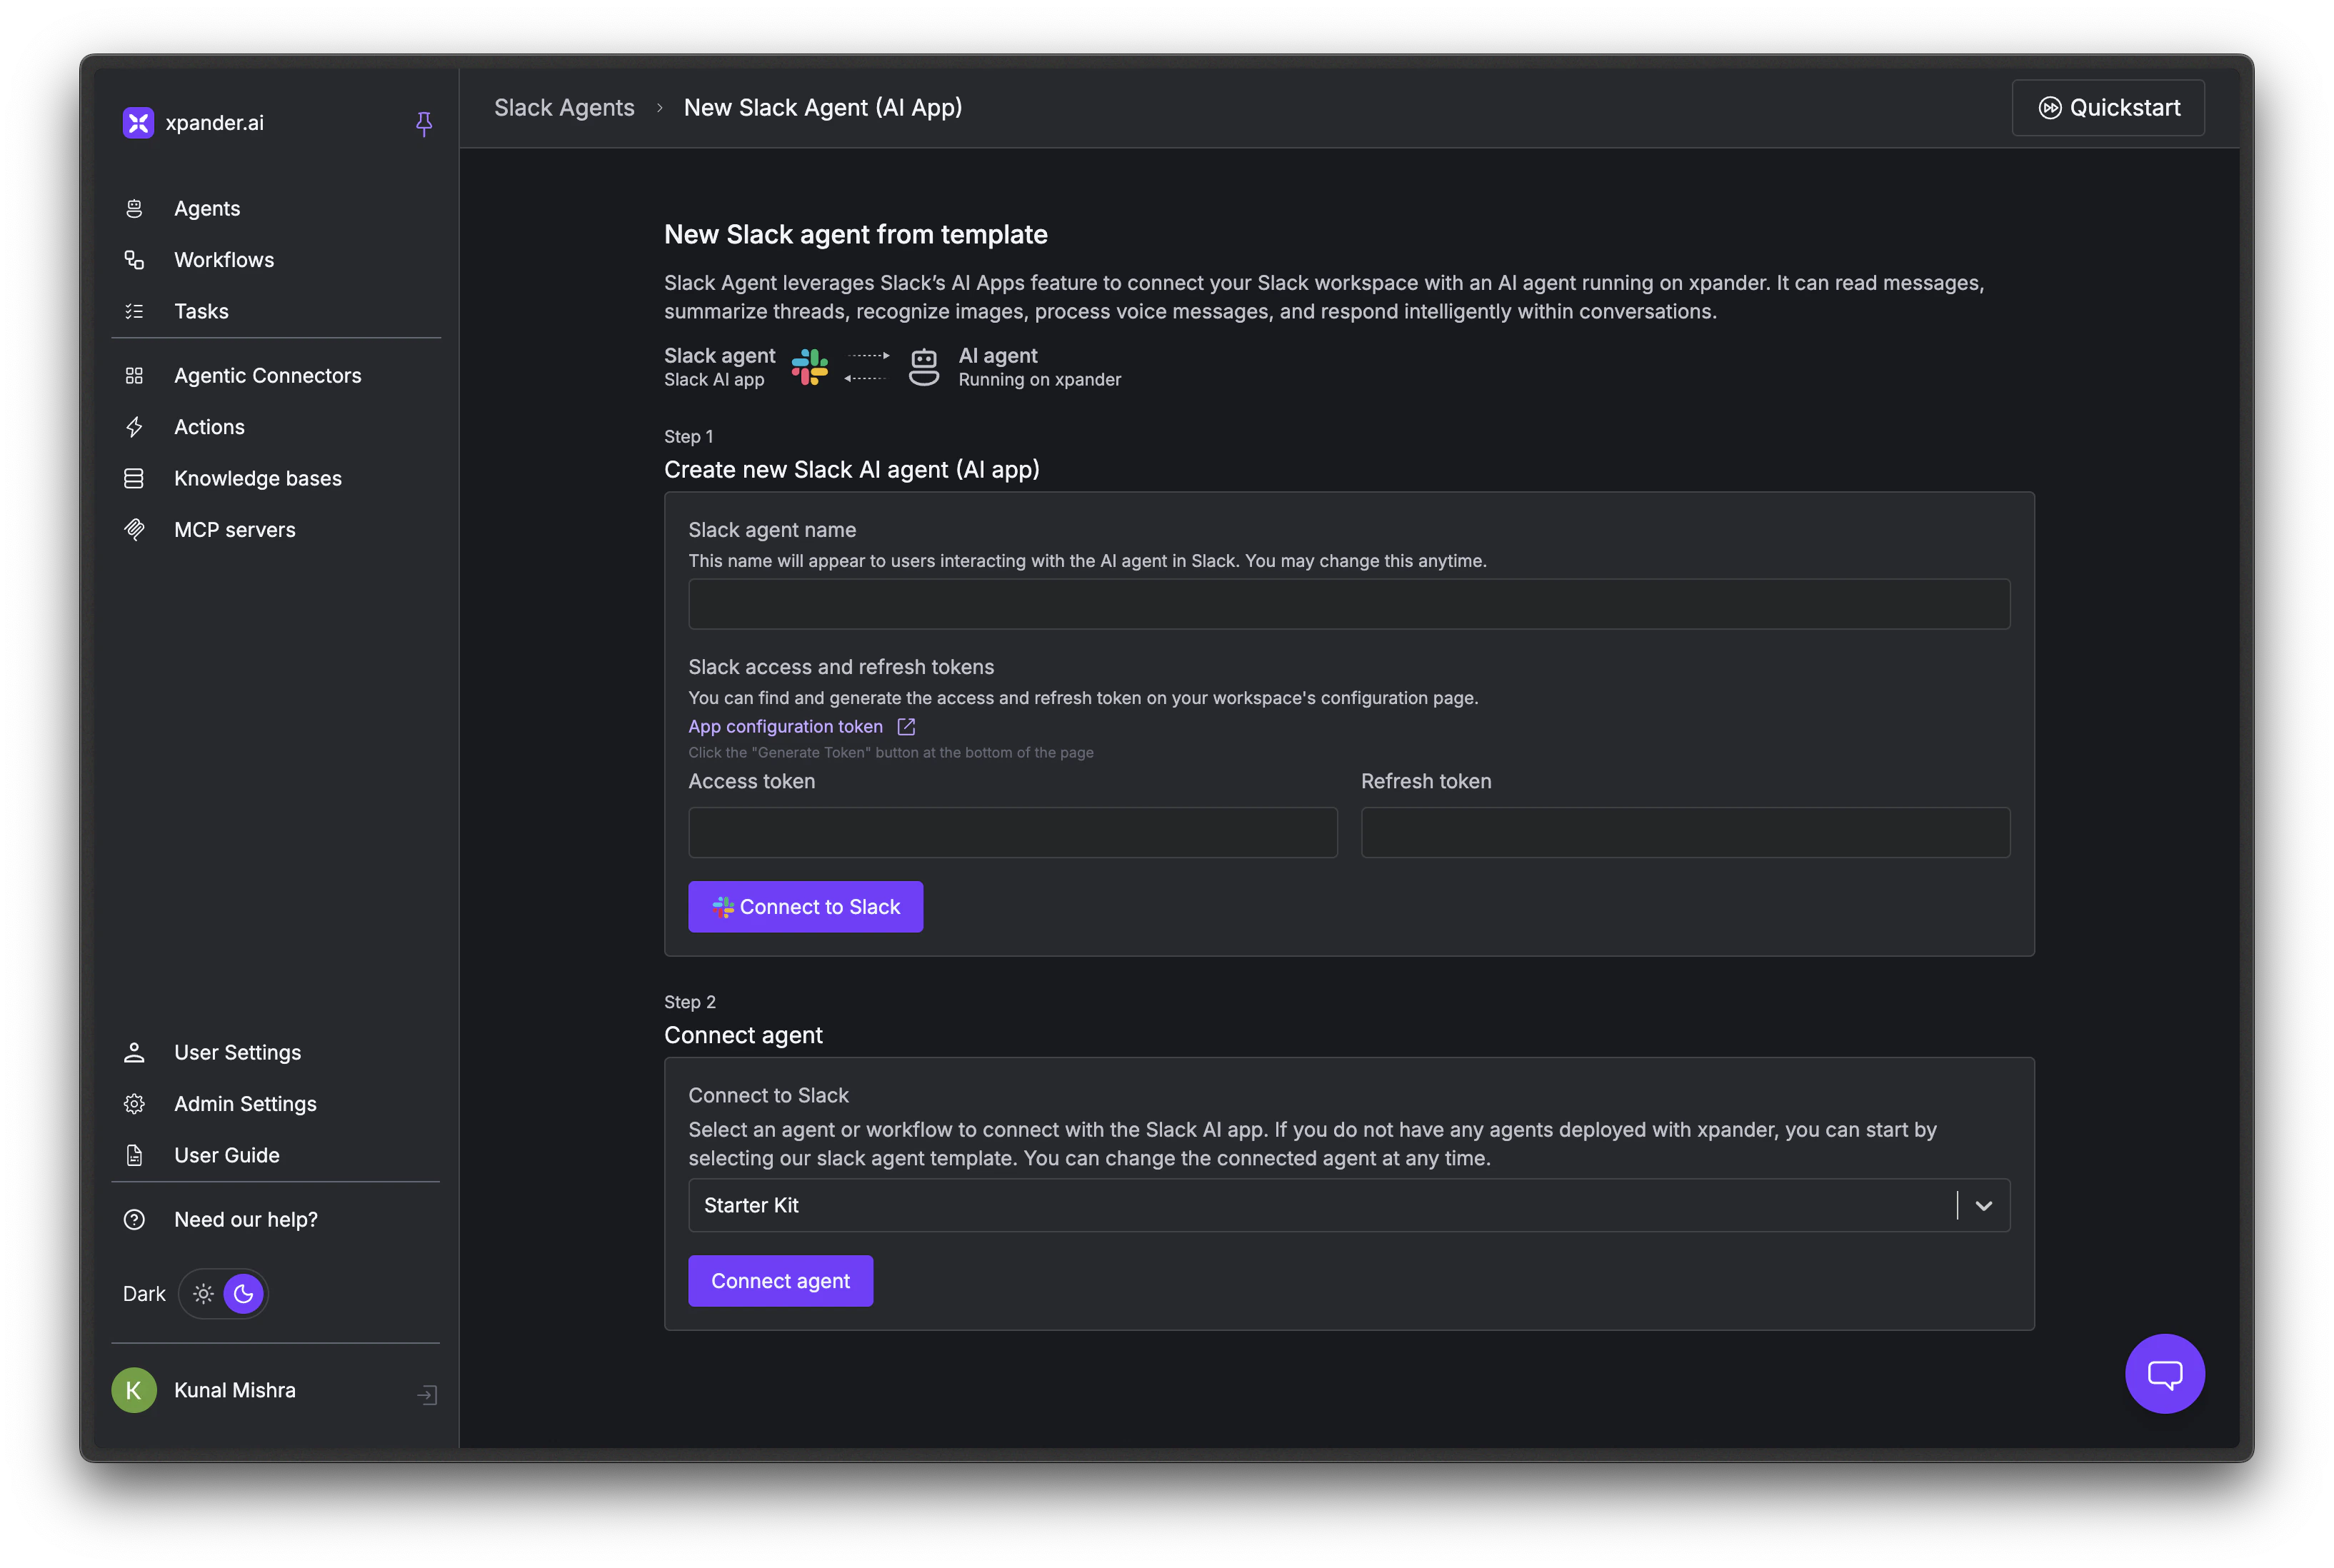
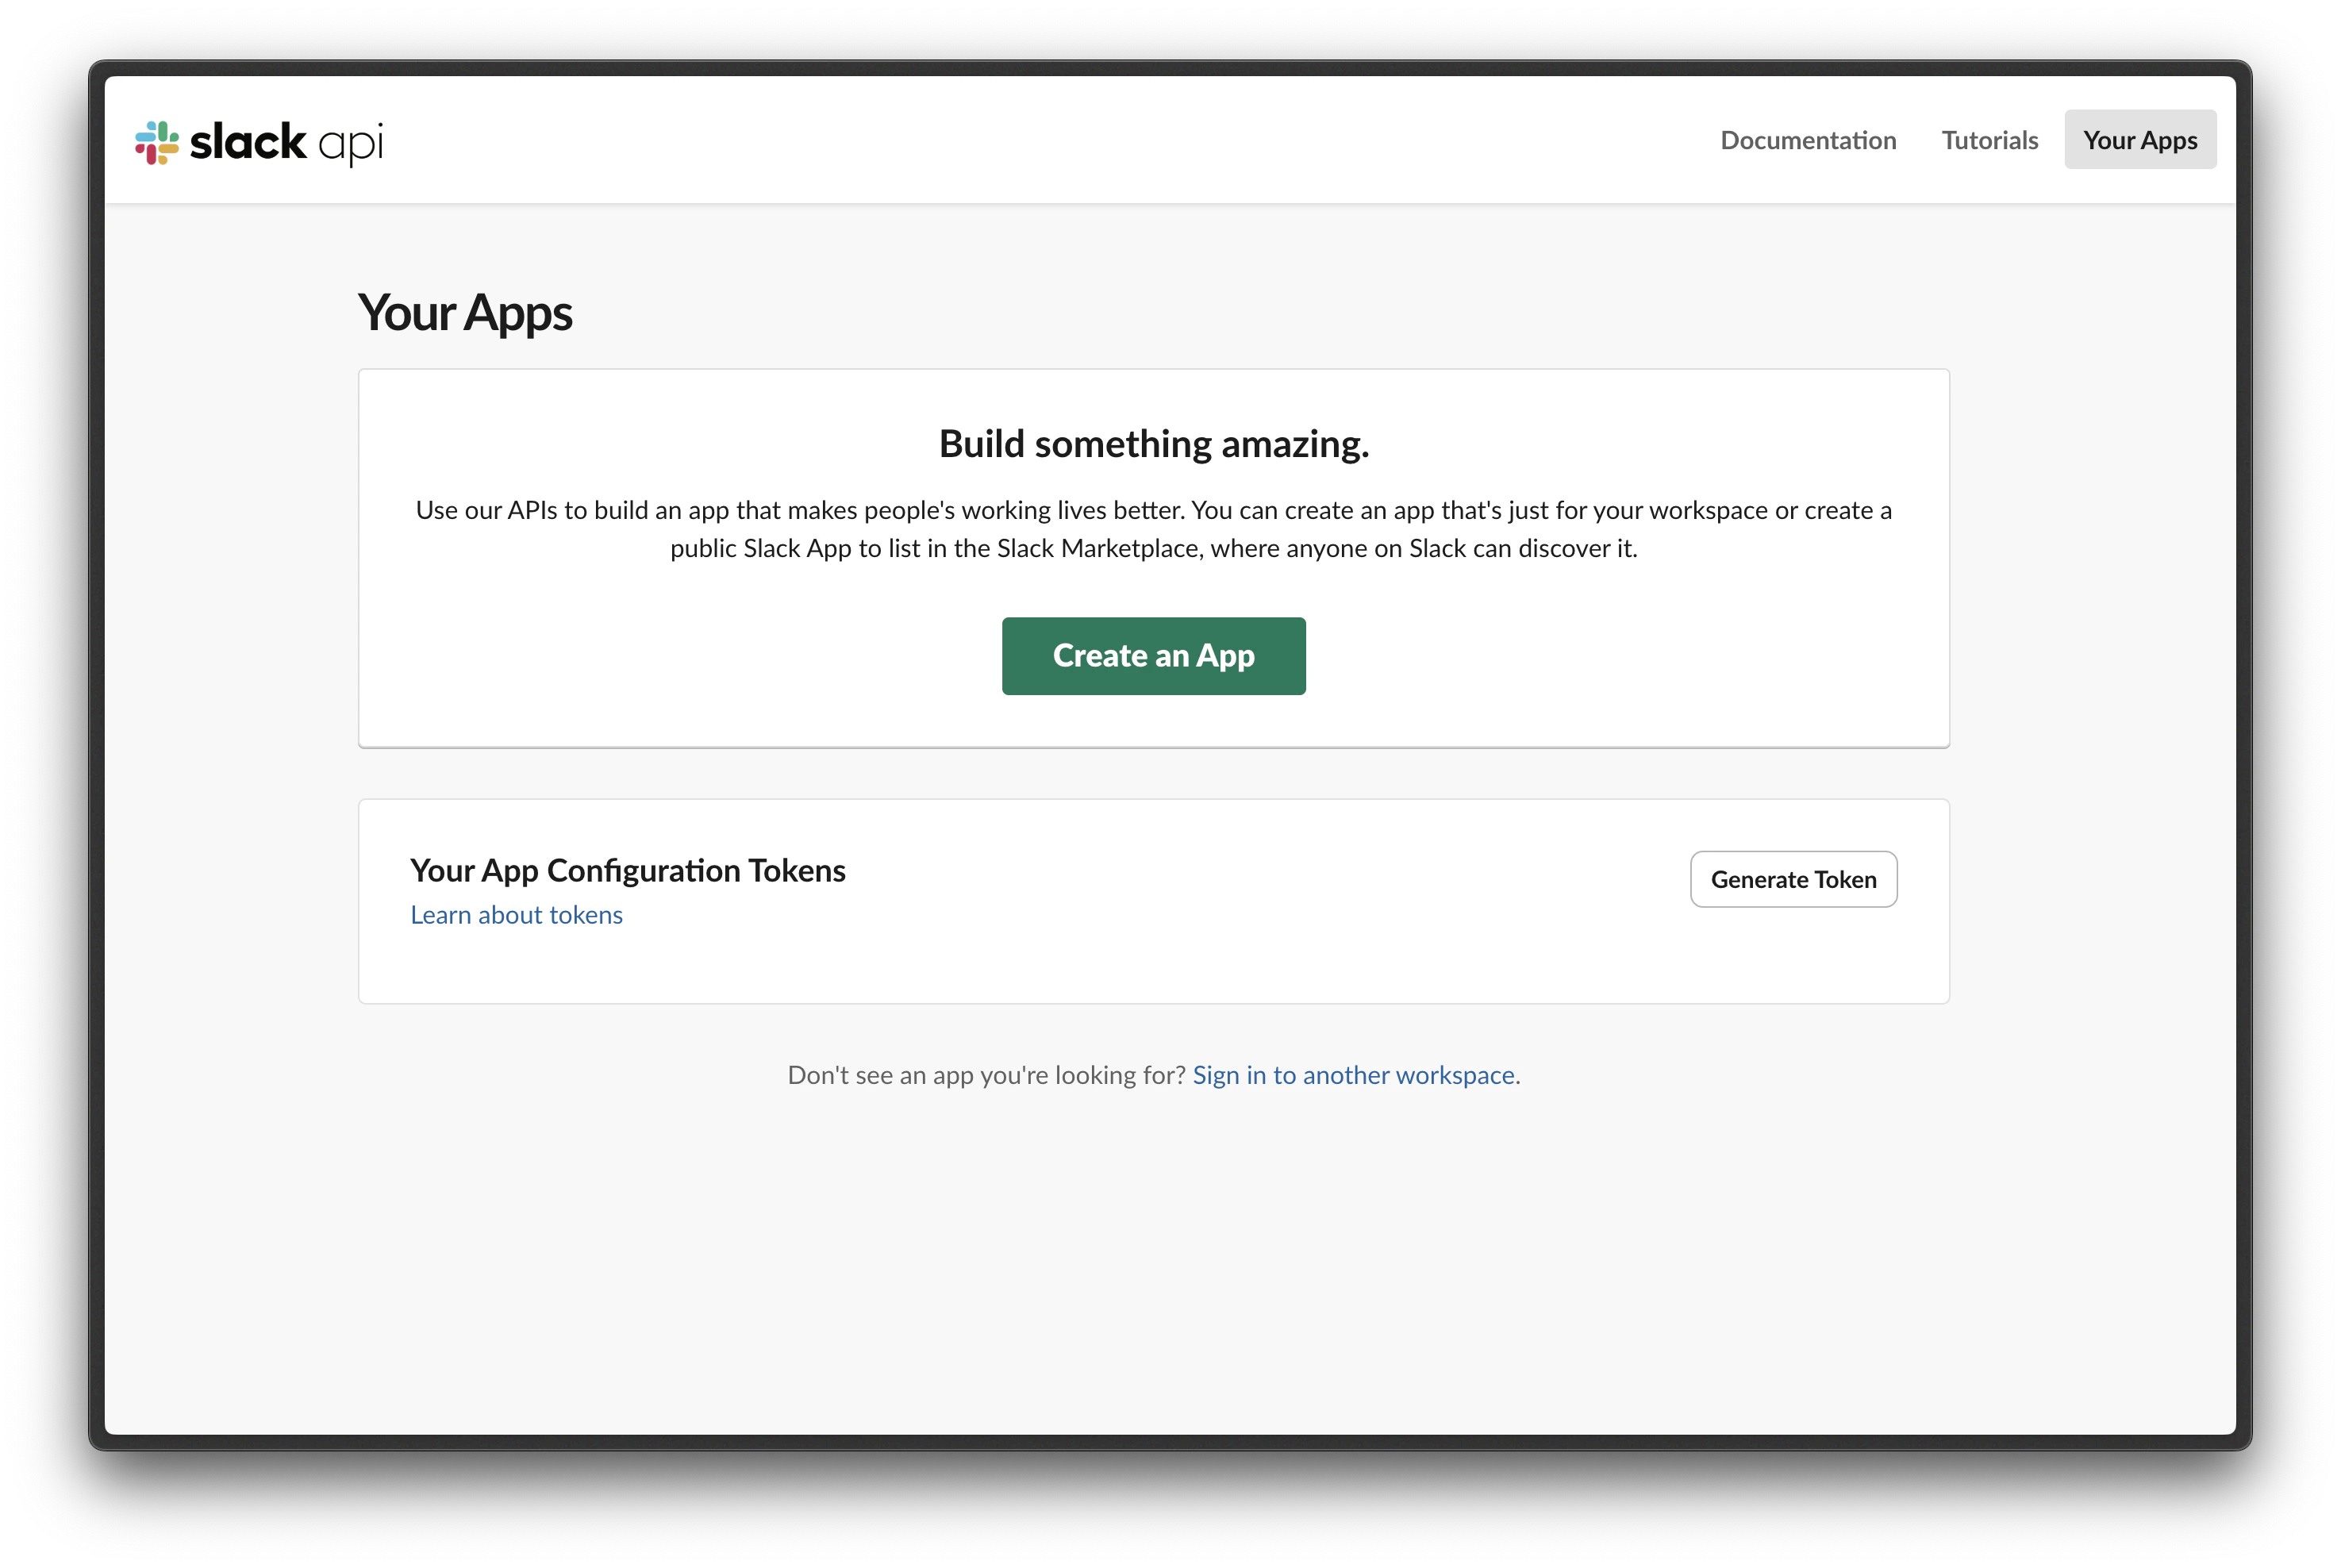
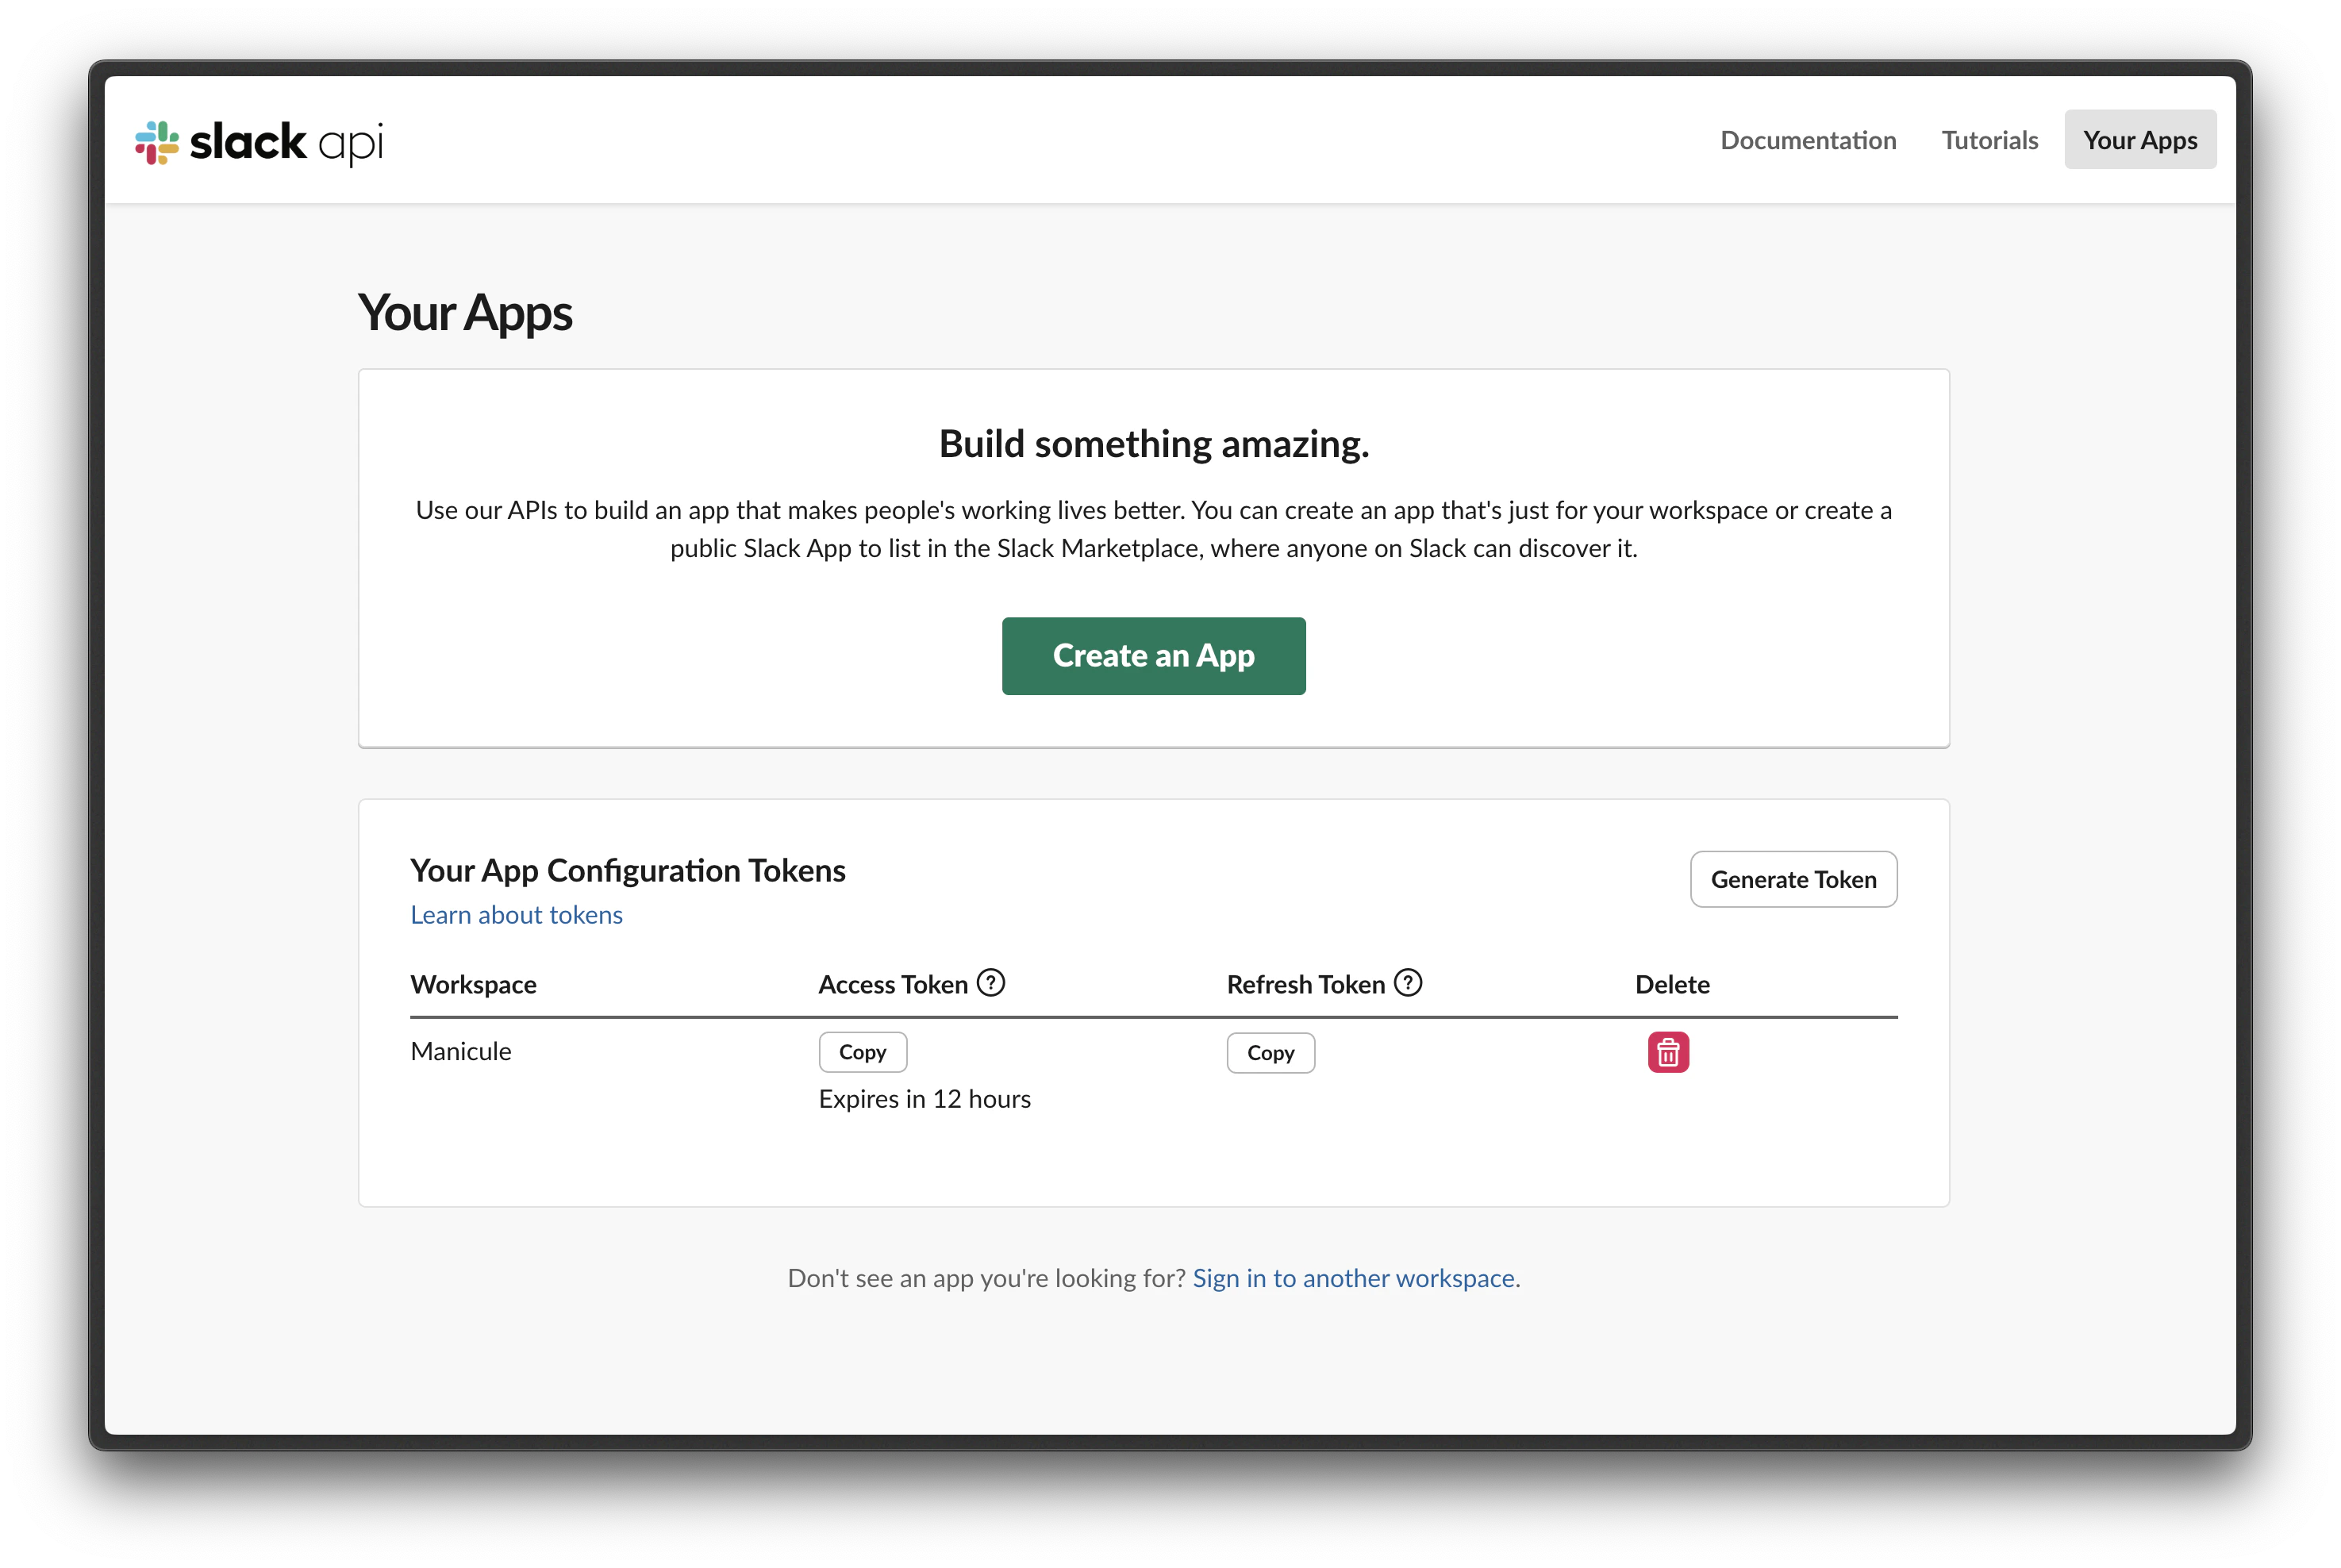
Get your Slack tokens
Select your workspace and generate
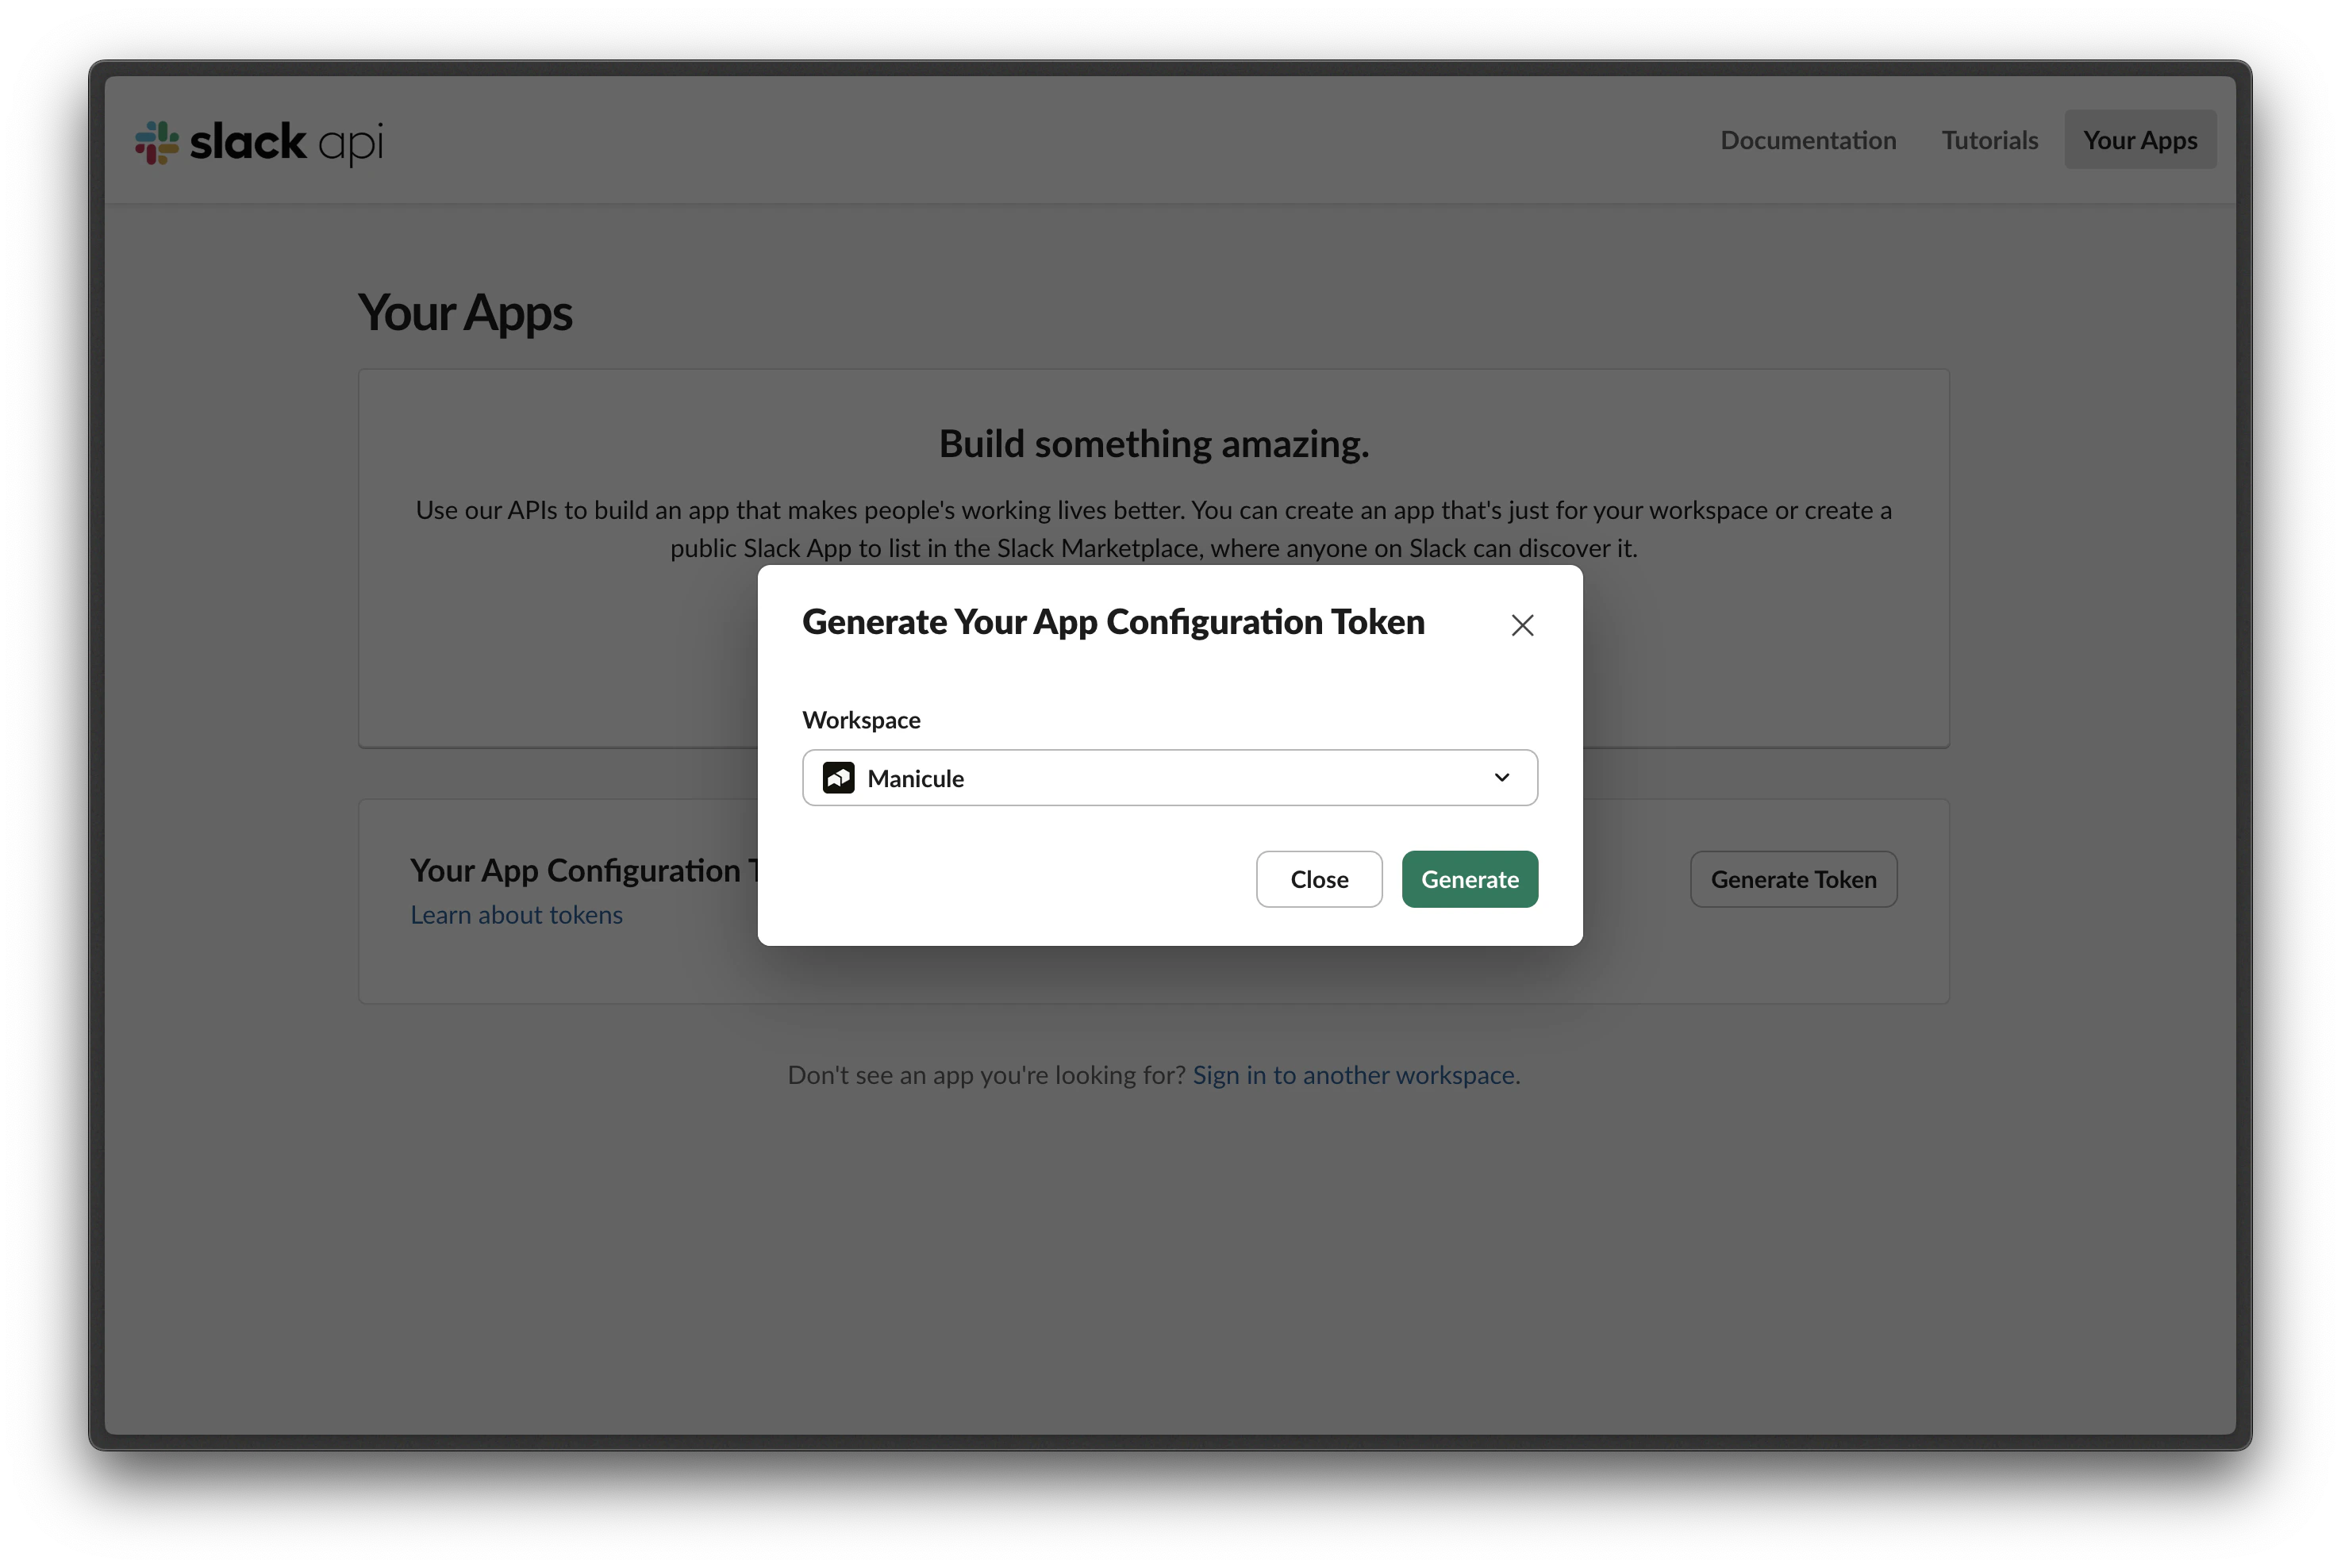
Copy the Access Token and Refresh Token
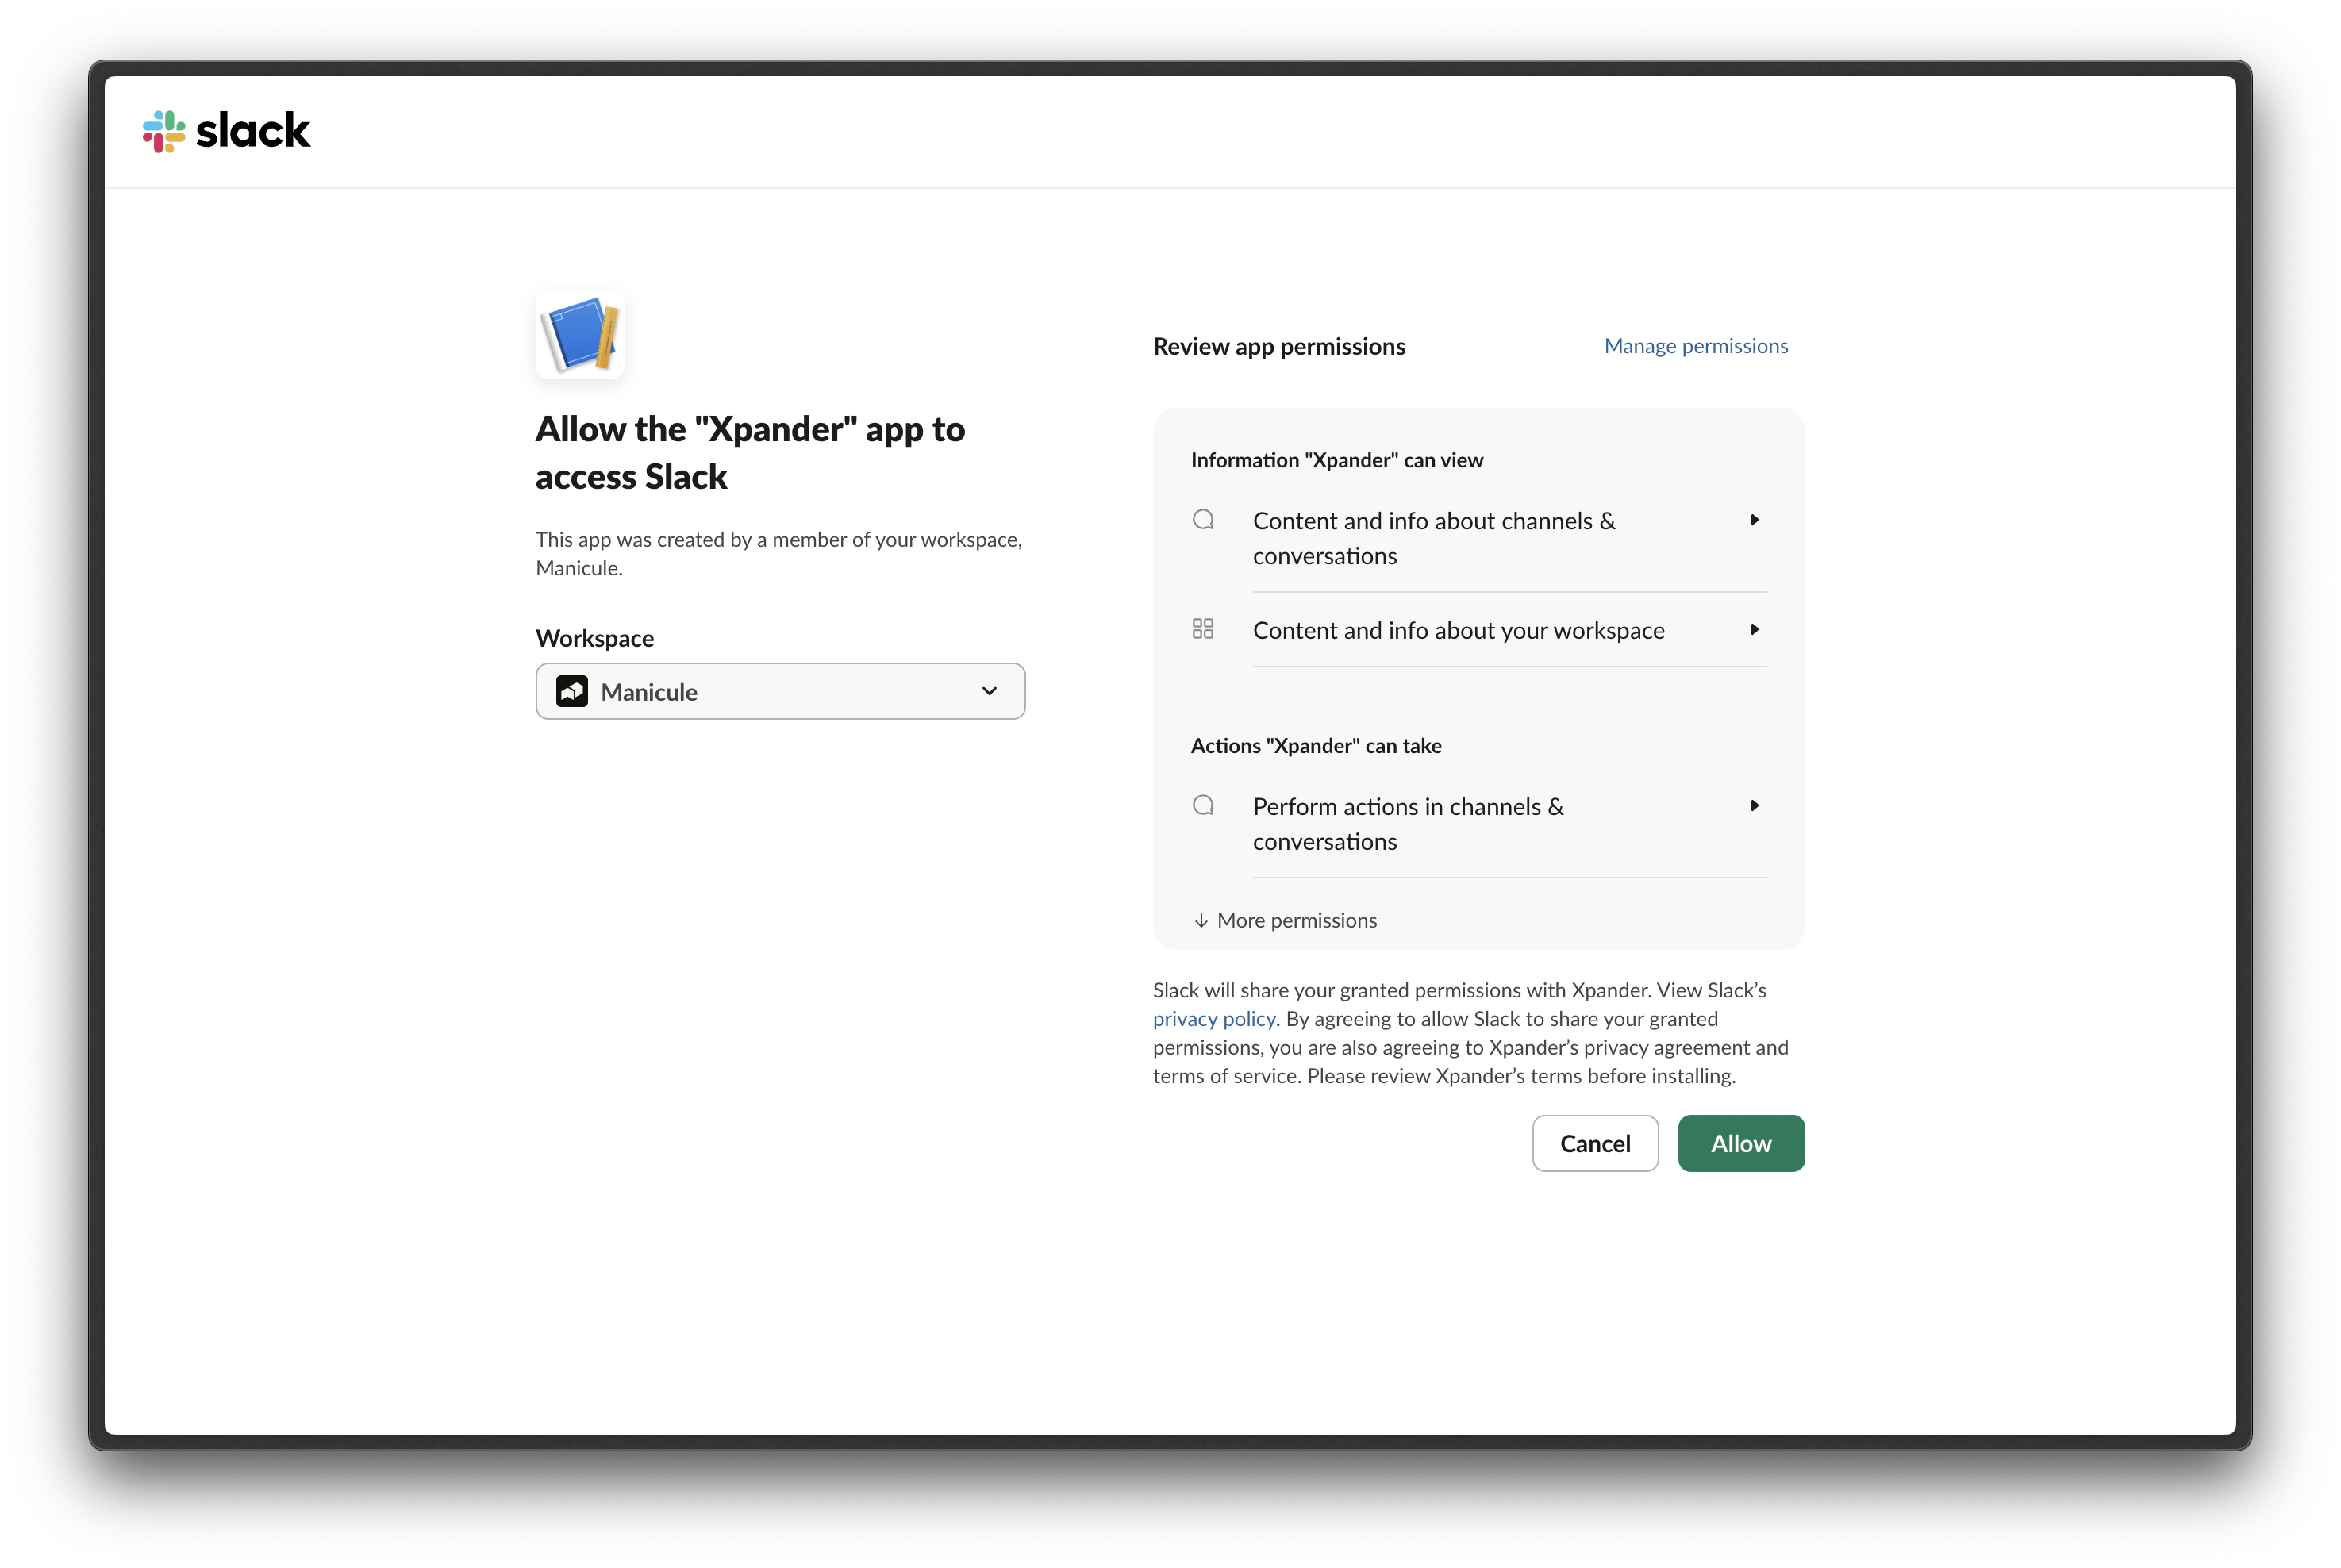
Fill in the setup page and connect to Slack
Add channels and connect your agent
Publish
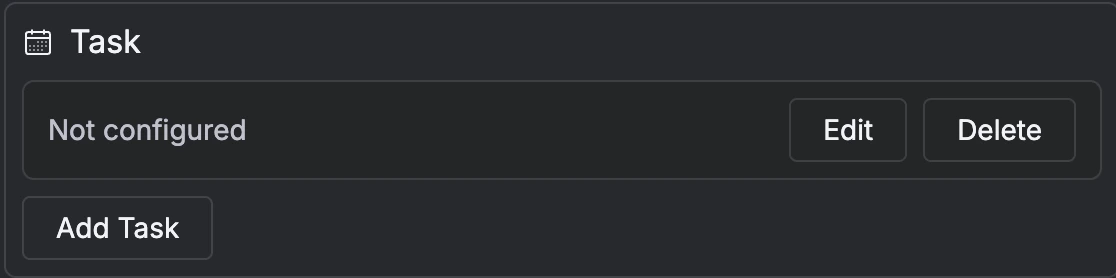
Task (Scheduled)
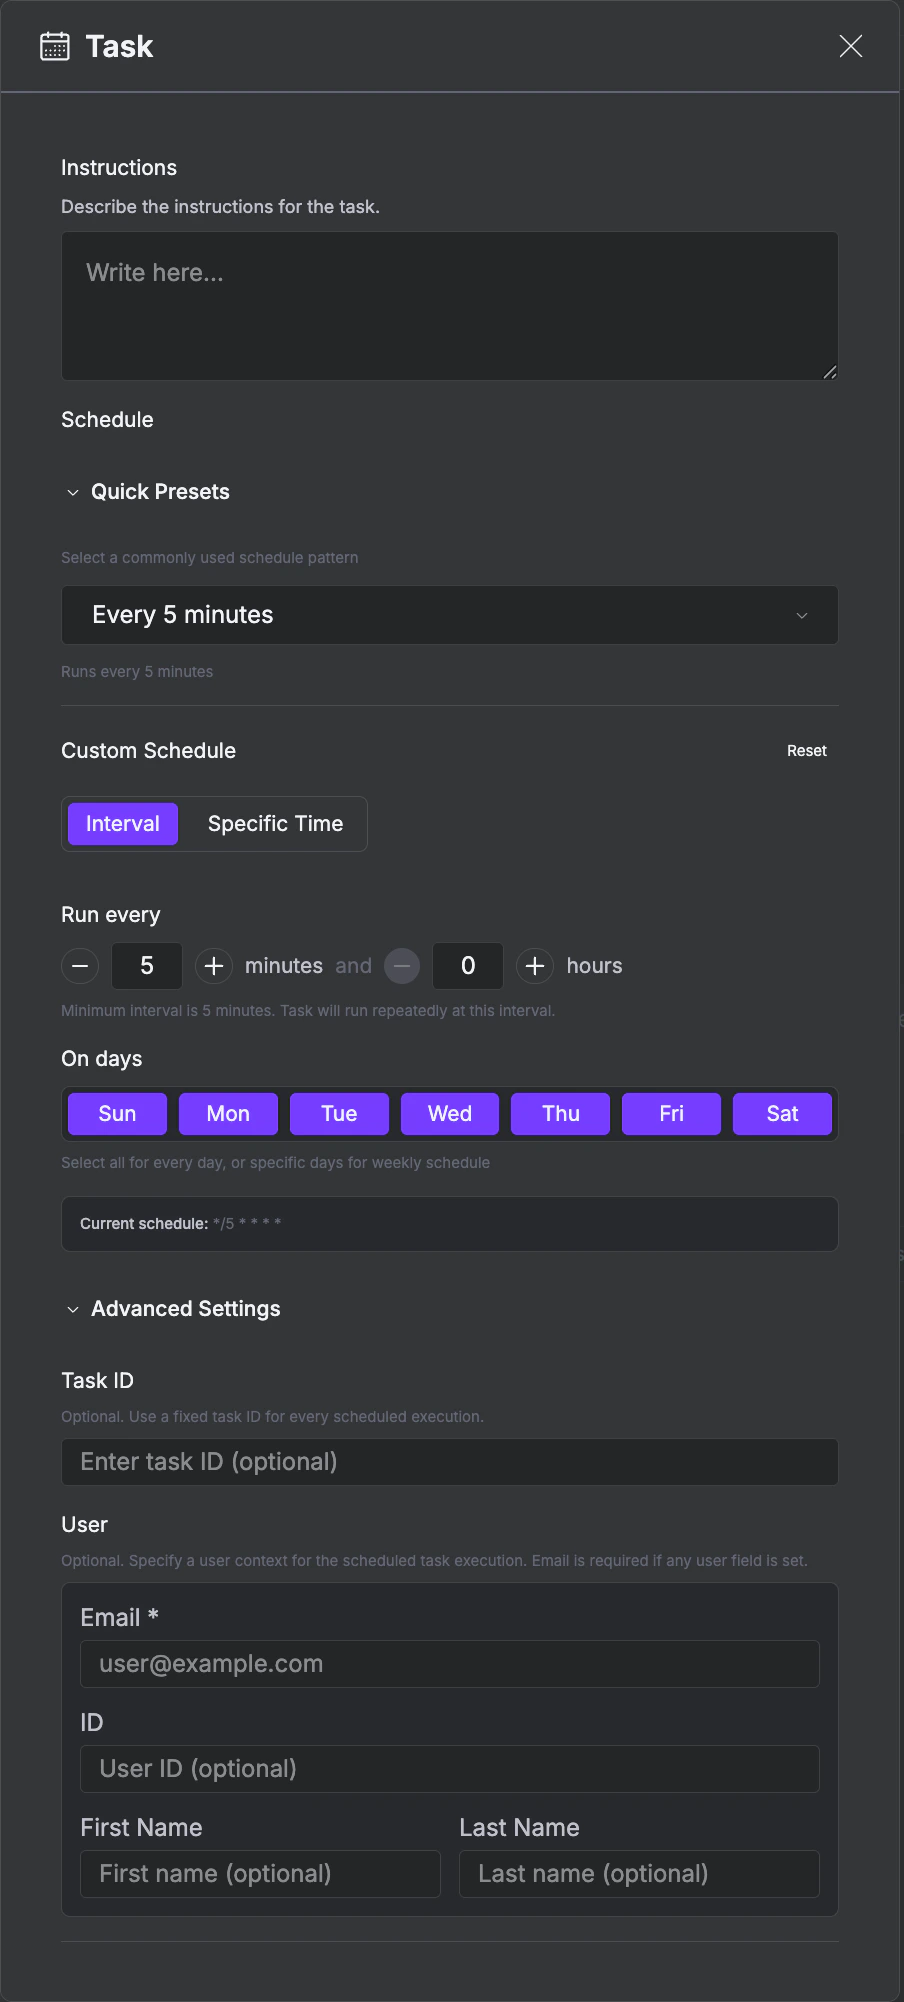
Run your agent on a recurring schedule. Use this for daily reports, periodic data syncs, monitoring checks, or other automated work. See Scheduled Tasks for cron expressions, custom schedules, run-as-user context, and monitoring scheduled runs.Click Add Task
Configure the task
- Instructions: Describe what the agent should do on each scheduled run
- Schedule: Choose a Quick Preset (e.g., every 5 minutes) or set a Custom Schedule with interval, specific time, and active days
- User context (under Advanced Settings): Provide an email, user ID, and name so the agent runs with a specific user identity. Without it, the agent runs as an anonymous user with no memory context.
MCP (Model Context Protocol)
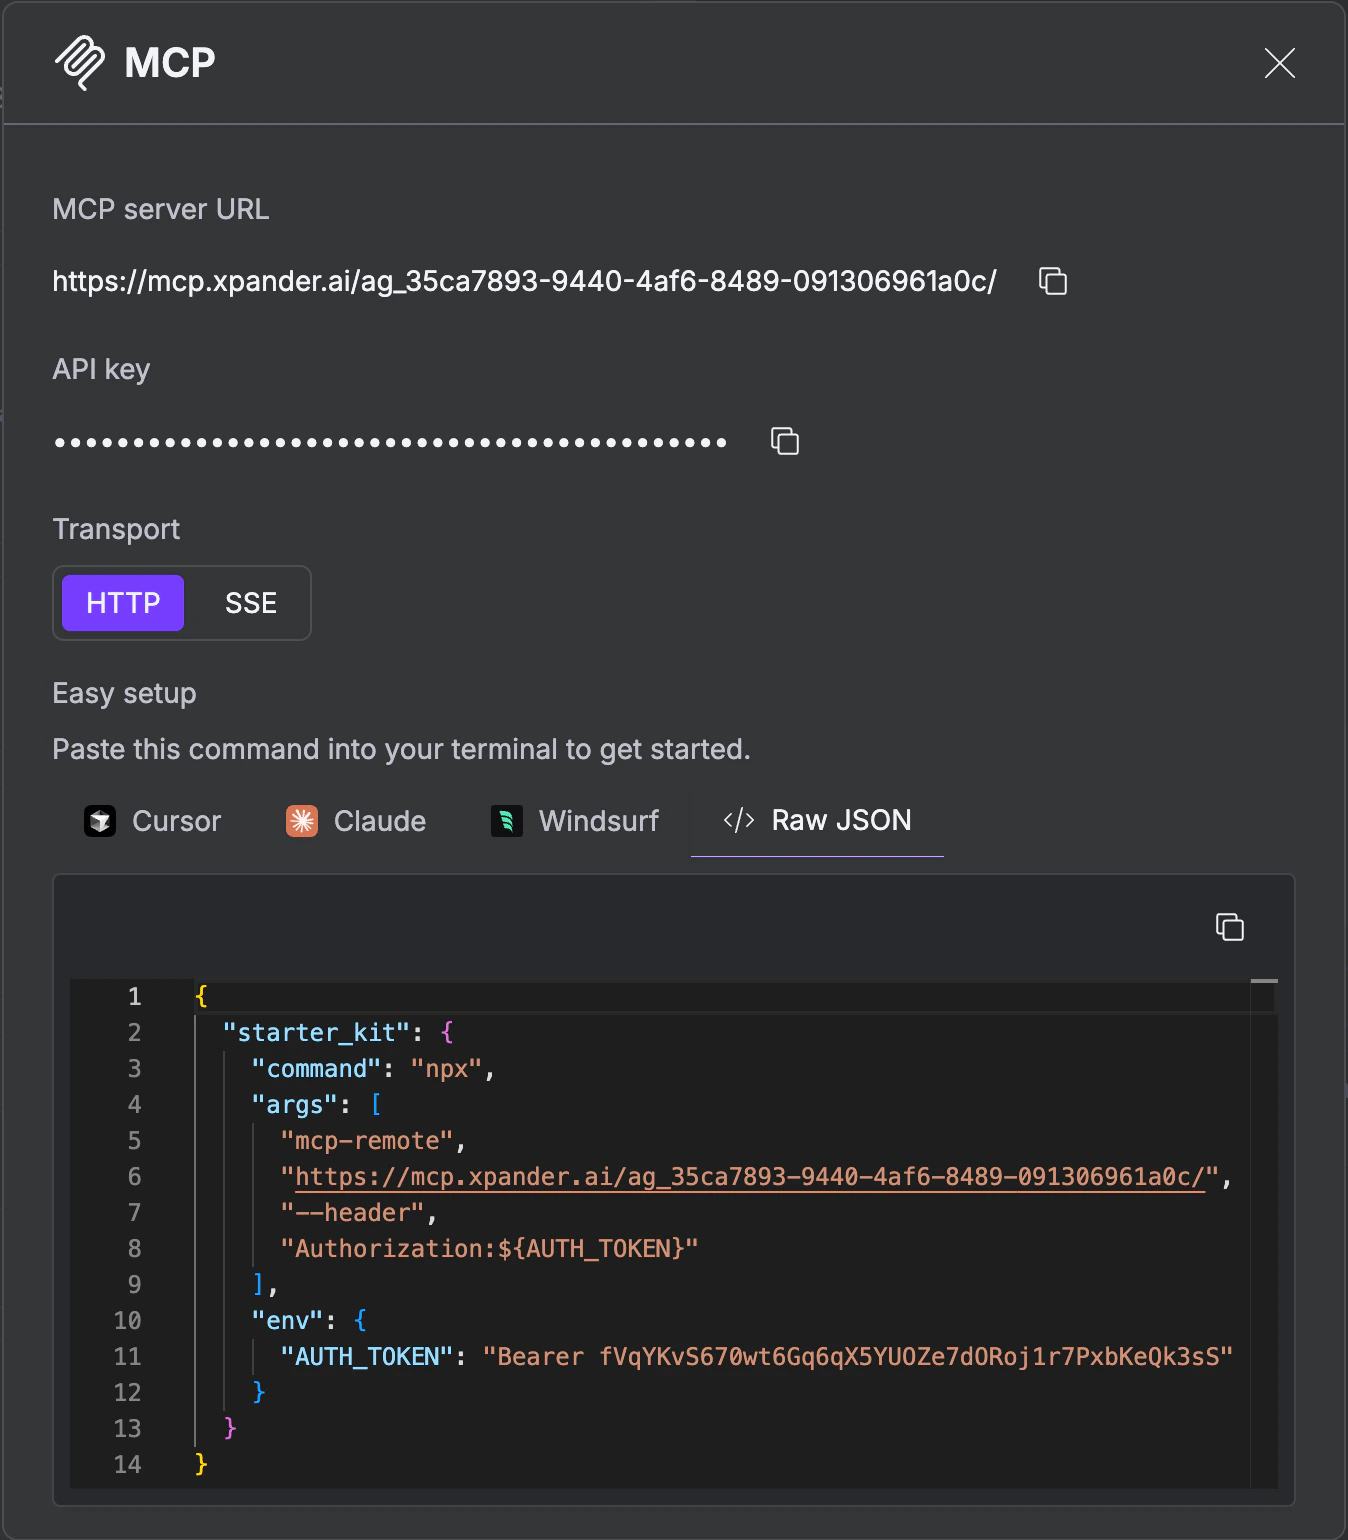
Expose your agent as an MCP server so any MCP client can invoke it. See MCP Protocol for client-specific configurations (Claude Desktop, Cursor, VS Code, ChatGPT), available MCP tools, and OAuth flow.Enable MCP and view connection details
Copy the setup config for your client
A2A (Agent-to-Agent)

Toggle A2A on
View the agent card
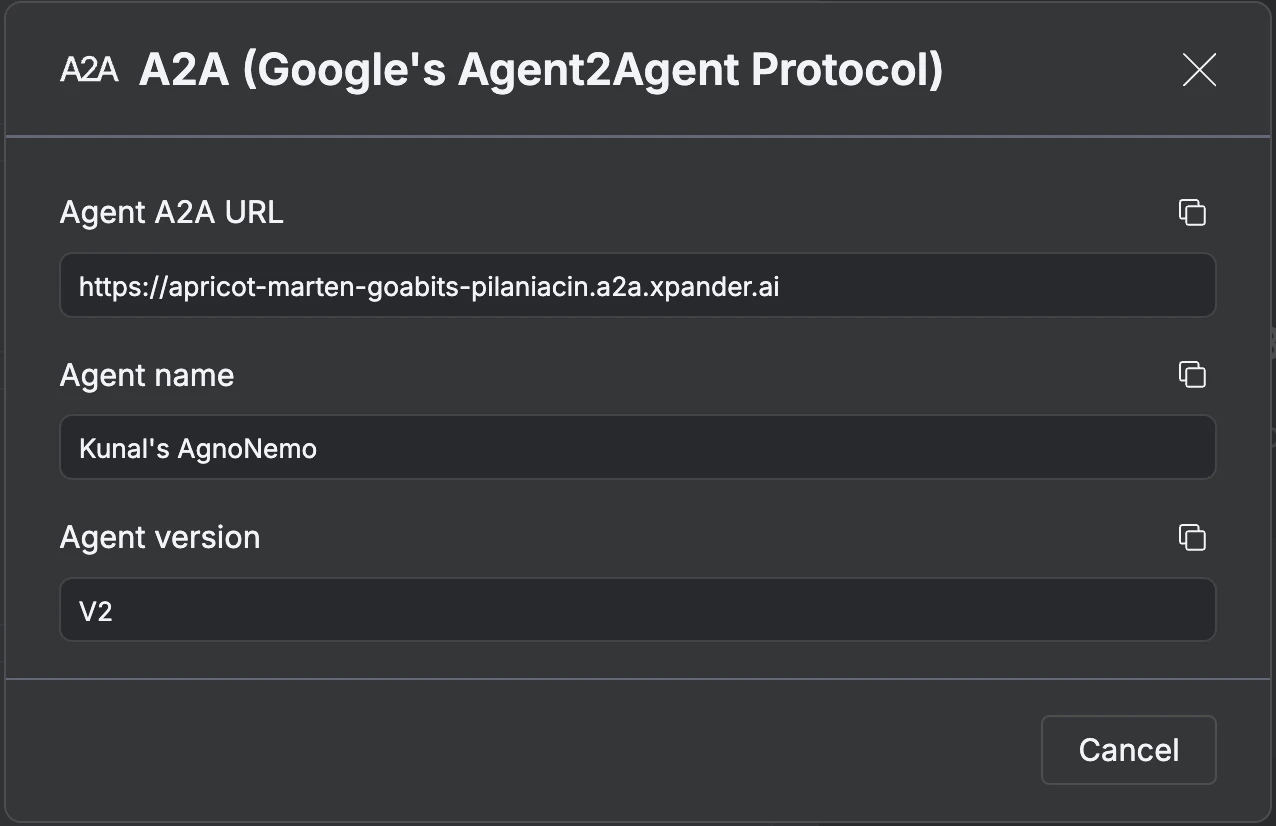
Generate API keys for external agents

API
Call your agent programmatically via the REST API.Open the API Tester
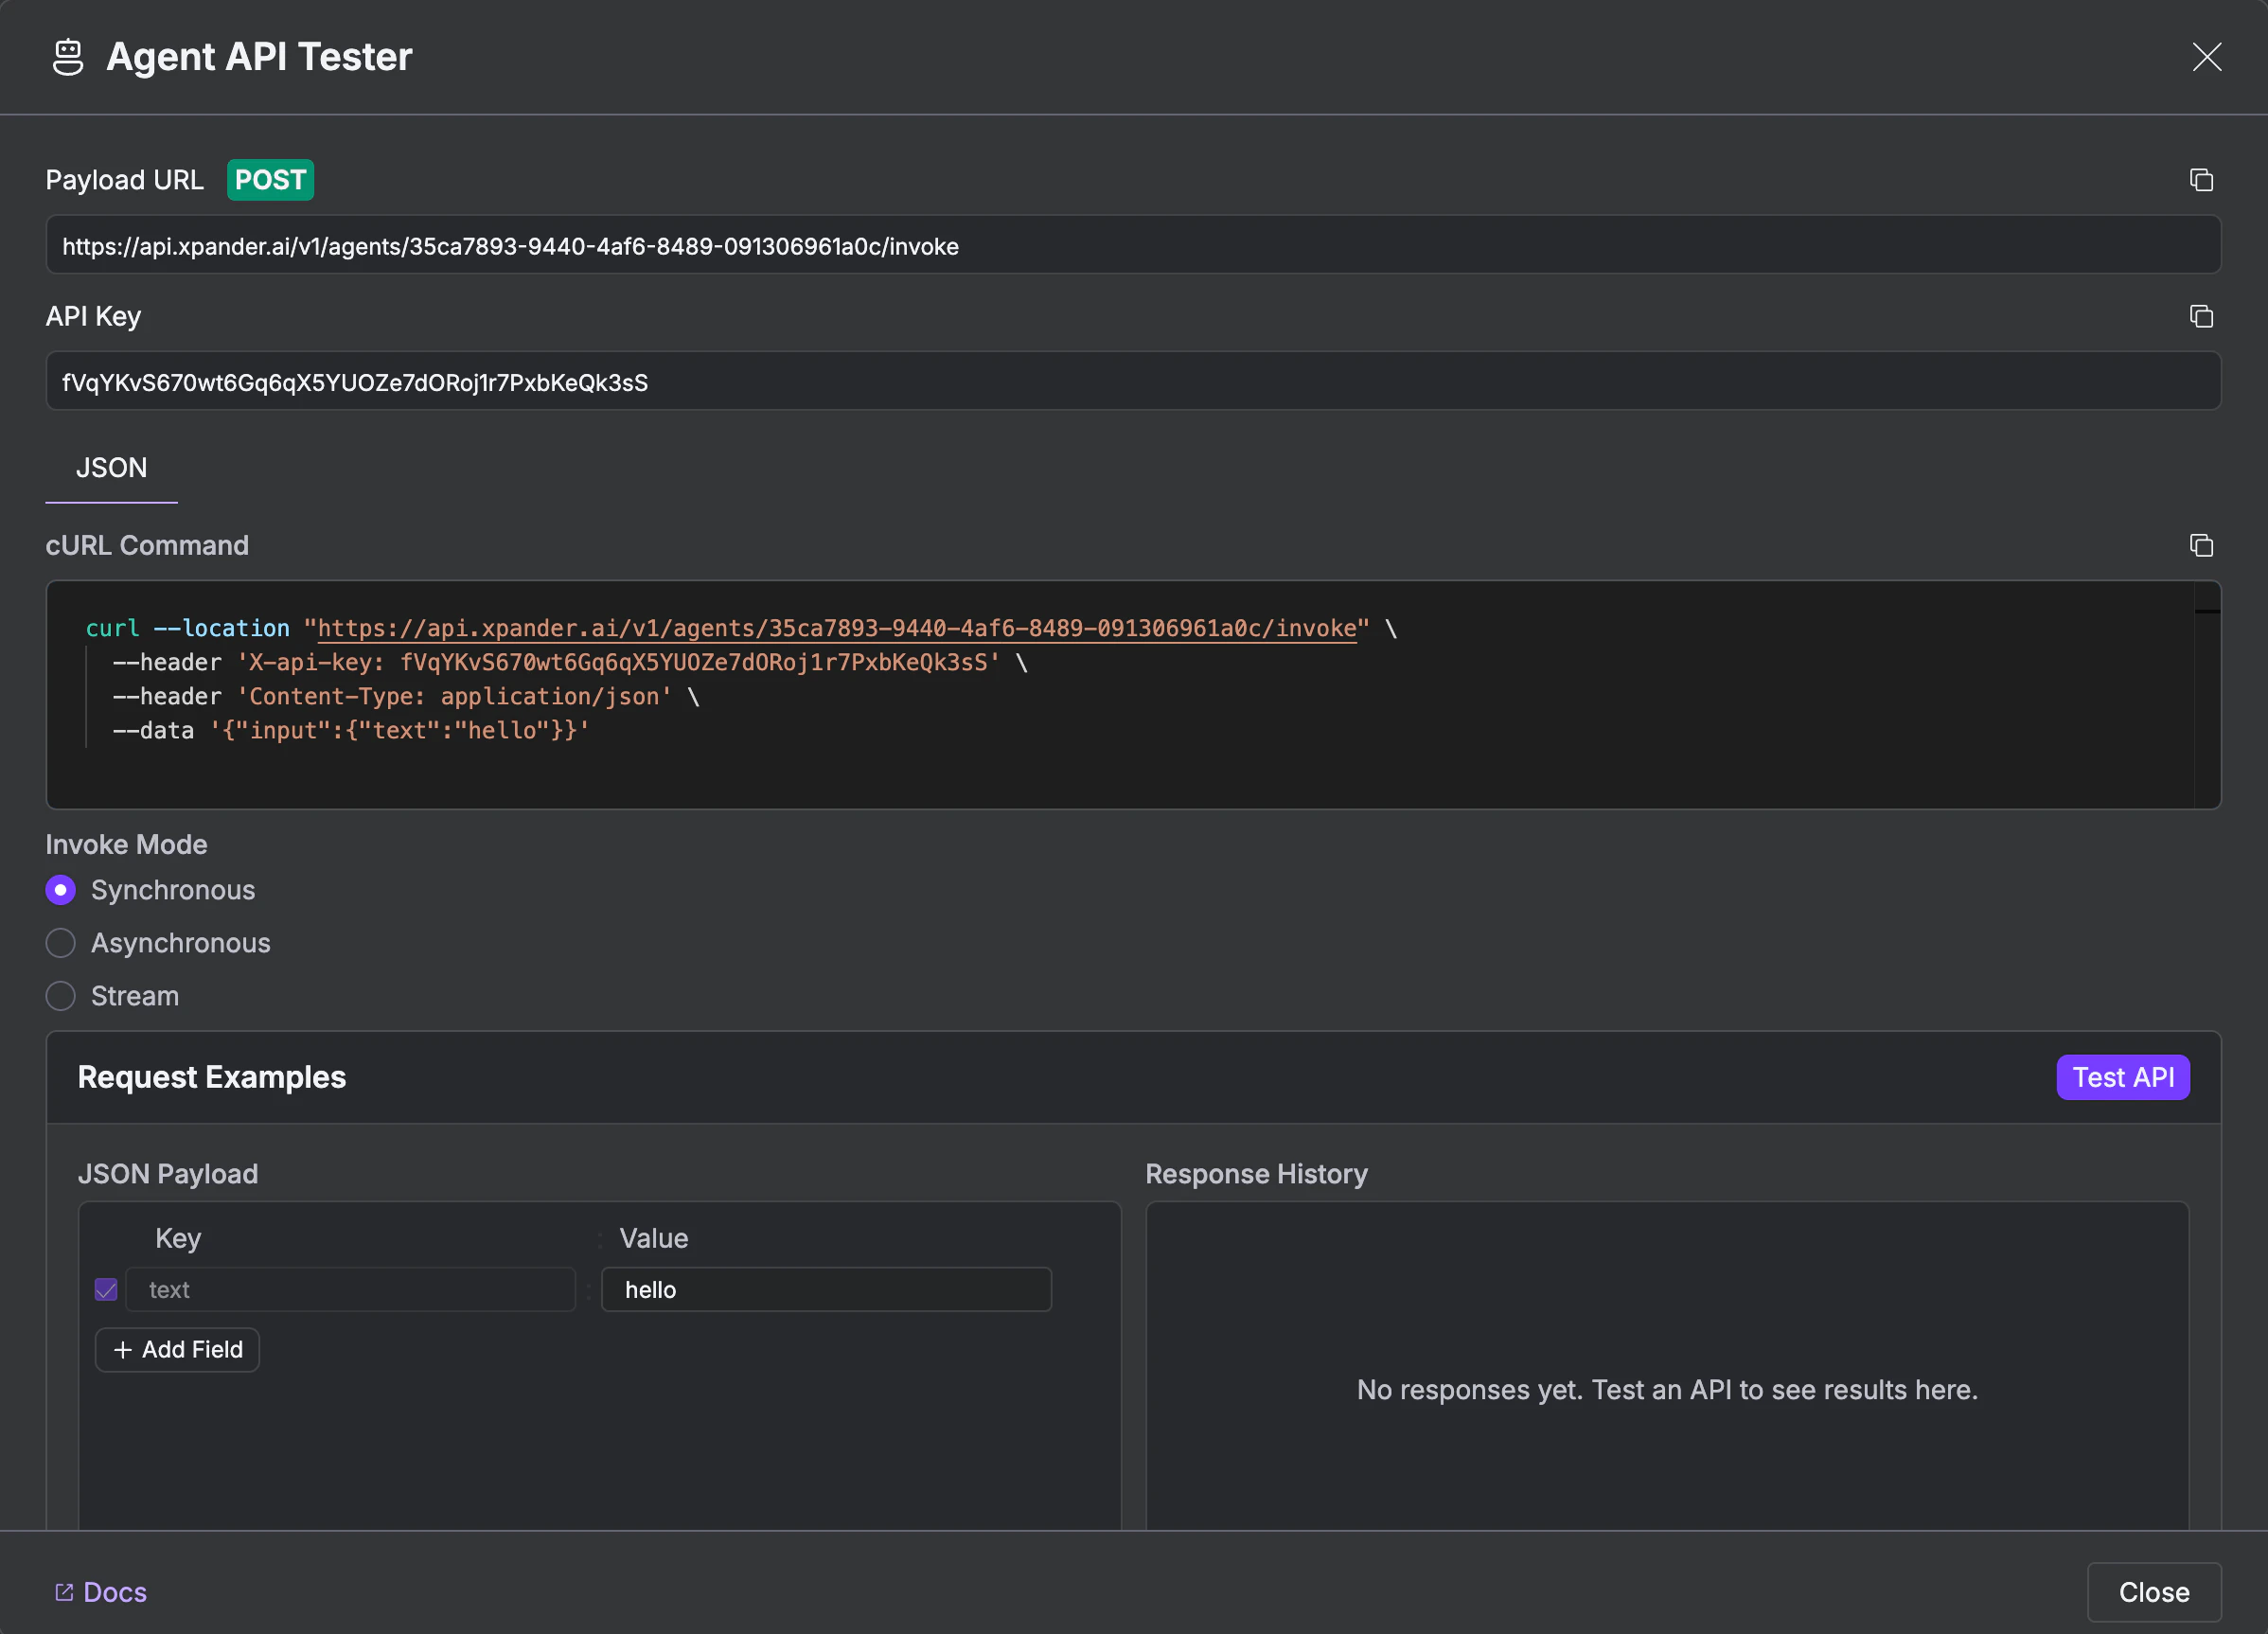
Get your endpoint and API key
Test it
SDK
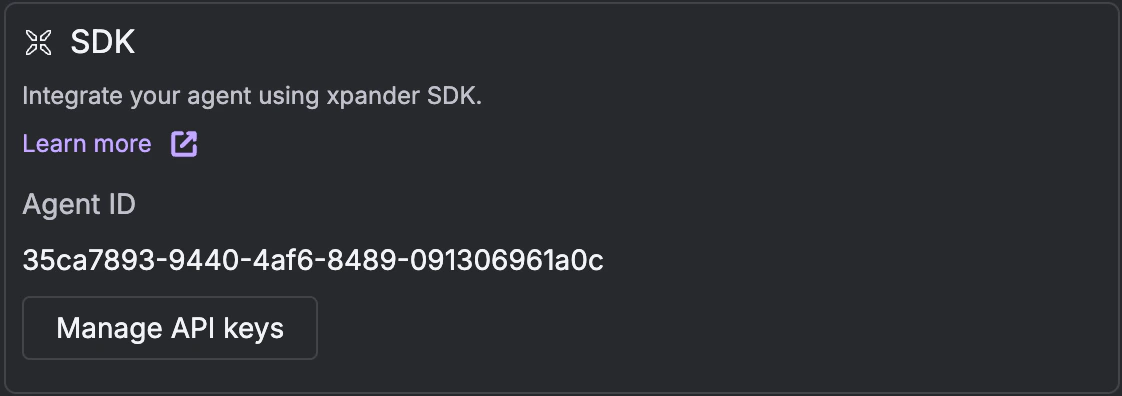
Copy your Agent ID
Click Manage API keys

Copy your API key
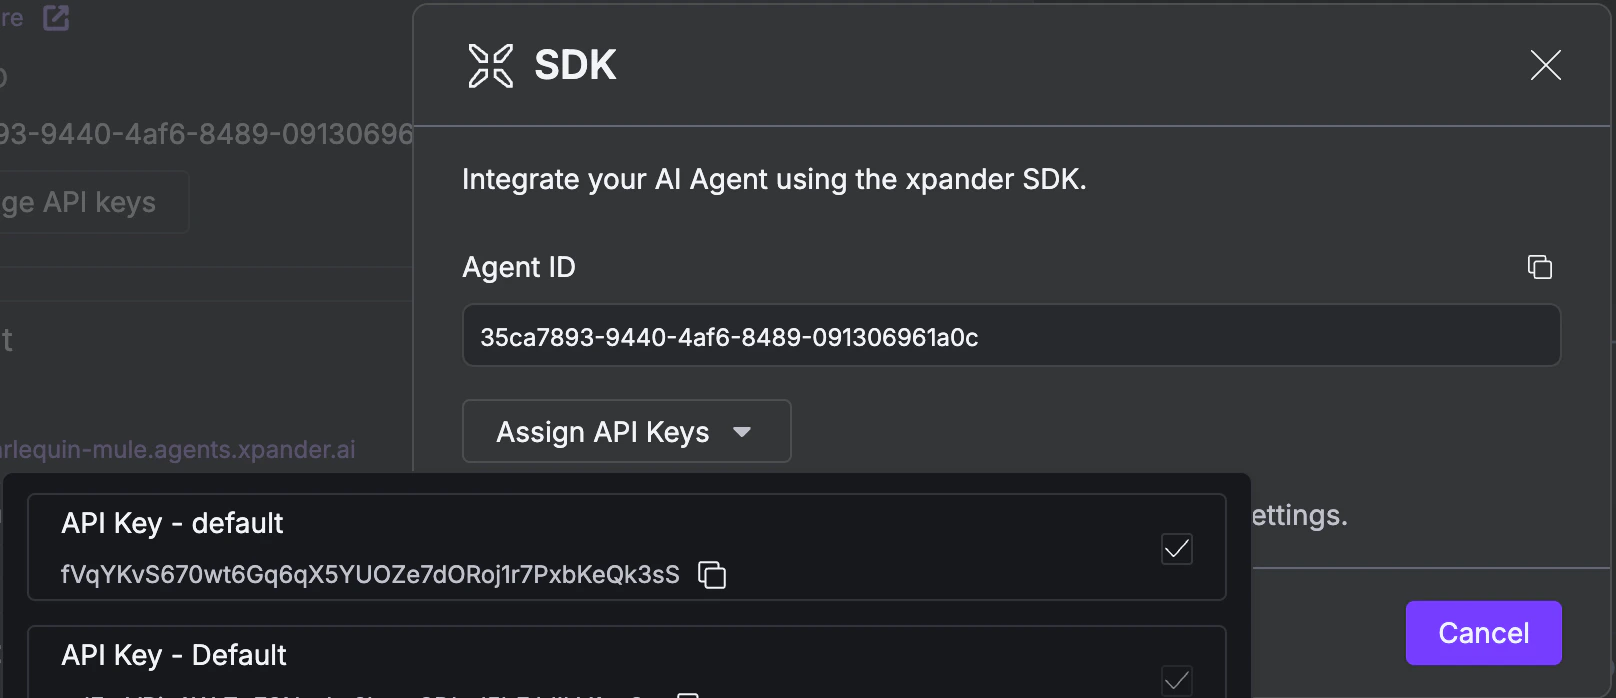
Install the SDK and connect
Webhook
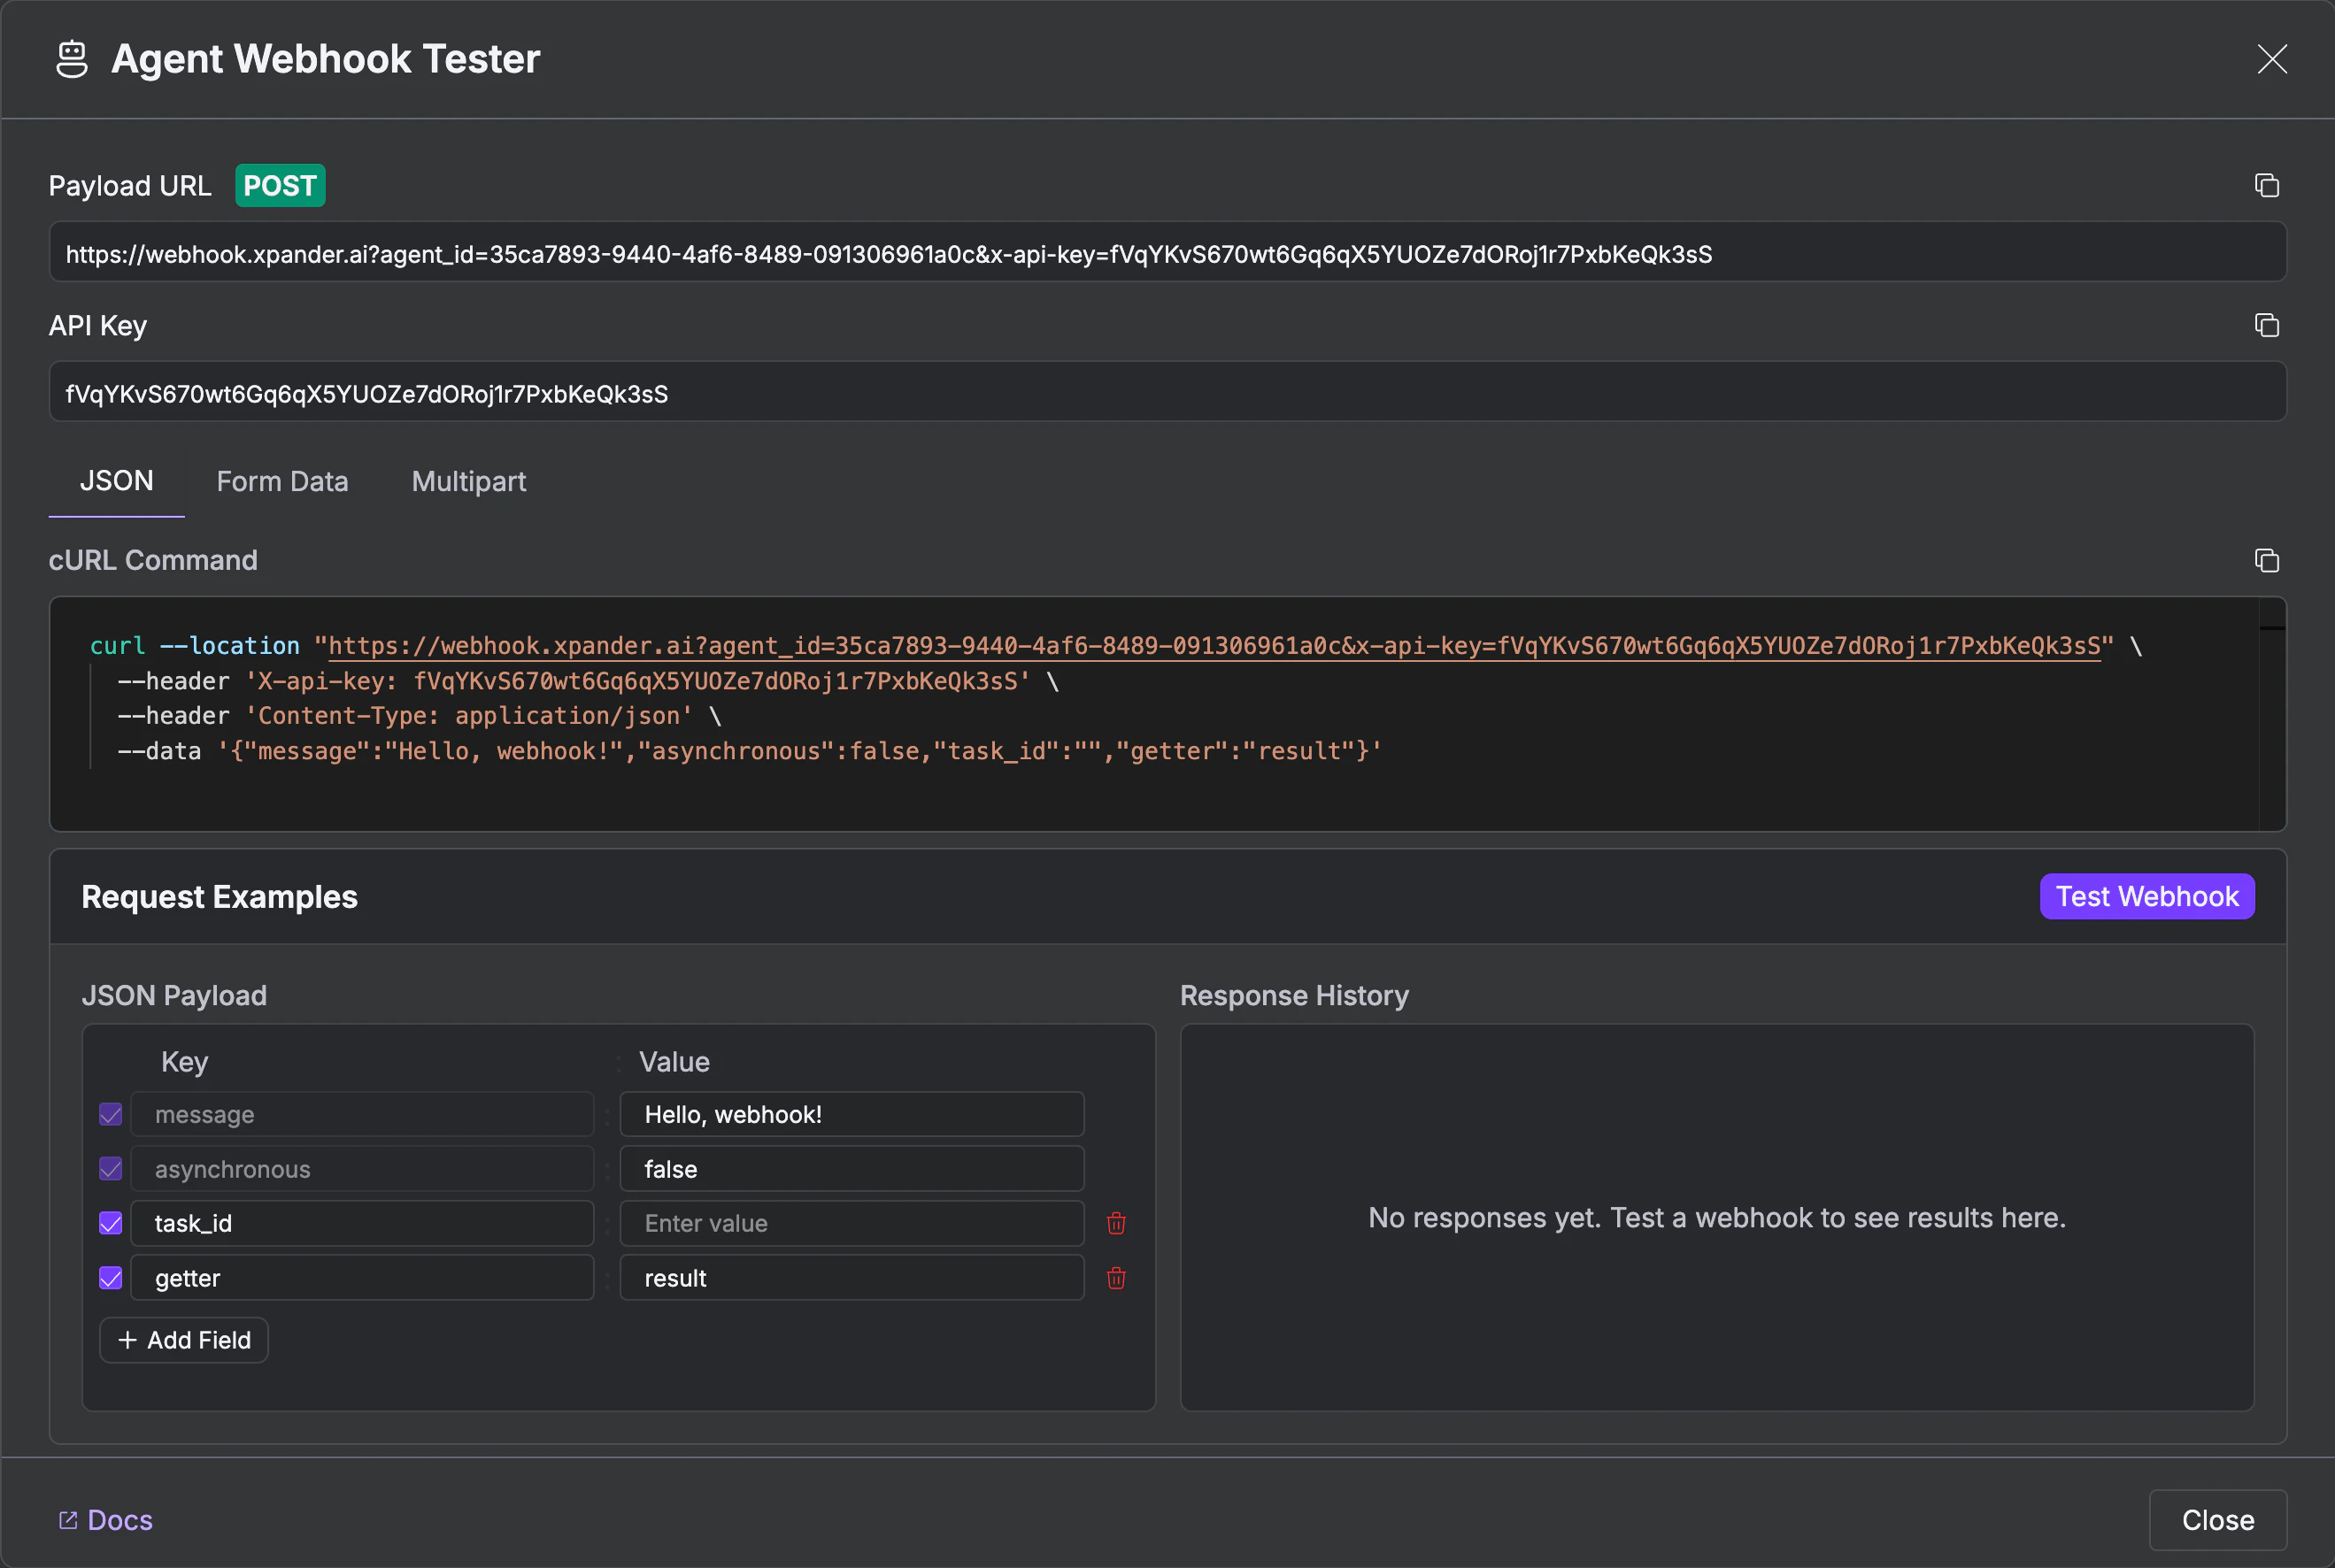
Trigger your agent from Zapier, Make, n8n, etc. See Webhooks for sync vs async modes, file uploads, response field extraction, dynamic parameter mapping, and MCP OAuth pass-through.Enable the Webhook and open the tester
Get your endpoint and API key
- message: the prompt to send to the agent
- asynchronous: set to
truefor async mode (returns task ID immediately) - task_id: optionally continue an existing conversation thread
- getter: extract a specific field from the agent’s response (e.g.,
result)
Test it
Share Agent Template
You can share your agent’s configuration with your team as a reusable template. Use this to:- Create similar agents quickly
- Share proven configurations with your team
- Backup a known-good configuration before making major changes
Open the Templates section
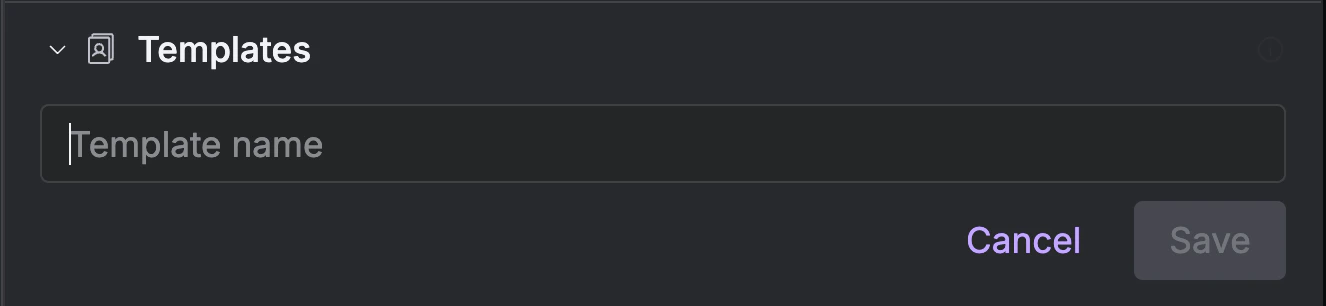
Save as template
Use a saved template