

Branch on data values with Conditions
The Condition node splits your workflow into two paths based on a test you define: an IF branch for inputs that match, and an ELSE branch for everything that doesn’t.Configure a Condition node
The Condition node opens as a floating dialog instead of a side panel.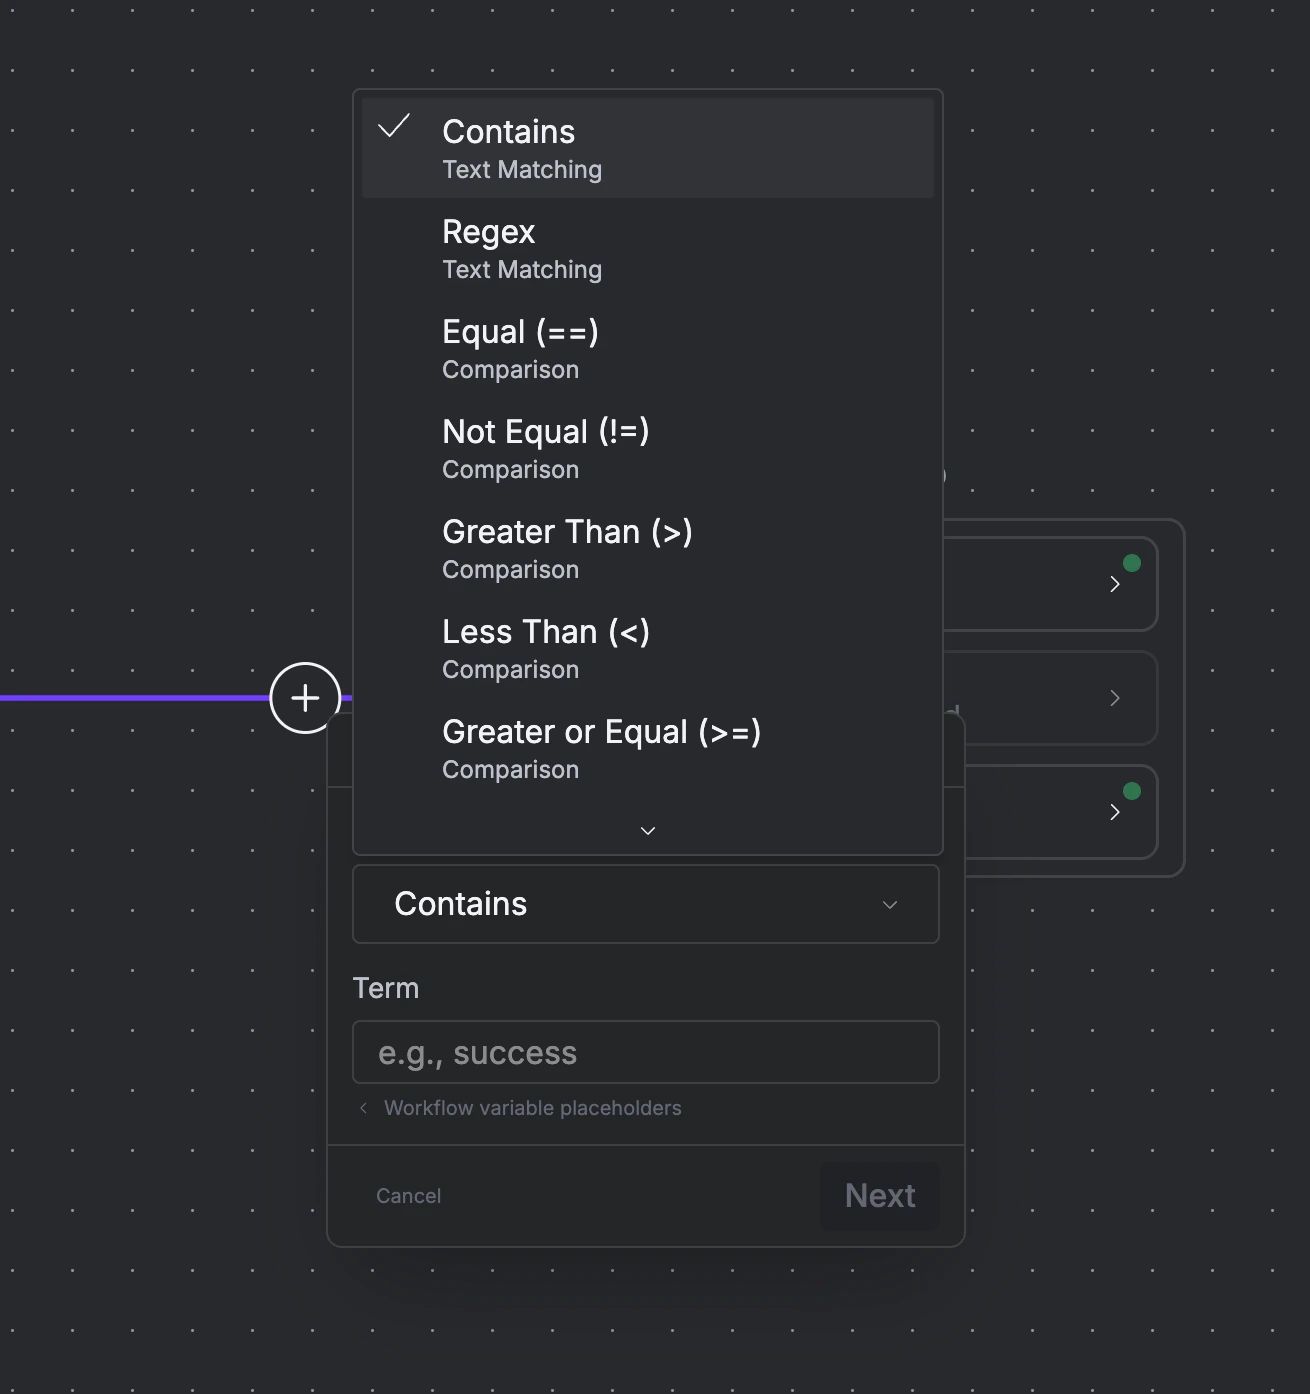
The Condition dialog with the operator dropdown expanded. Pick a condition type, enter a term, and click Next to select the IF branch target.
{{variable}} placeholders to reference data from previous workflow steps. Click Next once defined.
Step 2 asks you to select the target node type for the IF branch, the node that runs when the condition matches. The ELSE branch connects to whatever comes next in the default flow.
Once placed on the canvas, clicking the IF branch opens an Edit Condition panel where you can change the condition type and term without rebuilding the node.
The nine condition operators
Validate output with Guardrails
The Guardrail node uses an AI judge to evaluate upstream output against criteria you define, then routes it down a Pass or Fail branch. Unlike the Condition node, which tests against fixed values, the Guardrail evaluates quality and correctness using natural language criteria.Configure a Guardrail node
The Guardrail opens as a side panel with two fixed groups: Pass (green checkmark) and Fail (red circle). You cannot add or remove groups. Every Guardrail is a binary pass/fail gate. For each group, write Evaluation Criteria in natural language: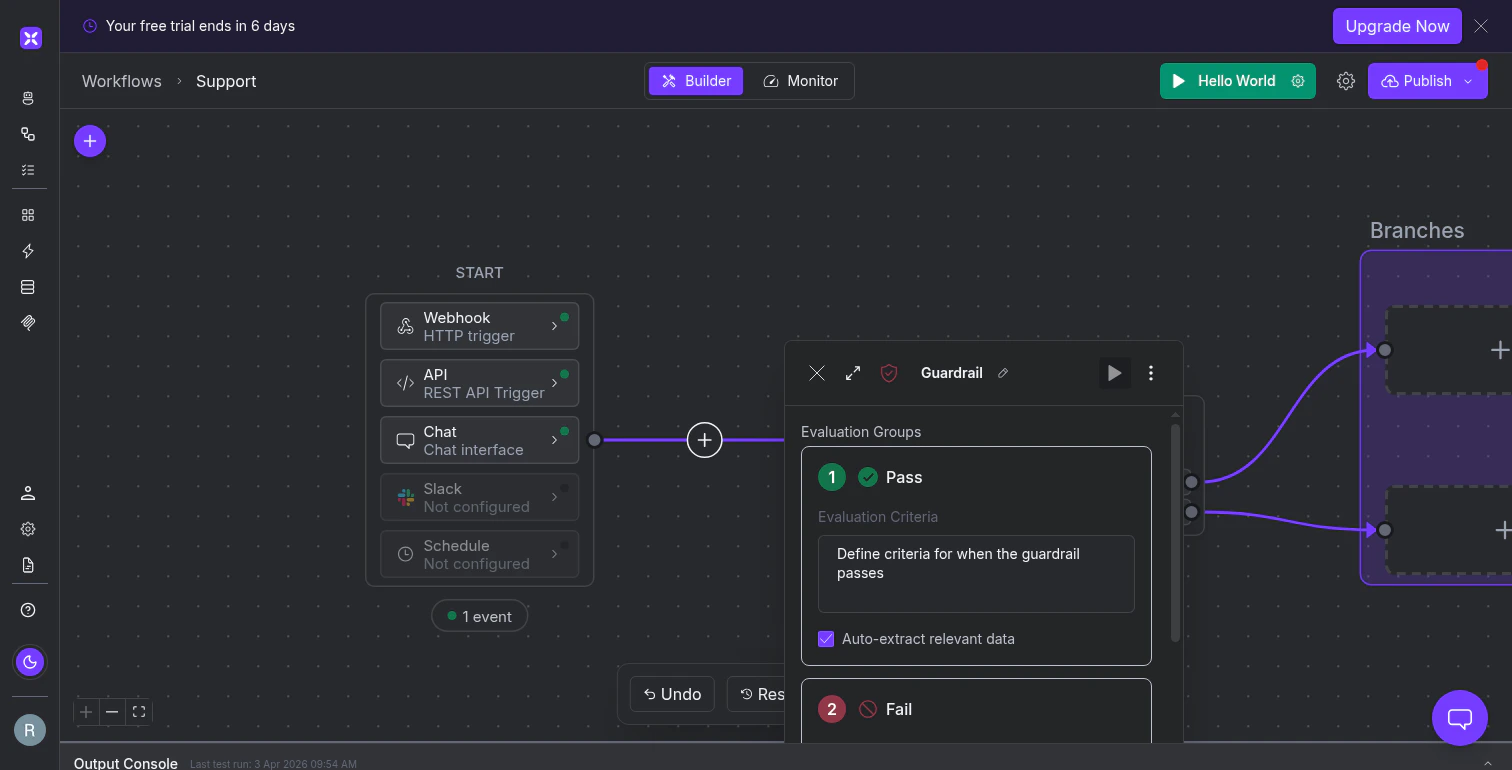
The Guardrail node panel with Pass and Fail groups. Write evaluation criteria in natural language, and the AI judge routes output to the matching branch.
Pause for human approval with Wait
The Wait node pauses the workflow and sends a notification to a person (or group) to approve or deny before execution continues. The recipient gets an email with context and two buttons: Approve (resumes the workflow) and Deny (stops it).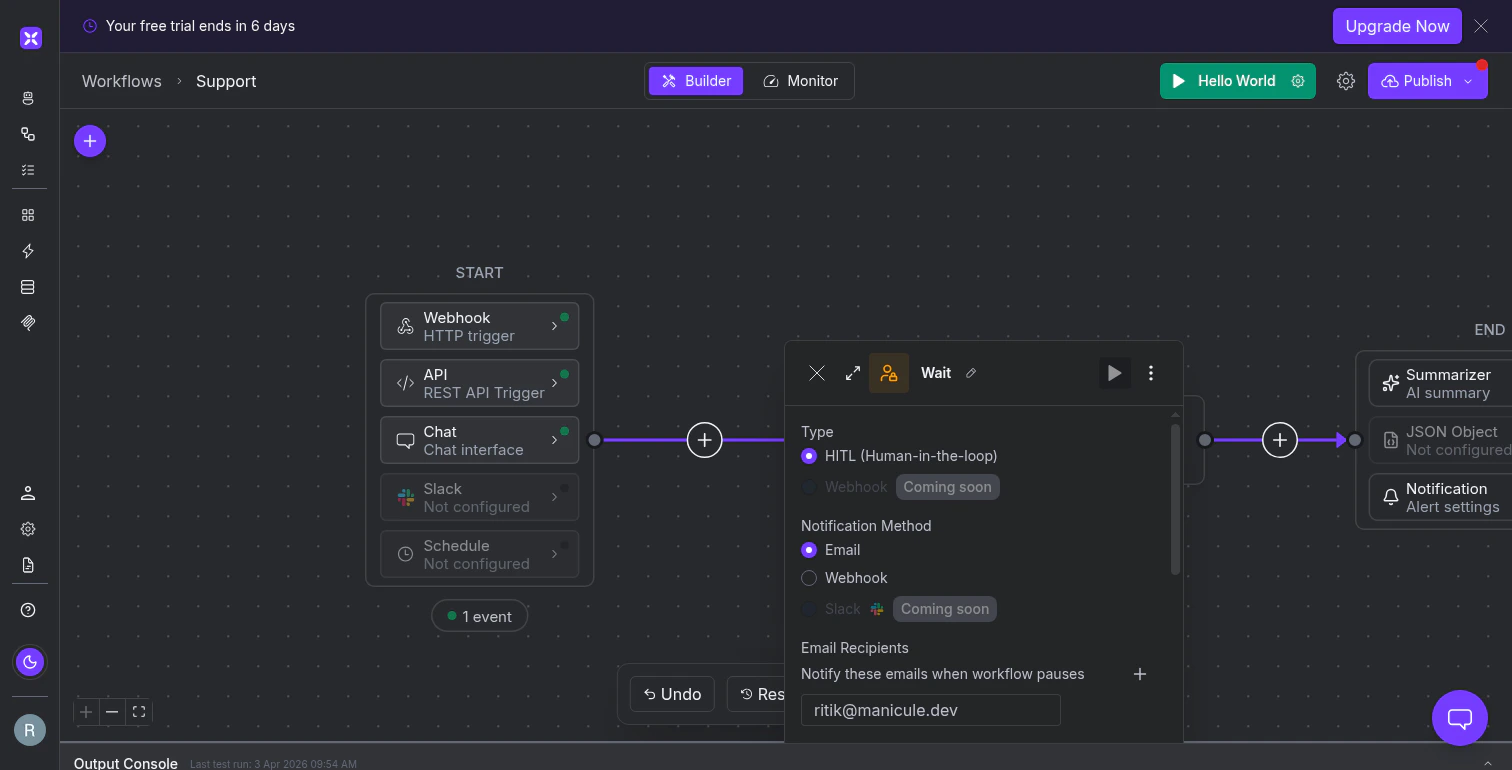
The Wait node panel with email notification settings. Recipients, subject, body with placeholder support, and customizable approve/deny buttons.
{title} and {content} placeholders for workflow context, or {{variable}} for data from previous steps), and optionally relabel the approve/deny buttons.
A Webhook notification option is also available for routing approvals to your own system (an internal dashboard, a ticketing tool, or a custom approval system) instead of email.
Stop the workflow early with Send to End
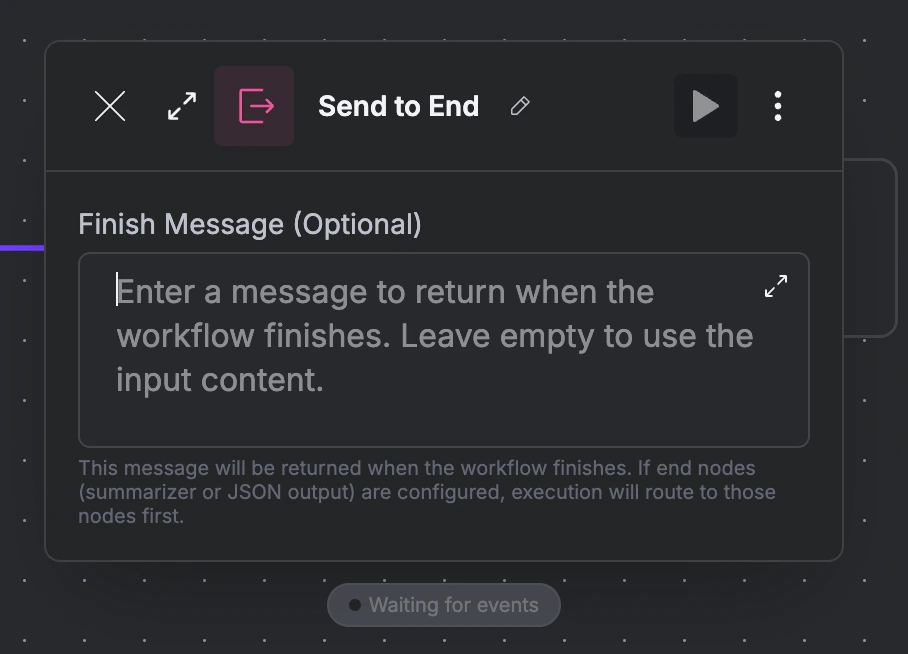
The Send to End panel. The only configuration is an optional Finish Message.
Run steps concurrently with Parallel
The Parallel node runs its child nodes concurrently and combines their results before passing them to the next step. Click + Add node to add branches. All branches receive the same input and execute simultaneously.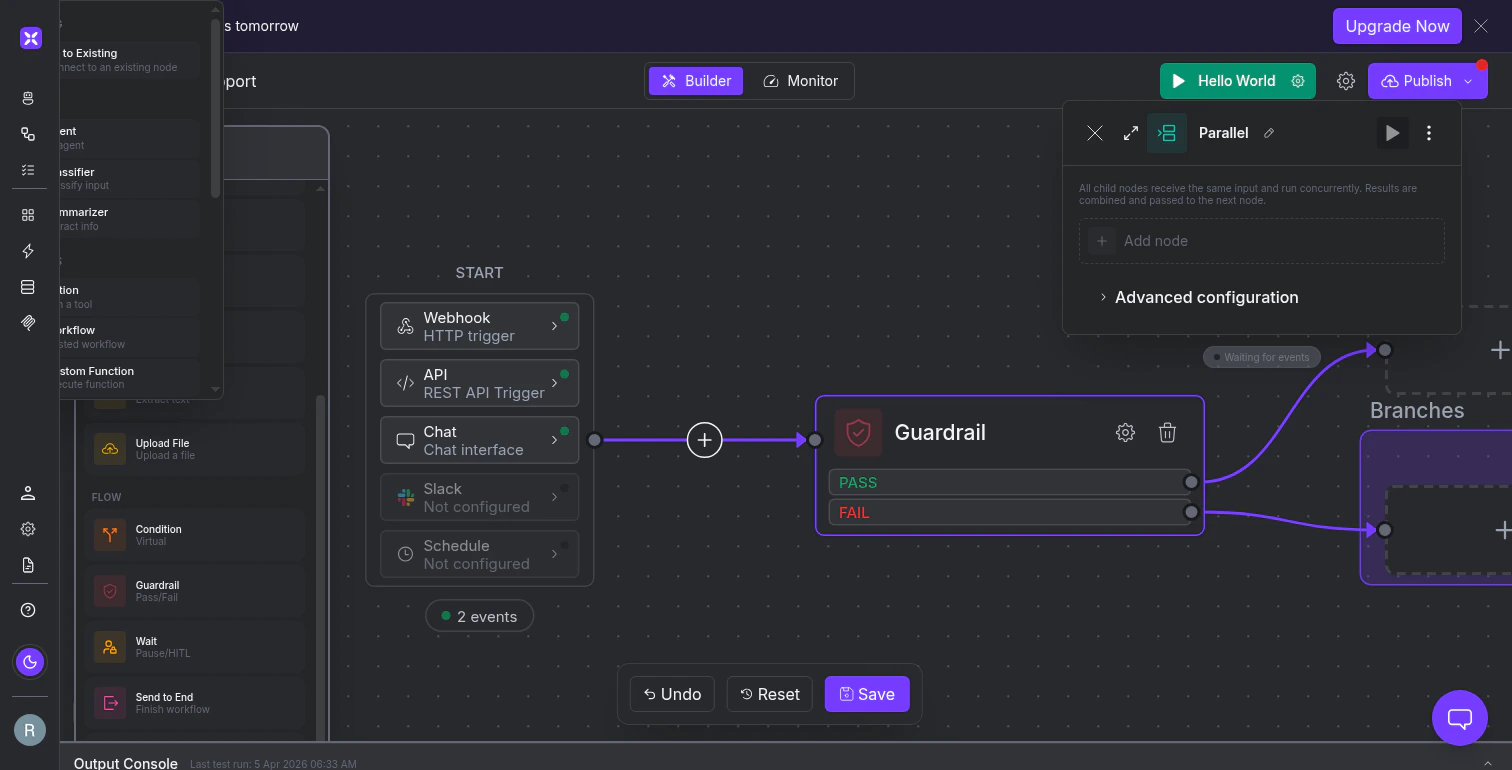
The Parallel node configuration panel with output and input type settings.
Schedule runs with the Schedule node
The Schedule node resumes a workflow at a defined time or frequency. When triggered, it routes execution to any target node you choose - an Agent, Classifier, Condition, Summarizer, Custom Action or any other node in the workflow.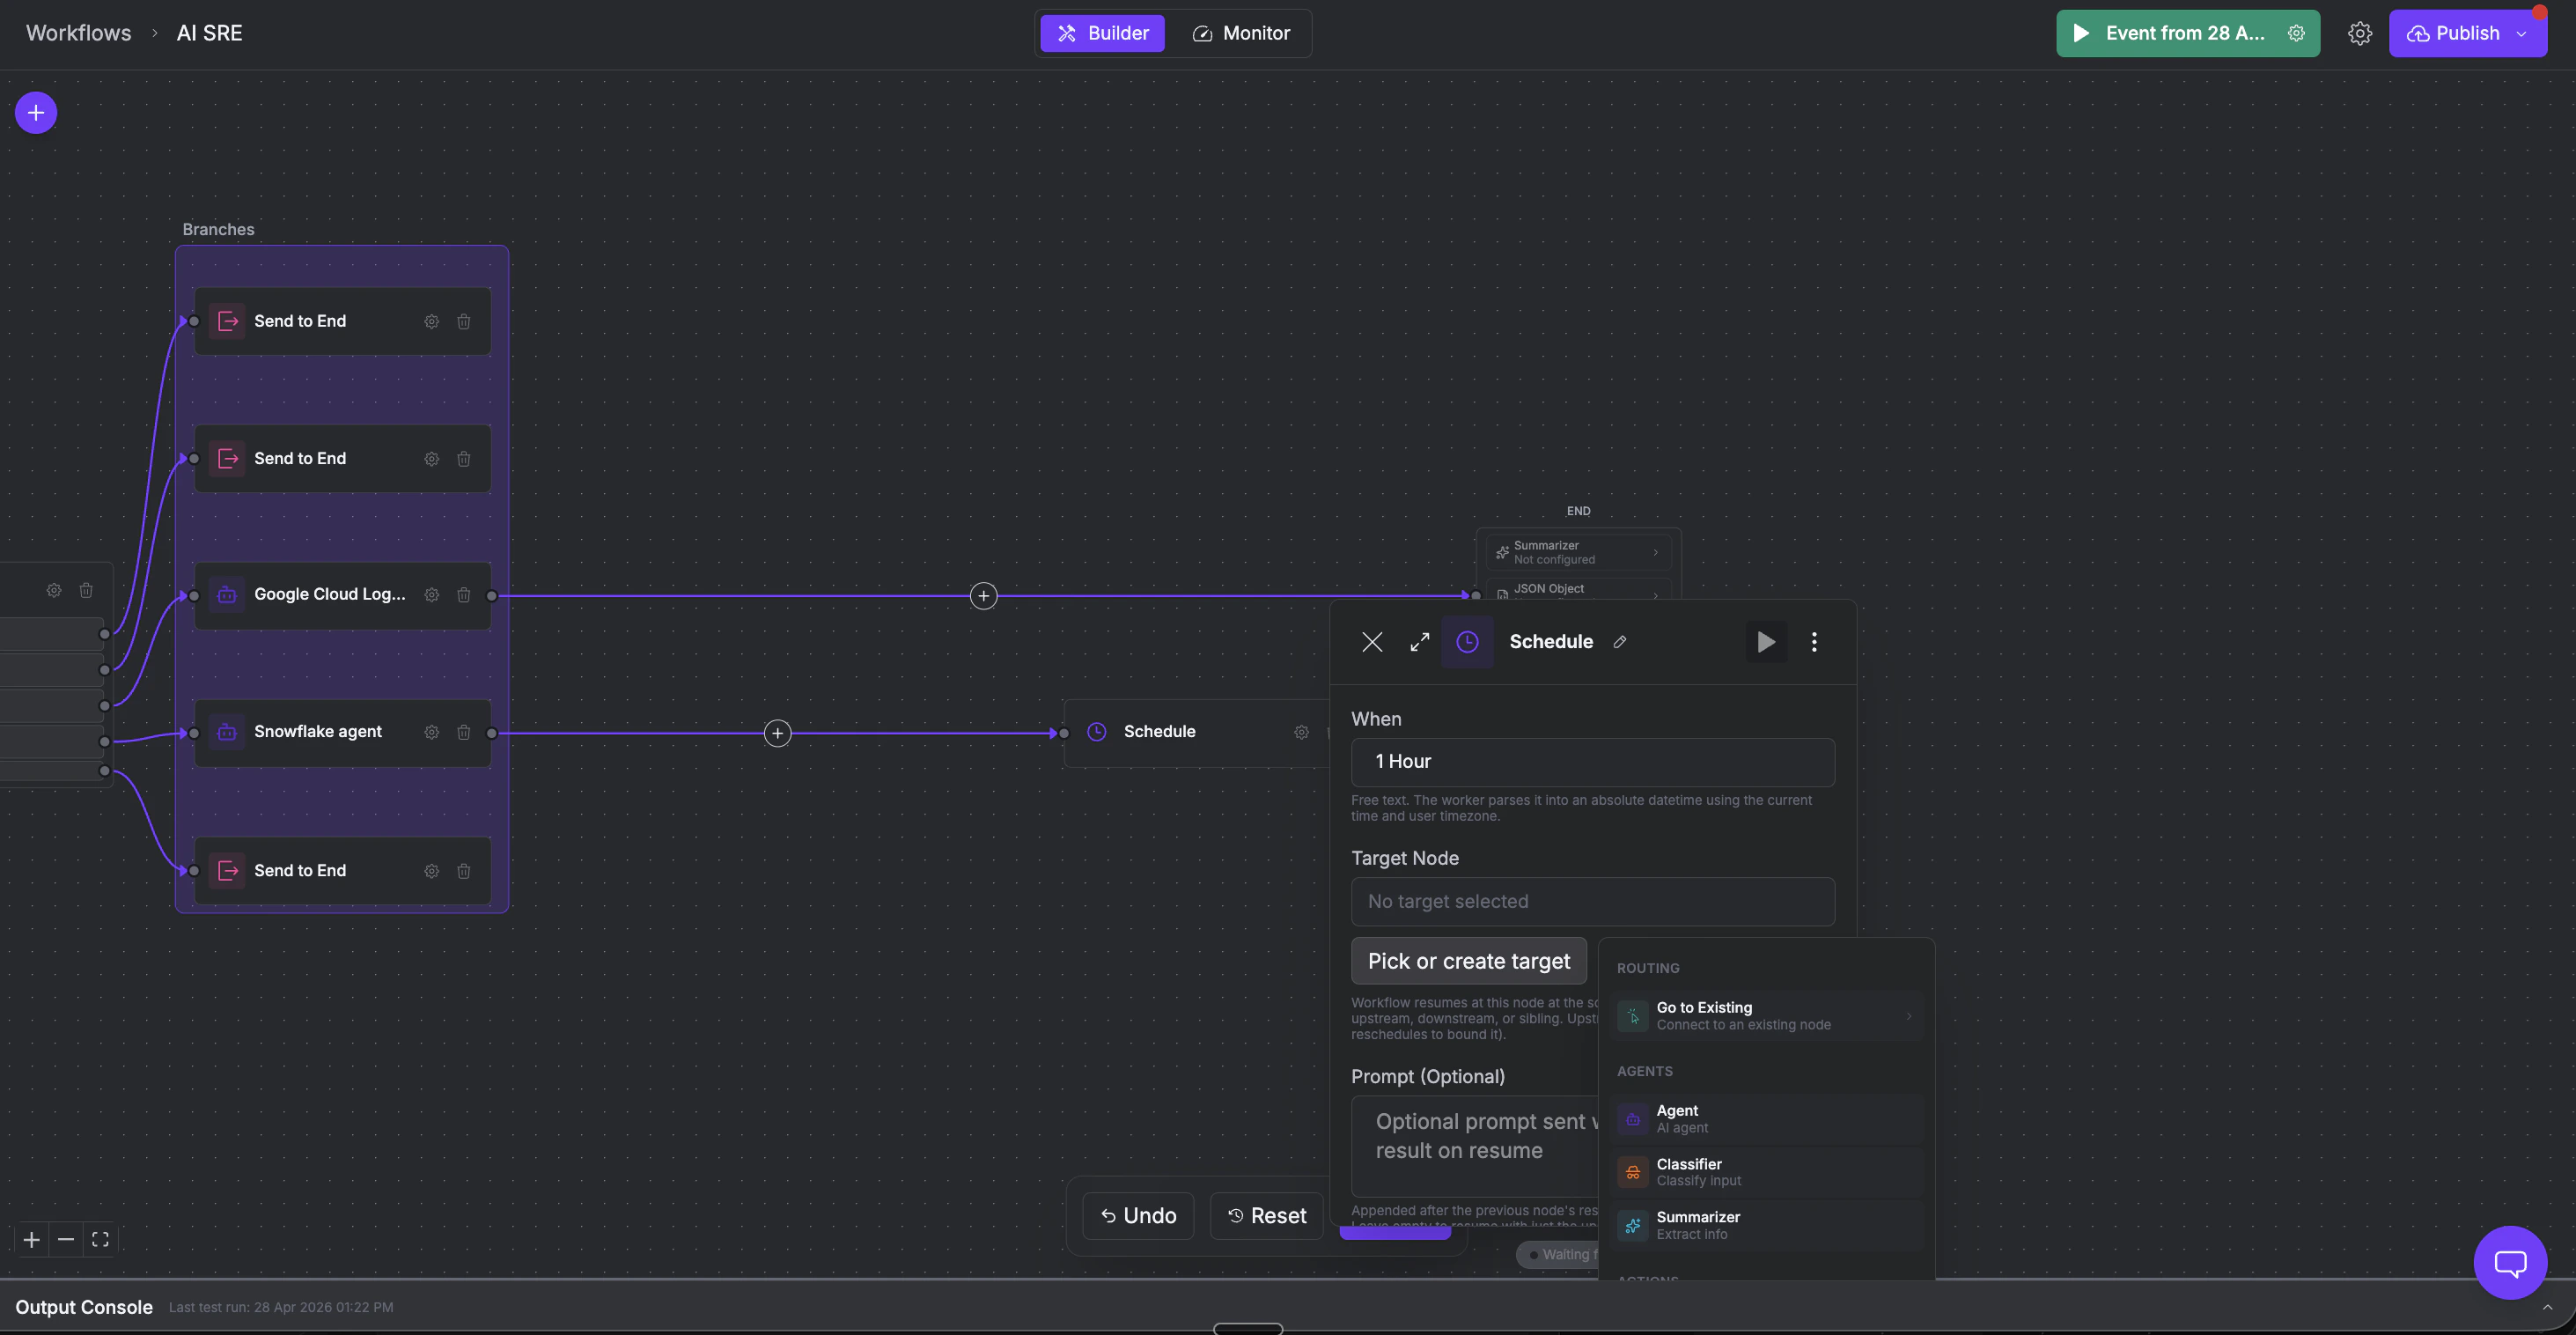
The Schedule node panel with timing and target configuration. Set a time expression in natural language and select any node in the workflow to resume execution at.
- When - a free-text time expression (e.g. “in 1 hour”, “next Monday 9am”, “tomorrow 14:00”)
- Target Node - the node to resume execution at when the schedule fires