
Documentation Index

Fetch the complete documentation index at: https://docs.xpander.ai/llms.txt

Use this file to discover all available pages before exploring further.

Webhooks let you trigger an Xpander agent from any system that can make an HTTP request, including automation platforms like Zapier, form submissions, CI/CD pipelines, or your own applications. Once set up, you can:
  • Trigger an agent run from any inbound HTTP POST with a prompt or payload
  • Choose synchronous (wait for the agent’s response) or asynchronous (fire-and-forget) invocation
  • Upload files (documents, images, audio) alongside the prompt
  • Extract specific fields from the agent’s response instead of returning the full payload
  • Map nested fields from the incoming payload to the agent’s input parameters
  • Pass through MCP OAuth tokens for downstream tool authentication
Pre-requisites:

Enable Webhooks

1

Open the Channels tab

In the Agent Studio, click the gear icon and go to the Channels tab. Find the Webhook section and toggle it on.
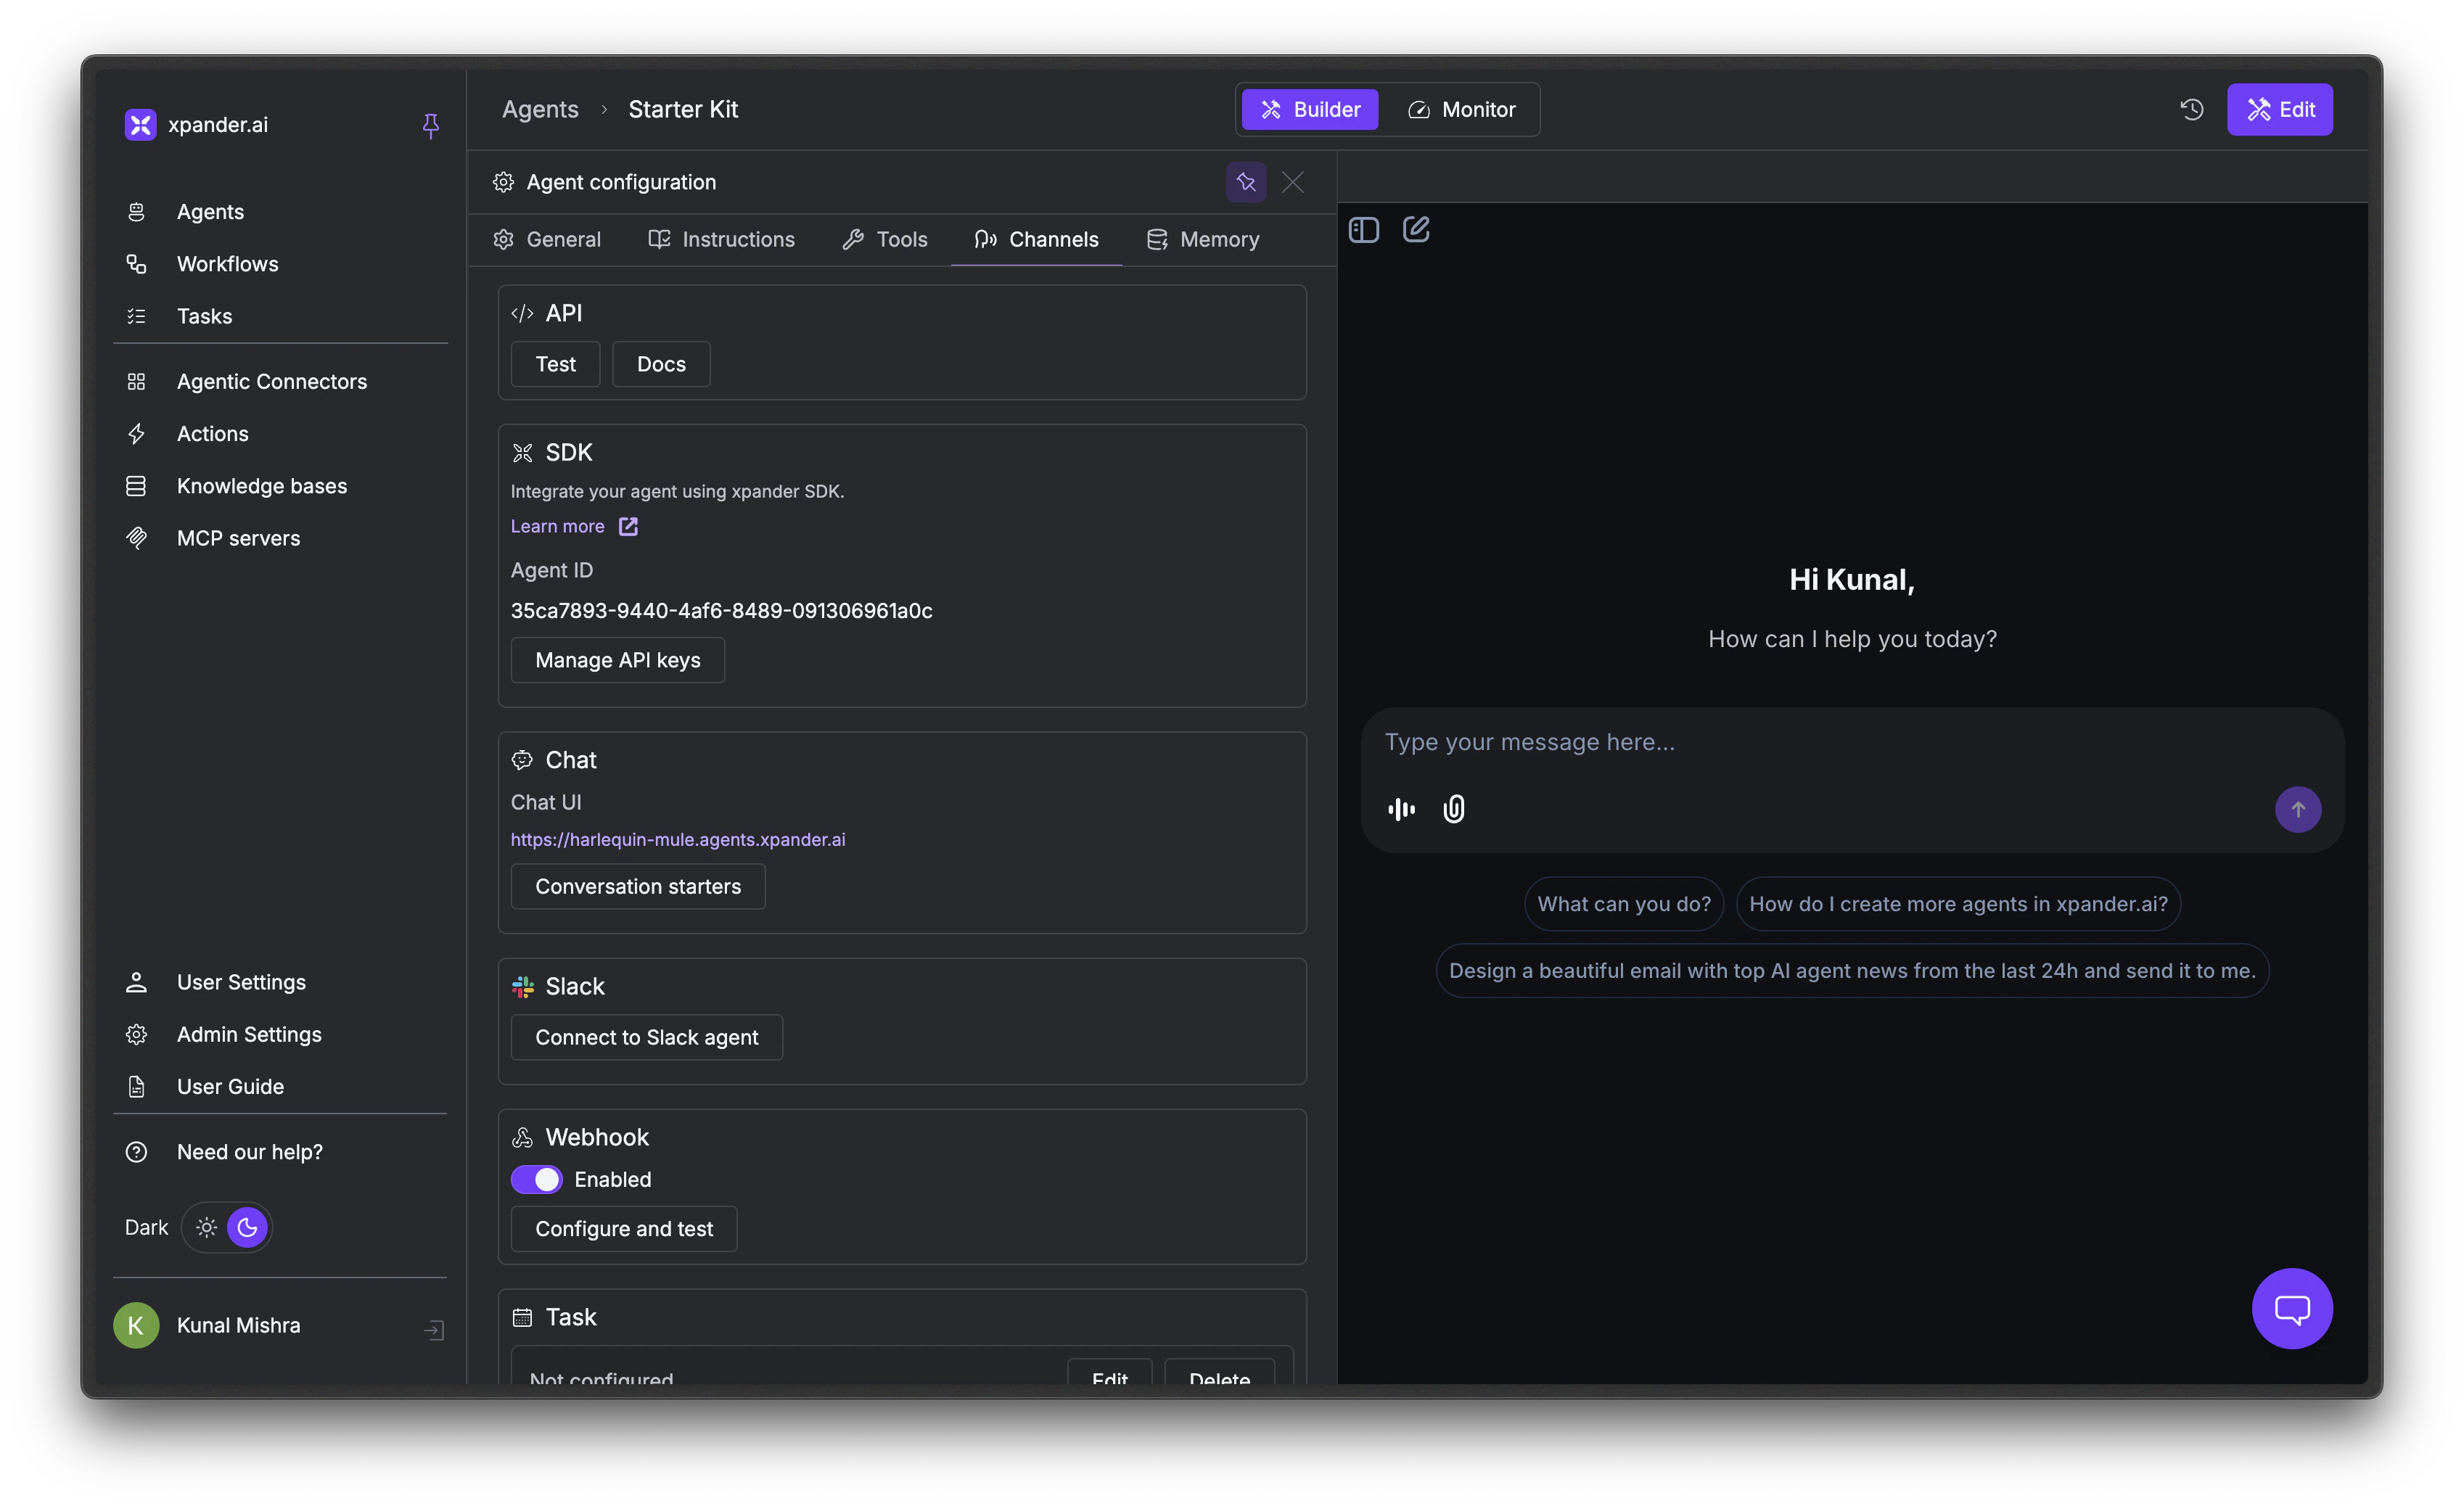
Channels tab with the Webhook section showing the Enabled toggle and Configure and test button
2

Open the tester

Click Configure and test to open the Agent Webhook Tester. This shows your Payload URL (with agent ID and API key embedded) and a ready-to-use cURL command.
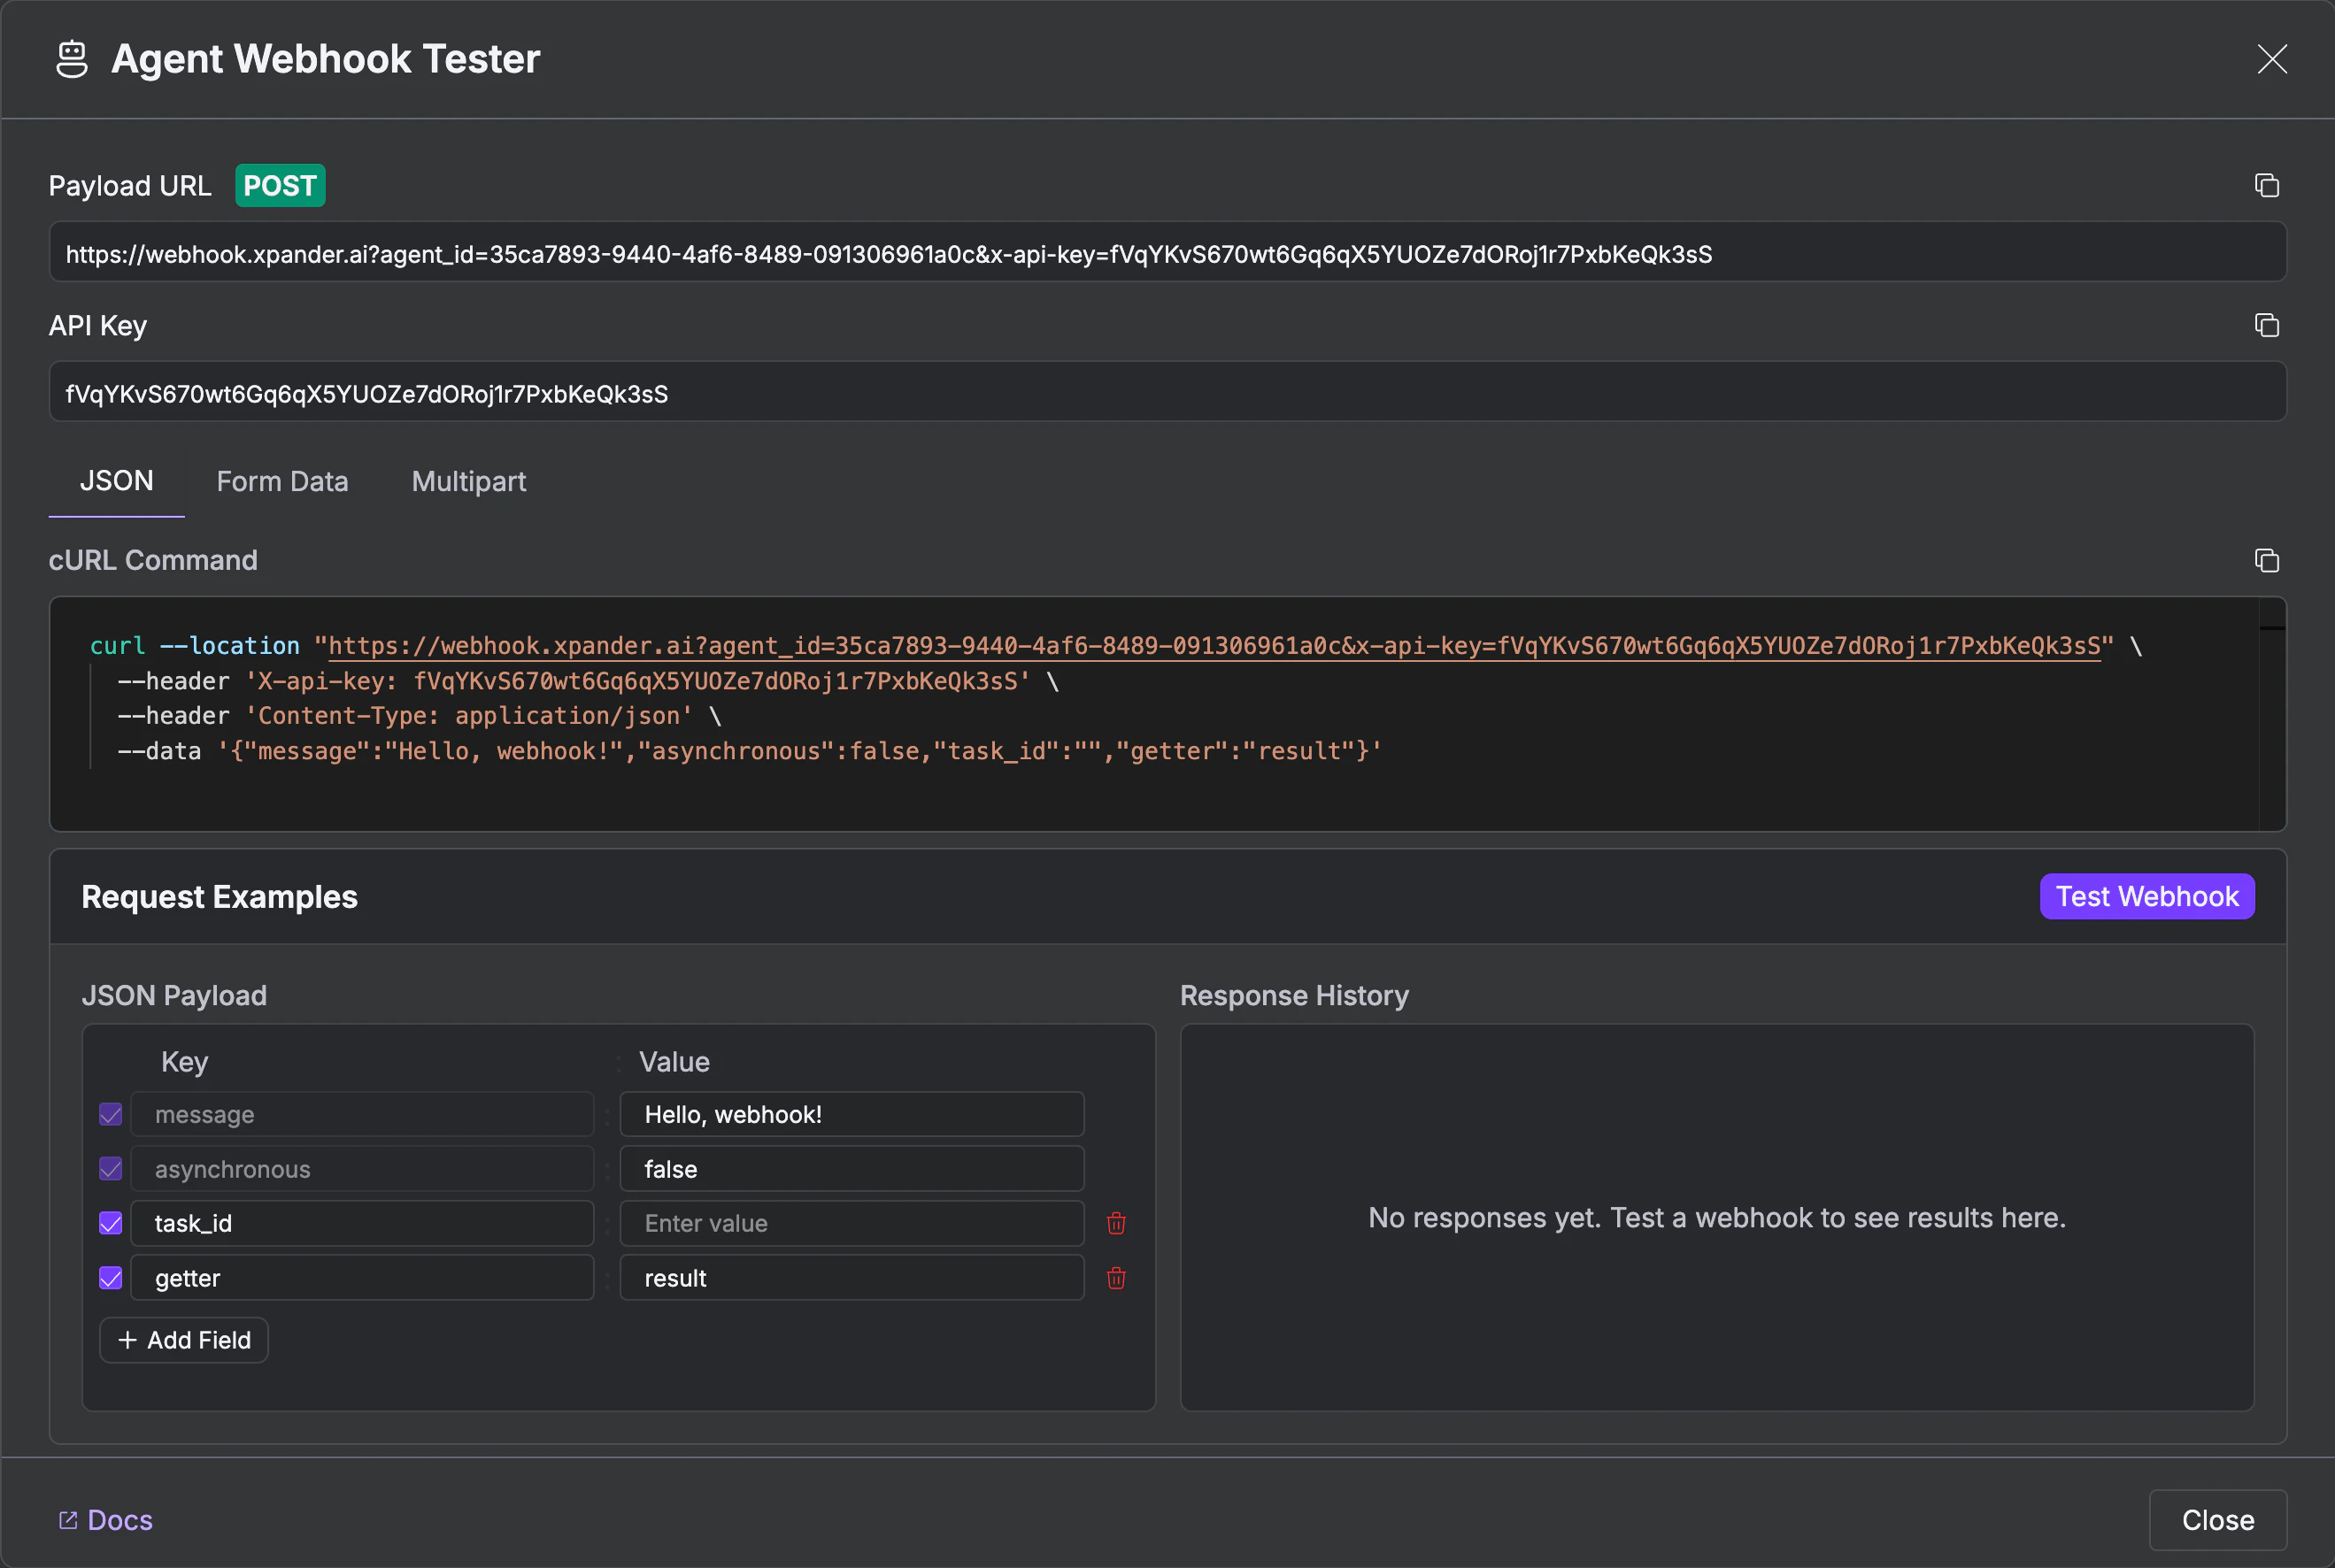
Agent Webhook Tester showing payload URL, API key, cURL command, JSON payload fields, and Test Webhook button
3

Test it

Choose an input format - JSON, Form Data, or Multipart. Set your payload fields and click Test Webhook. The response appears in the Response History panel.

Make Requests

All webhook requests are POST requests to https://webhook.xpander.ai/ with your agent ID and API key.
curl -X POST 'https://webhook.xpander.ai/?agent_id=YOUR_AGENT_ID' \
  -H 'Content-Type: application/json' \
  -H 'x-api-key: YOUR_API_KEY' \
  -d '{"prompt": "Summarize the latest support tickets"}'

Required Parameters

ParameterLocationDescription
agent_idQuery string or bodyYour agent’s ID
x-api-keyHeader or query stringYour API key

Optional Parameters

ParameterTypeDescription
promptstringText input for the agent
asynchronousbooleanReturn immediately without waiting (default: false)
task_idstringContinue an existing conversation thread
user_idstringUser identifier for tracking
user_emailstringUser email for personalization
user_first_namestringUser’s first name
user_last_namestringUser’s last name
getterstringDot-notation path to extract from the response
jsonbooleanParse the result as JSON instead of returning a string
user_tokensstring (JSON)Pre-authenticated MCP OAuth tokens (see below)
disable_attachment_injectionbooleanWhen true, uploaded files are not injected into the LLM context window. File URLs are still available to the agent’s tools, but the raw content is not prepended to the prompt. Useful when files are large or the agent’s tools handle file processing directly.
You can include any additional fields in your request body - they’re all passed to the agent as context.
When the same parameter appears in multiple places, query parameters take priority over body parameters, which take priority over defaults.

Choose Sync vs Async

Synchronous (default) - The request blocks until the agent finishes and returns the full result. Best for short tasks and interactive workflows.
{
  "id": "task-uuid",
  "agent_id": "your-agent-id",
  "status": "completed",
  "result": "The agent's response...",
  "created_at": "2026-01-29T00:40:46.161472+00:00",
  "finished_at": "2026-01-29T00:40:47.919145+00:00",
  "source": "webhook",
  "execution_attempts": 1
}
Asynchronous - Set asynchronous=true to return immediately. The agent processes in the background. Best for long-running tasks, file processing, or when you don’t need the result inline.
curl -X POST 'https://webhook.xpander.ai/?agent_id=YOUR_AGENT_ID&asynchronous=true' \
  -H 'x-api-key: YOUR_API_KEY' \
  -d '{"prompt": "Generate the monthly report"}'
{"status": "Started"}

Upload Files

Upload files using multipart/form-data. The agent automatically processes them - OCR for images, text extraction for PDFs, transcription for audio.
curl -X POST 'https://webhook.xpander.ai/?agent_id=YOUR_AGENT_ID' \
  -H 'x-api-key: YOUR_API_KEY' \
  --form 'files=@"/path/to/document.pdf"' \
  --form 'files=@"/path/to/image.png"'
Supported types: PDF, DOC, DOCX, TXT, XLS, XLSX, CSV, PNG, JPEG, GIF, WEBP, SVG, ZIP.
Files must be uploaded directly - URLs to external files are not supported. The webhook needs the actual file content.
For large batches (10+ files), use async mode and break uploads into batches of 5-10 files.
Uploaded files are stored on the Xpander platform and exposed to your agent through secure presigned URLs. Those URLs are scoped to your organization’s agents and remain valid for 30 days after upload. Your agent never handles download or storage logic directly.

Extract Data from Responses

Use the getter parameter to extract a specific field from the agent’s response using dot notation.
curl -X POST 'https://webhook.xpander.ai/?agent_id=YOUR_AGENT_ID&getter=result.summary' \
  -H 'x-api-key: YOUR_API_KEY' \
  -d '{"prompt": "Analyze quarterly report"}'
Instead of the full response object, this returns just the extracted value:
"Q4 revenue increased 15%"

Map Dynamic Parameters

Use params_mapping as a query parameter to extract values from nested payload fields and map them to webhook parameters. This is especially useful for integrations with Telegram bots, WhatsApp, and other messaging platforms where identifiers are nested.
curl -X POST 'https://webhook.xpander.ai/?agent_id=YOUR_AGENT_ID&params_mapping={"task_id":"message.chat.id","prompt":"message.text","user_email":"message.from.email"}' \
  -H 'x-api-key: YOUR_API_KEY' \
  -d '{
    "message": {
      "chat": {"id": 123456789},
      "from": {"email": "user@example.com"},
      "text": "Hello agent!"
    }
  }'
The mapping uses dot notation to navigate nested fields. It supports all standard parameters: task_id, user_id, user_email, user_first_name, user_last_name, prompt.

Pass MCP OAuth Tokens

If your agent uses MCP servers with OAuth authentication, pass pre-authenticated user tokens via user_tokens to bypass the interactive OAuth flow during webhook execution.
curl -X POST 'https://webhook.xpander.ai/?agent_id=YOUR_AGENT_ID' \
  -H 'x-api-key: YOUR_API_KEY' \
  -d '{
    "prompt": "Check my calendar",
    "user_email": "user@example.com",
    "user_tokens": {
      "mcp-graph-item-uuid-1": "user-access-token-abc123"
    }
  }'
To find the graph item IDs for your MCP servers, call the Get Agent API and inspect graph.items for entries with type: "mcp".

Monitor Webhook Runs

Every webhook invocation creates a task visible in the Monitor tab, exactly like any other agent run. You get the full execution trace: prompts, tool calls with request/response payloads, files processed, timing, and token usage. For details on reading execution traces, see Threads.

Handle Errors

StatusResponseCause
400{"detail": "agent_id is required"}Missing agent_id parameter
401{"detail": "API key not specified"}Missing x-api-key header or query param
403{"detail": "Invalid API key"}Wrong API key or no access to this agent

Next Steps

Scheduled Tasks

Run agents on a recurring schedule

MCP Protocol

Expose agents to Claude Desktop and code editors

Monitor Runs

Trace execution, debug failures, and review AI performance