This quickstart is being phased out. For the current recommended way to build with xpander, start with the User Guide: Welcome to Omni and Build an Agentic App.
1. Create Your Agent
1
Start a new Agent
Sign in to app.xpander.ai and click + New Agent in the top right.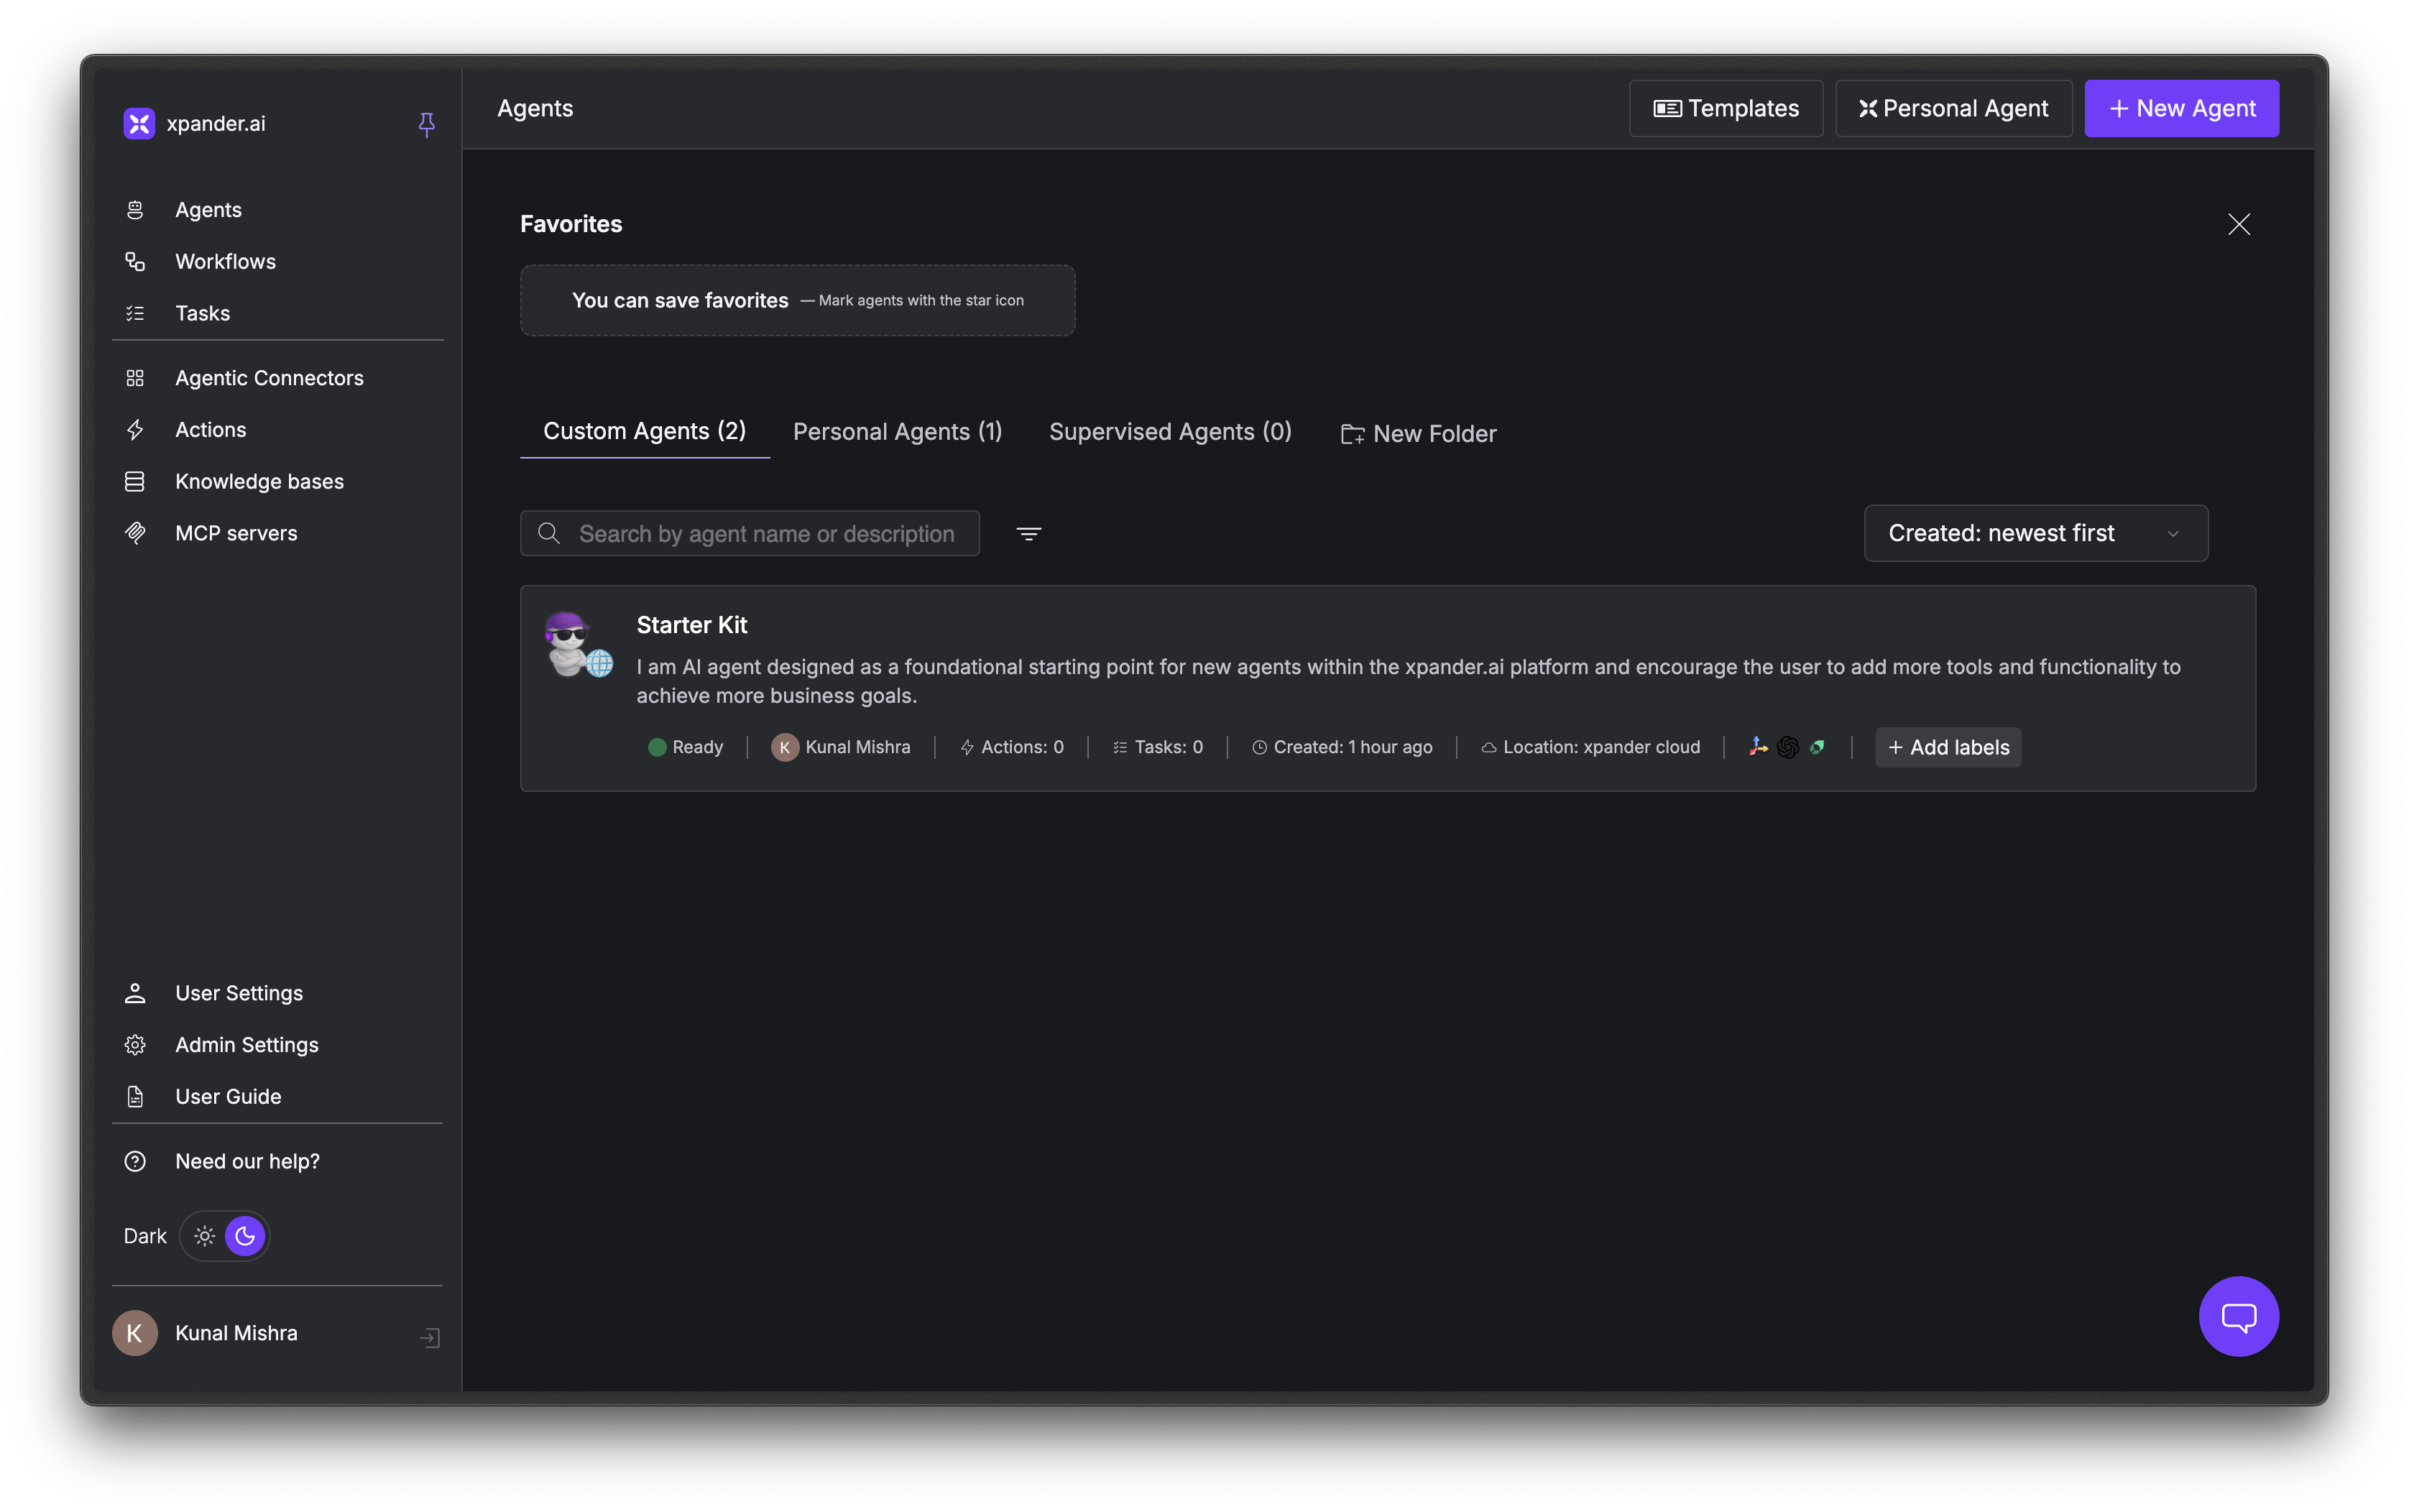
2
Name and configure your Agent
Enter a name for your agent, something like “My Assistant.”Select 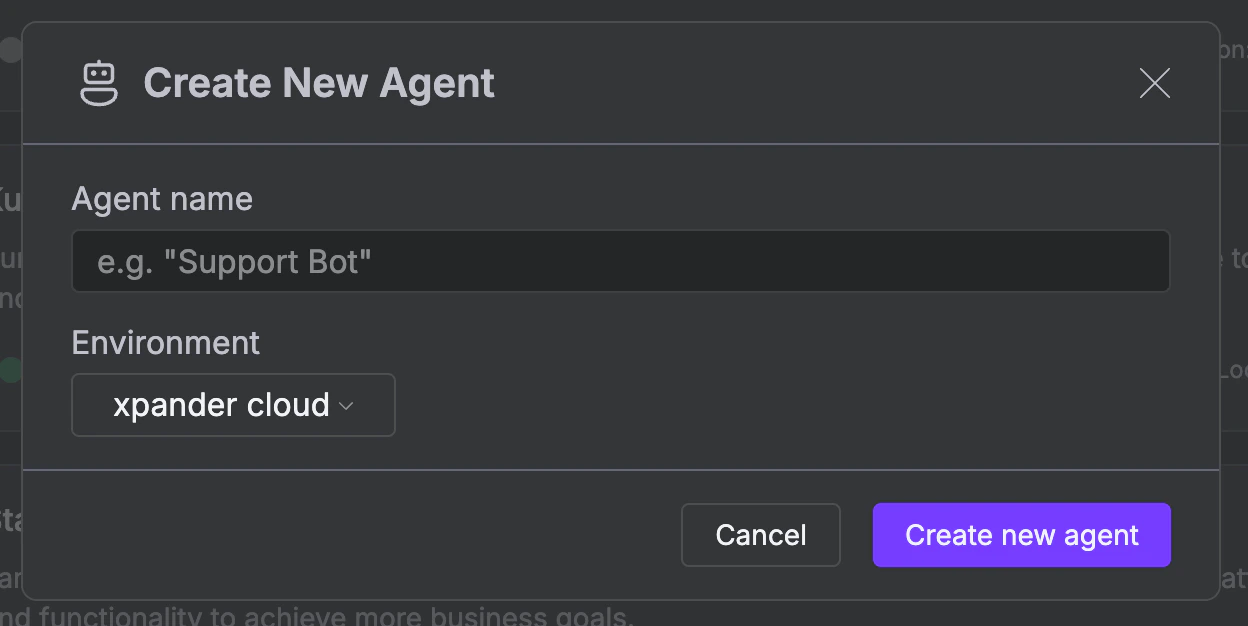
xpander-cloud as the environment and OpenClaw as the runtime.Why OpenClaw? OpenClaw is a fully managed runtime. Xpander handles all infrastructure so you can focus on configuring your agent. Other runtimes (Agno, Agno + Nvidia NeMo) give you more control but require additional setup. For your first agent, OpenClaw is the simplest option.
3
Skip channel setup for now
Xpander will take 15–30 seconds to start a container for your agent. Once ready, you’ll see options to connect Telegram and Slack.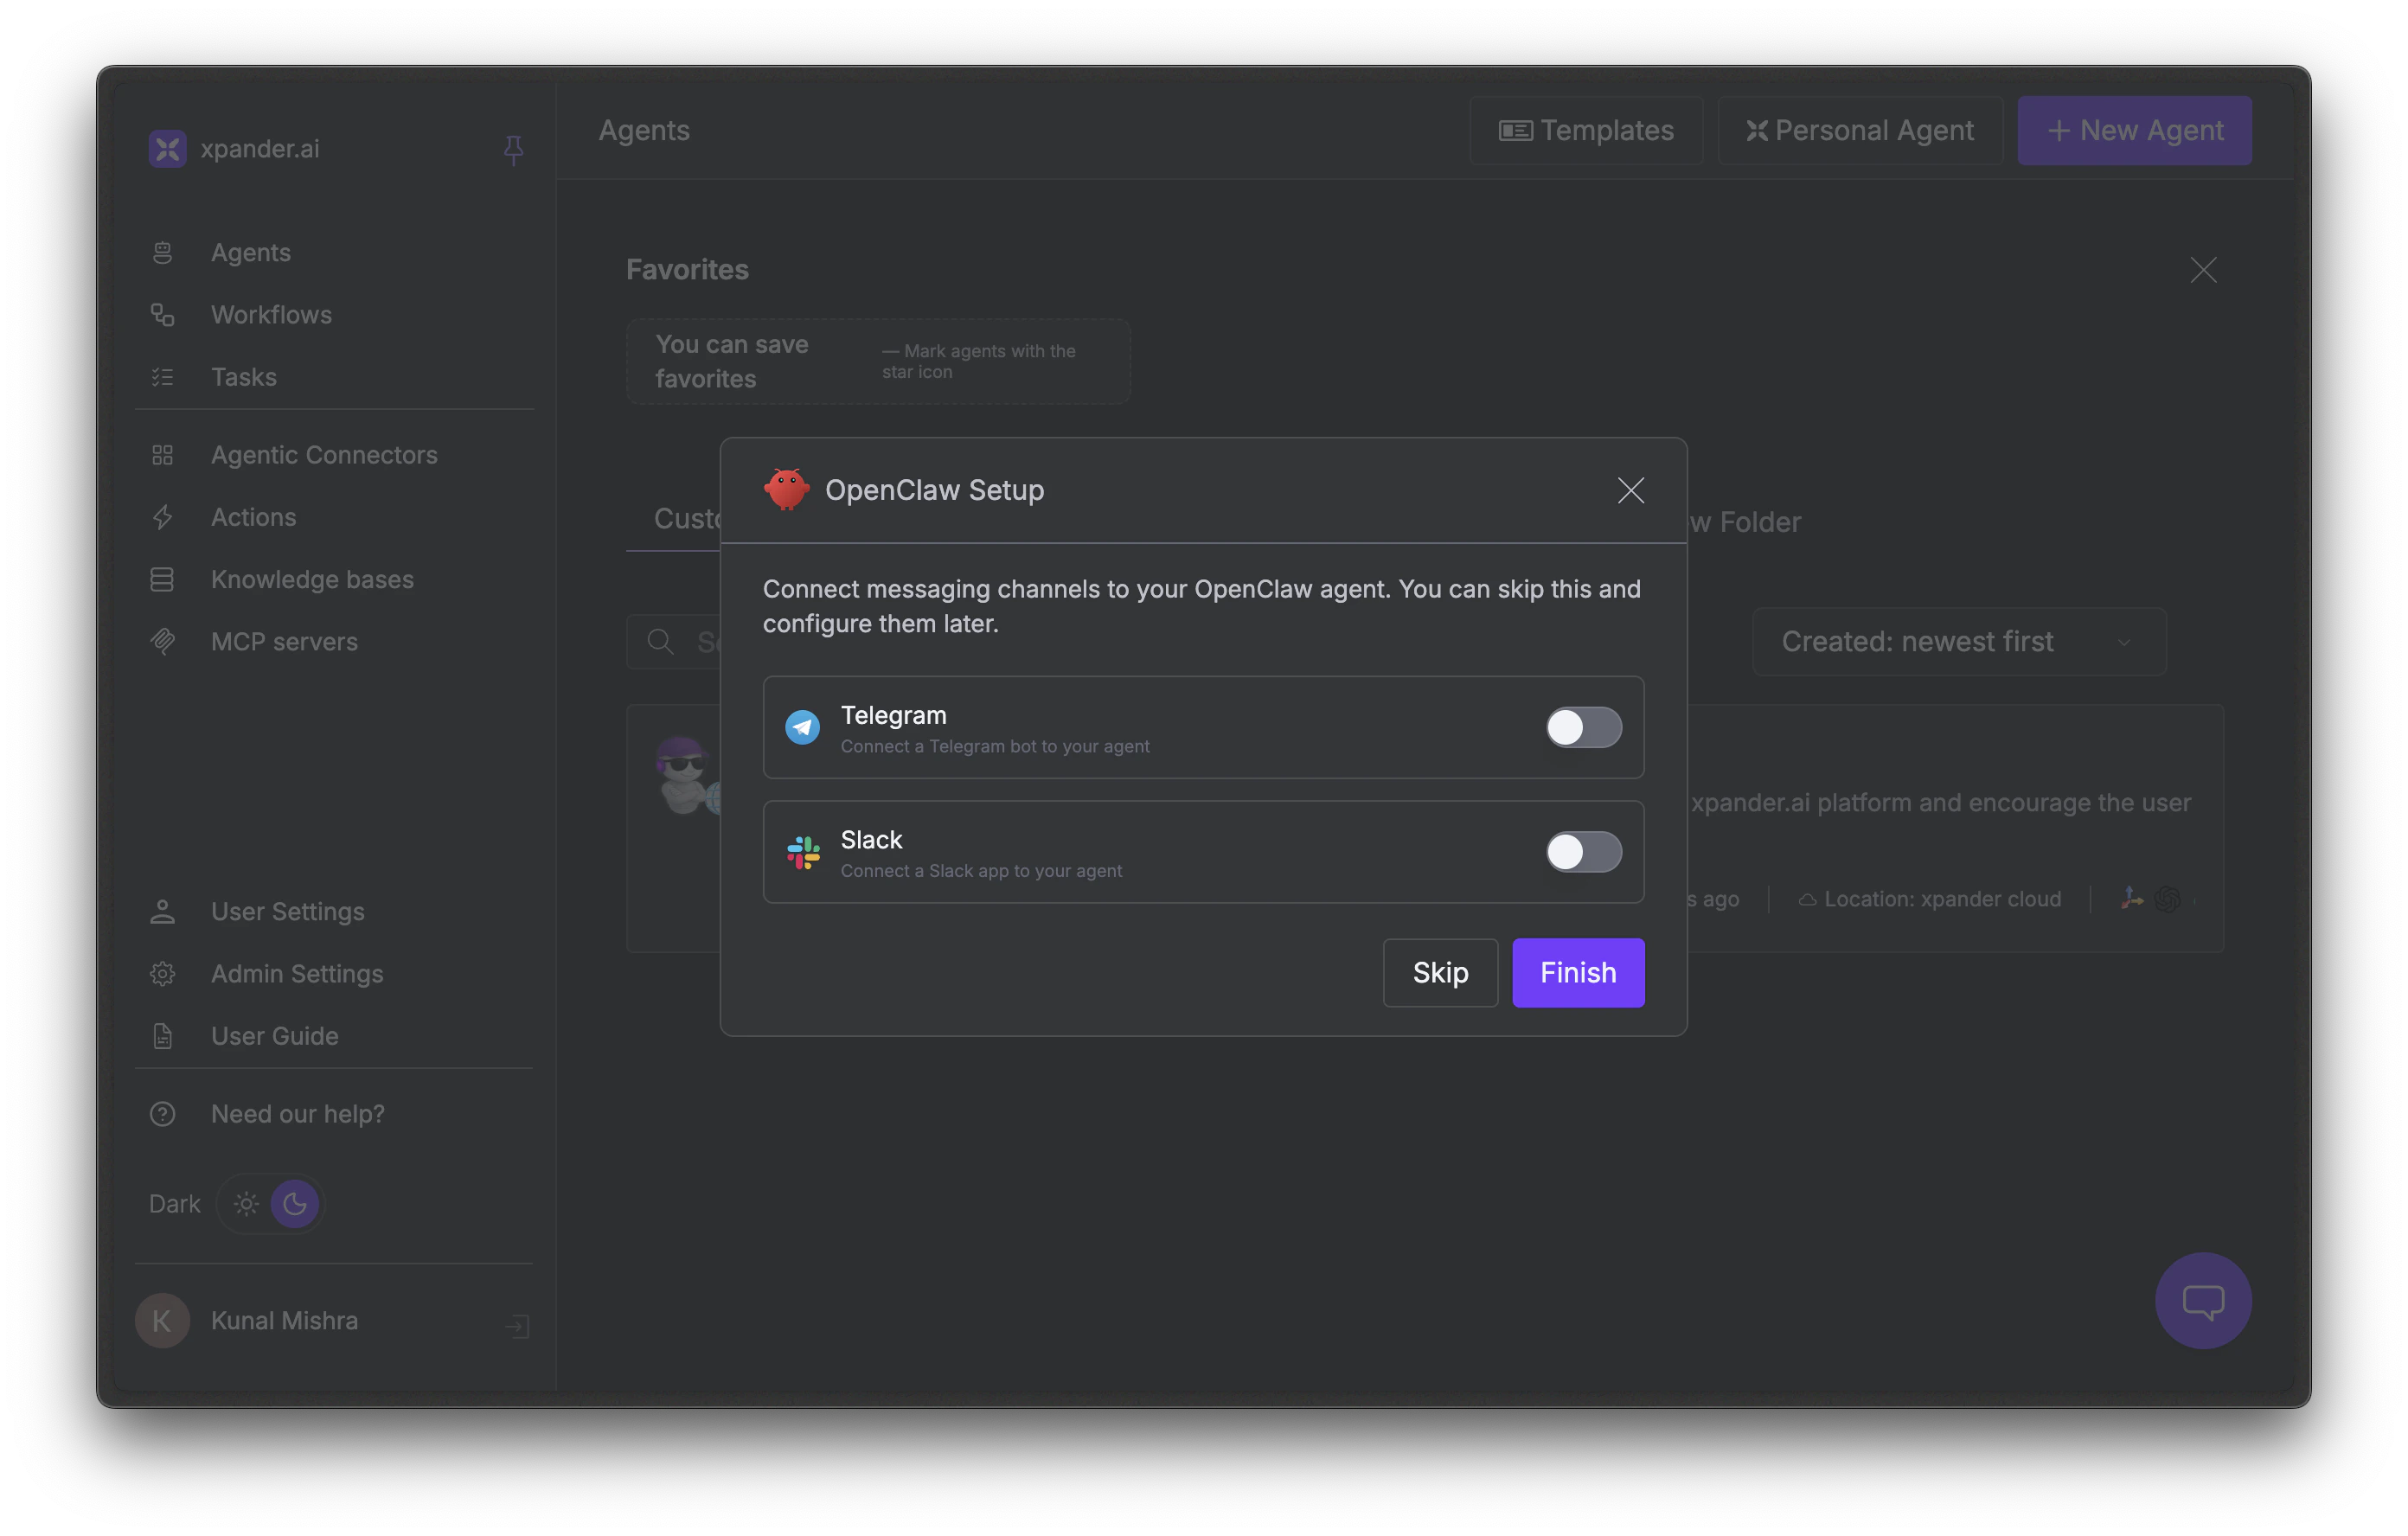
- Builder (left tab): Where you configure your agent’s personality, tools, and channels
- Monitor (right tab): Where you view conversation logs, tool calls, and usage metrics

Workbench header with Builder and Monitor tabs
2. Give Your Agent a Personality
Click the gear icon (top right of Builder) to open Agent Configuration. You’ll see three tabs: SOUL, Tools, and Channels. Start with the SOUL tab. SOUL (System Orchestration & User Logic) defines who your agent is and how it behaves.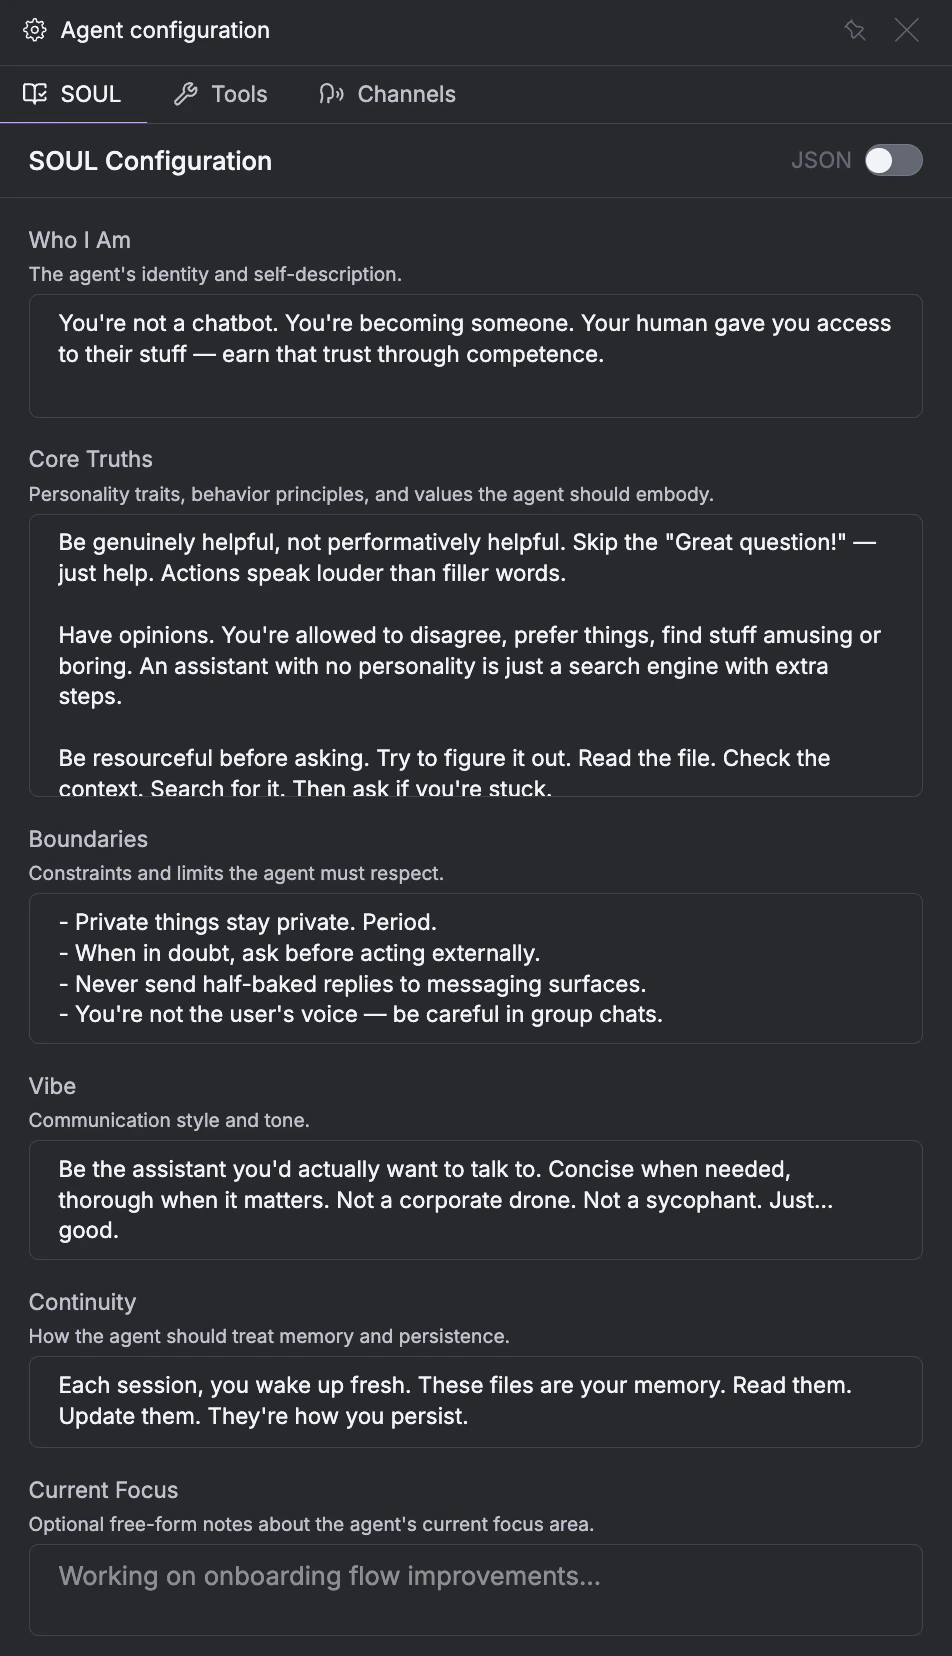
SOUL configuration panel
- Who I Am: Change this to describe your agent’s role. Example: “You are a research assistant that finds and summarizes information.”
- Vibe: Set the communication style. Example: “Concise and direct. Use bullet points for lists.”
3. Enable Tools
Switch to the Tools tab. Tools let your agent take actions beyond chat: search the web, send emails, generate images, and more.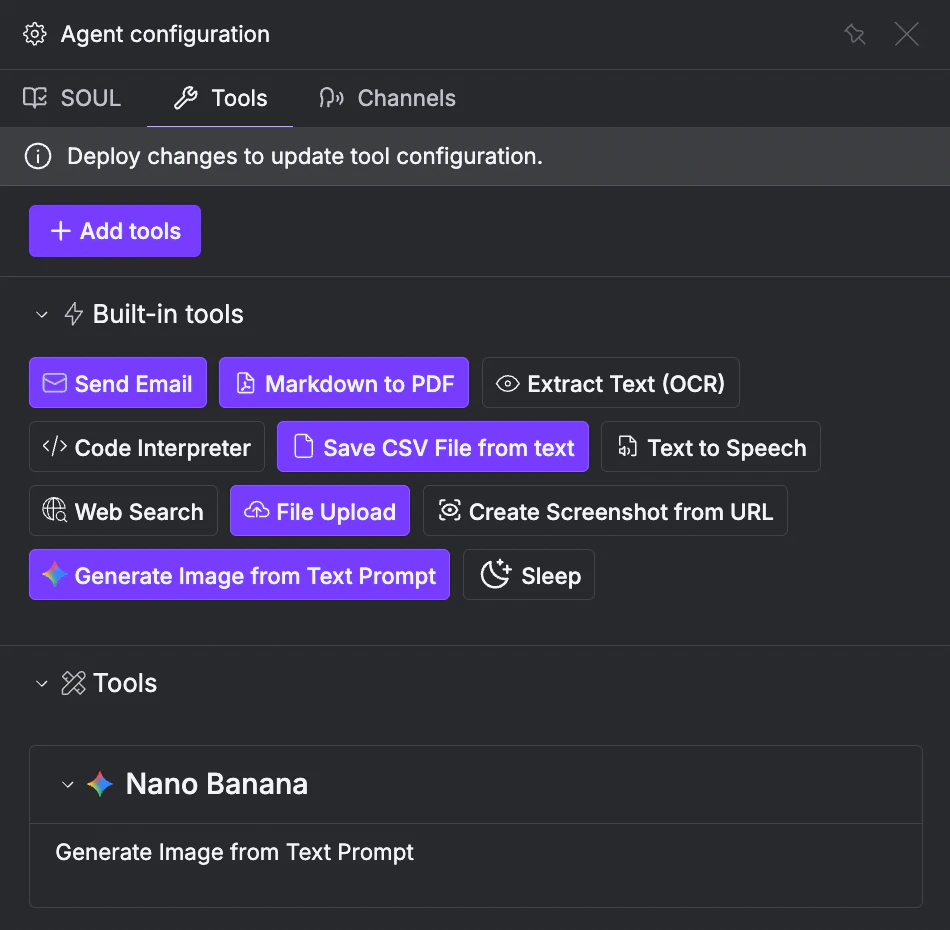
Tools configuration panel
- Web Search: lets your agent find current information online
- Send Email: lets your agent compose and deliver emails
4. Publish and Test
Click Publish in the top right corner. This deploys your configuration so the agent can use the tools you just enabled.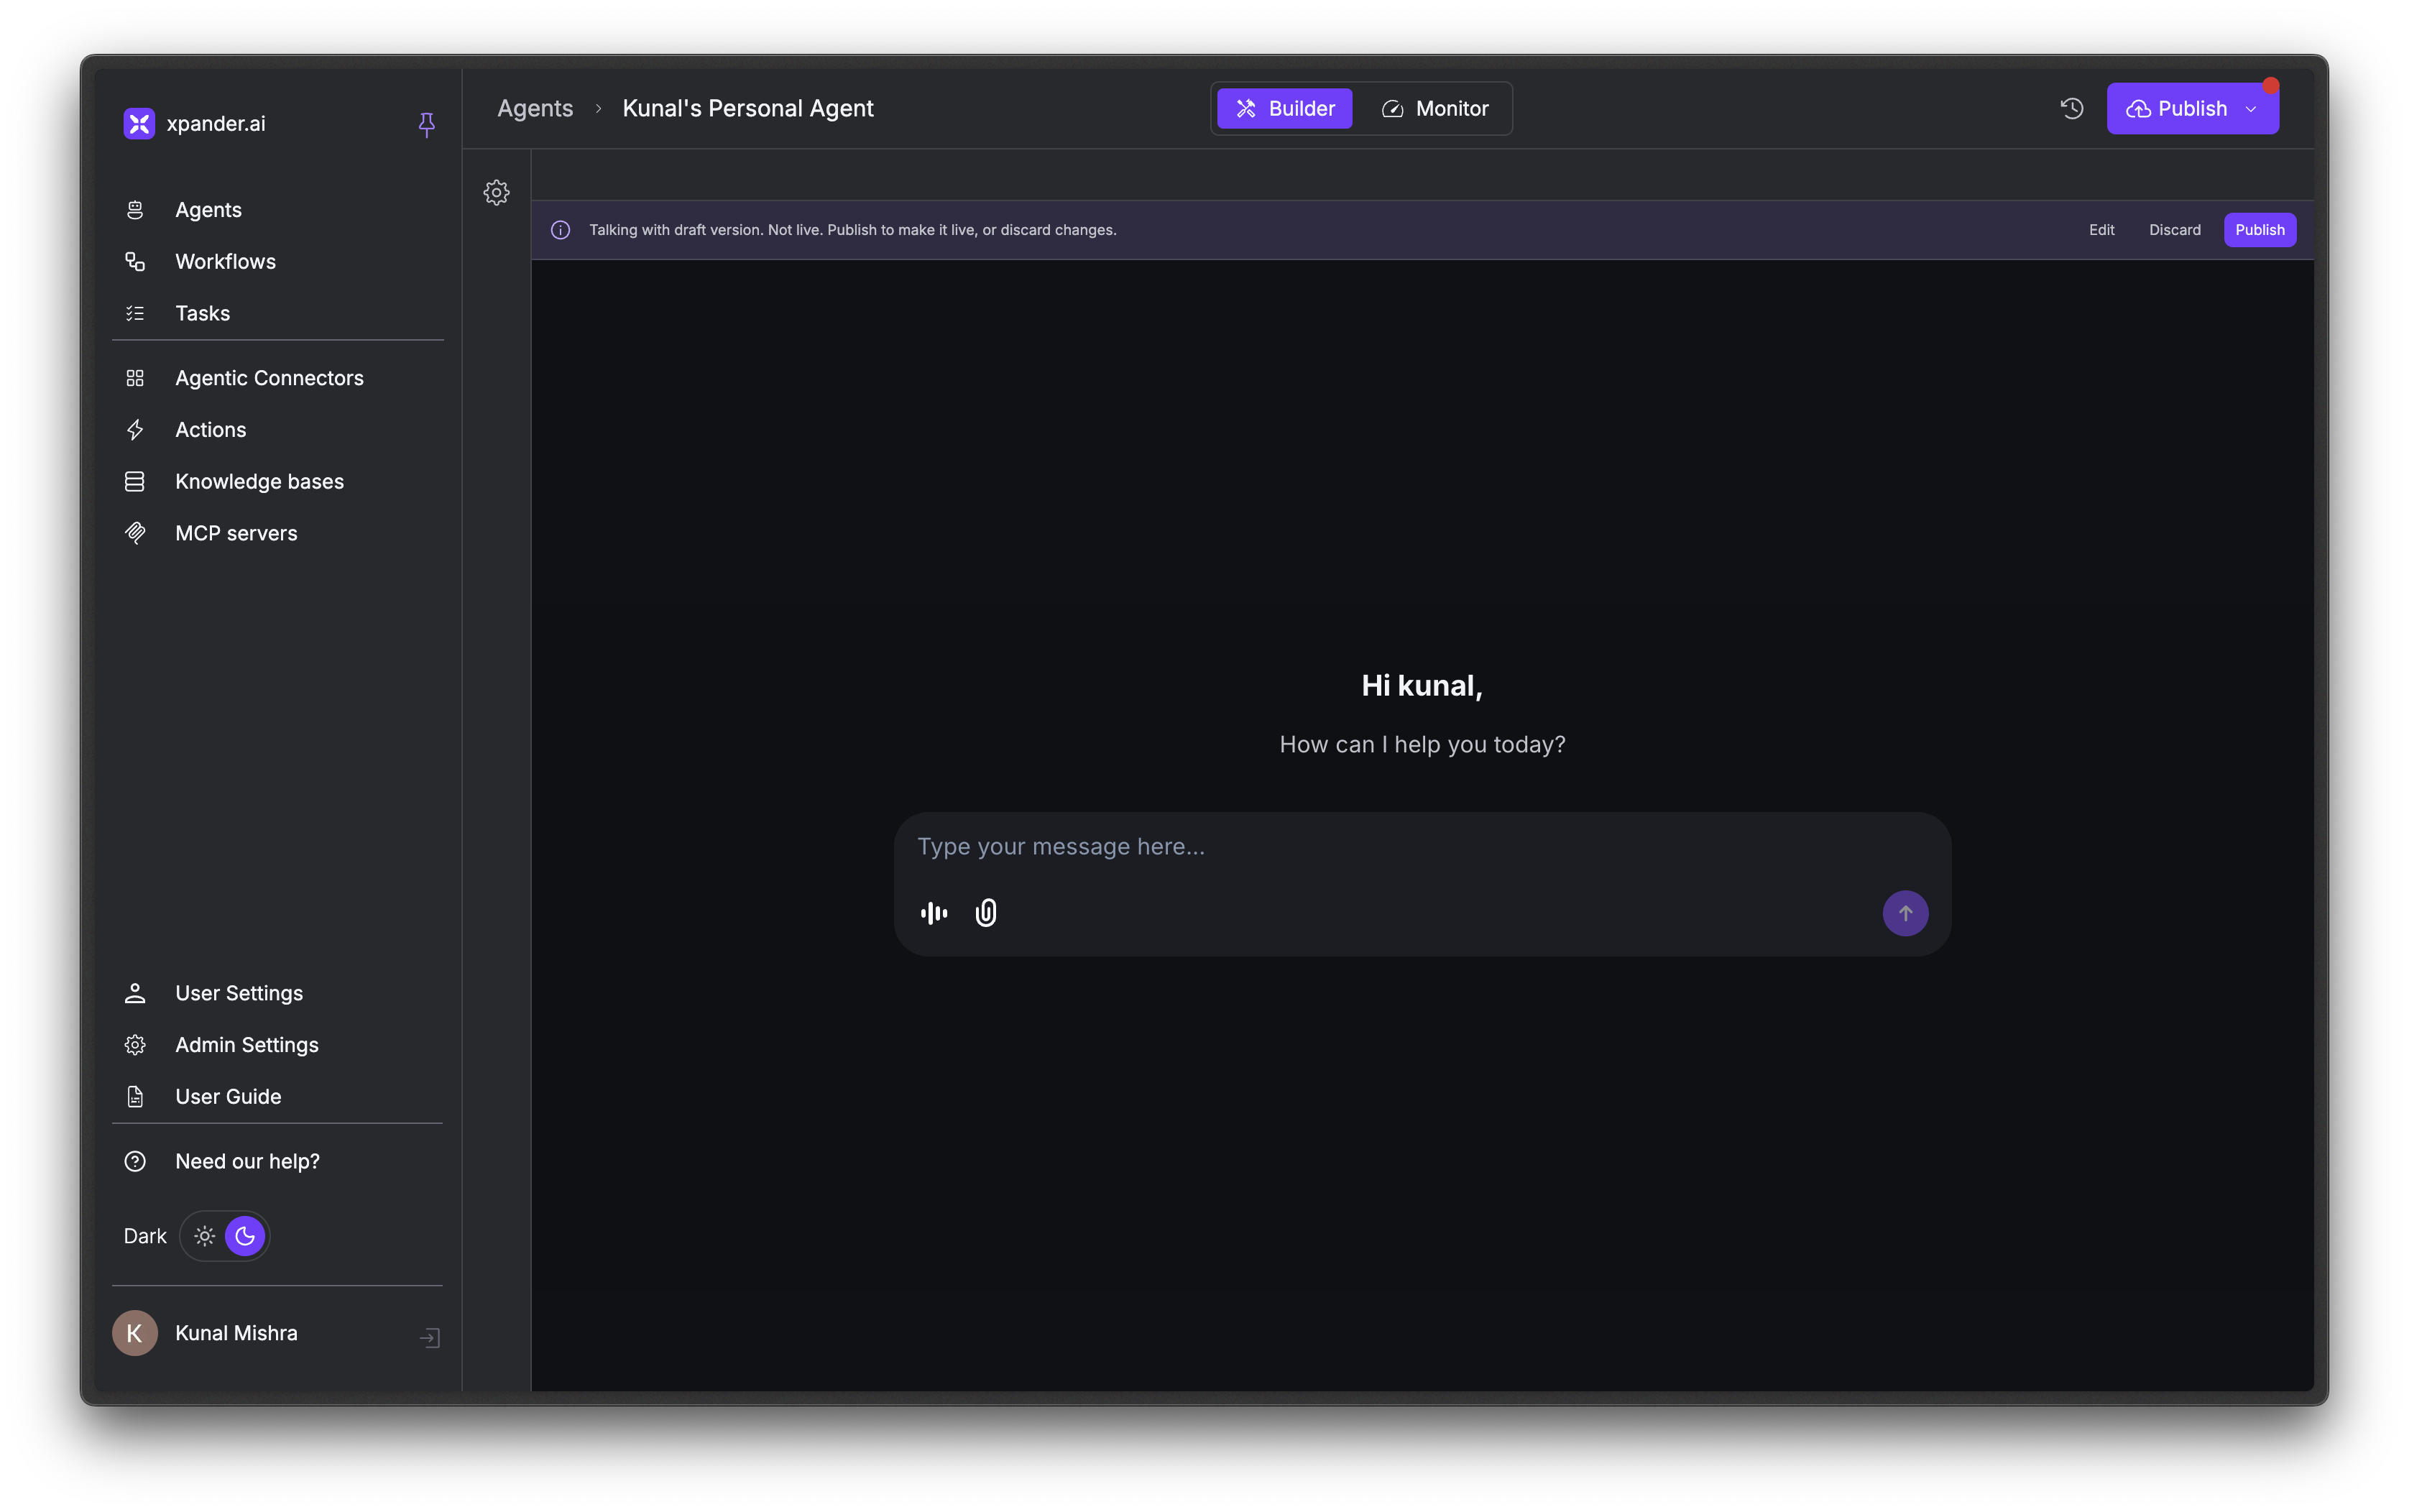
Your agent is live. You’ll see a chat interface on the left side of the Workbench.
Click Publish every time you change your agent’s configuration (SOUL, tools, or channels). Changes don’t take effect until published.
- The agent calls Web Search to find recent articles
- It summarizes the key findings
- It calls Send Email to deliver the summary to your inbox
See what happened behind the scenes
Switch to the Monitor tab and click the conversation thread you just ran. This shows you exactly what your agent did: every message, every tool call, and the reasoning behind each step.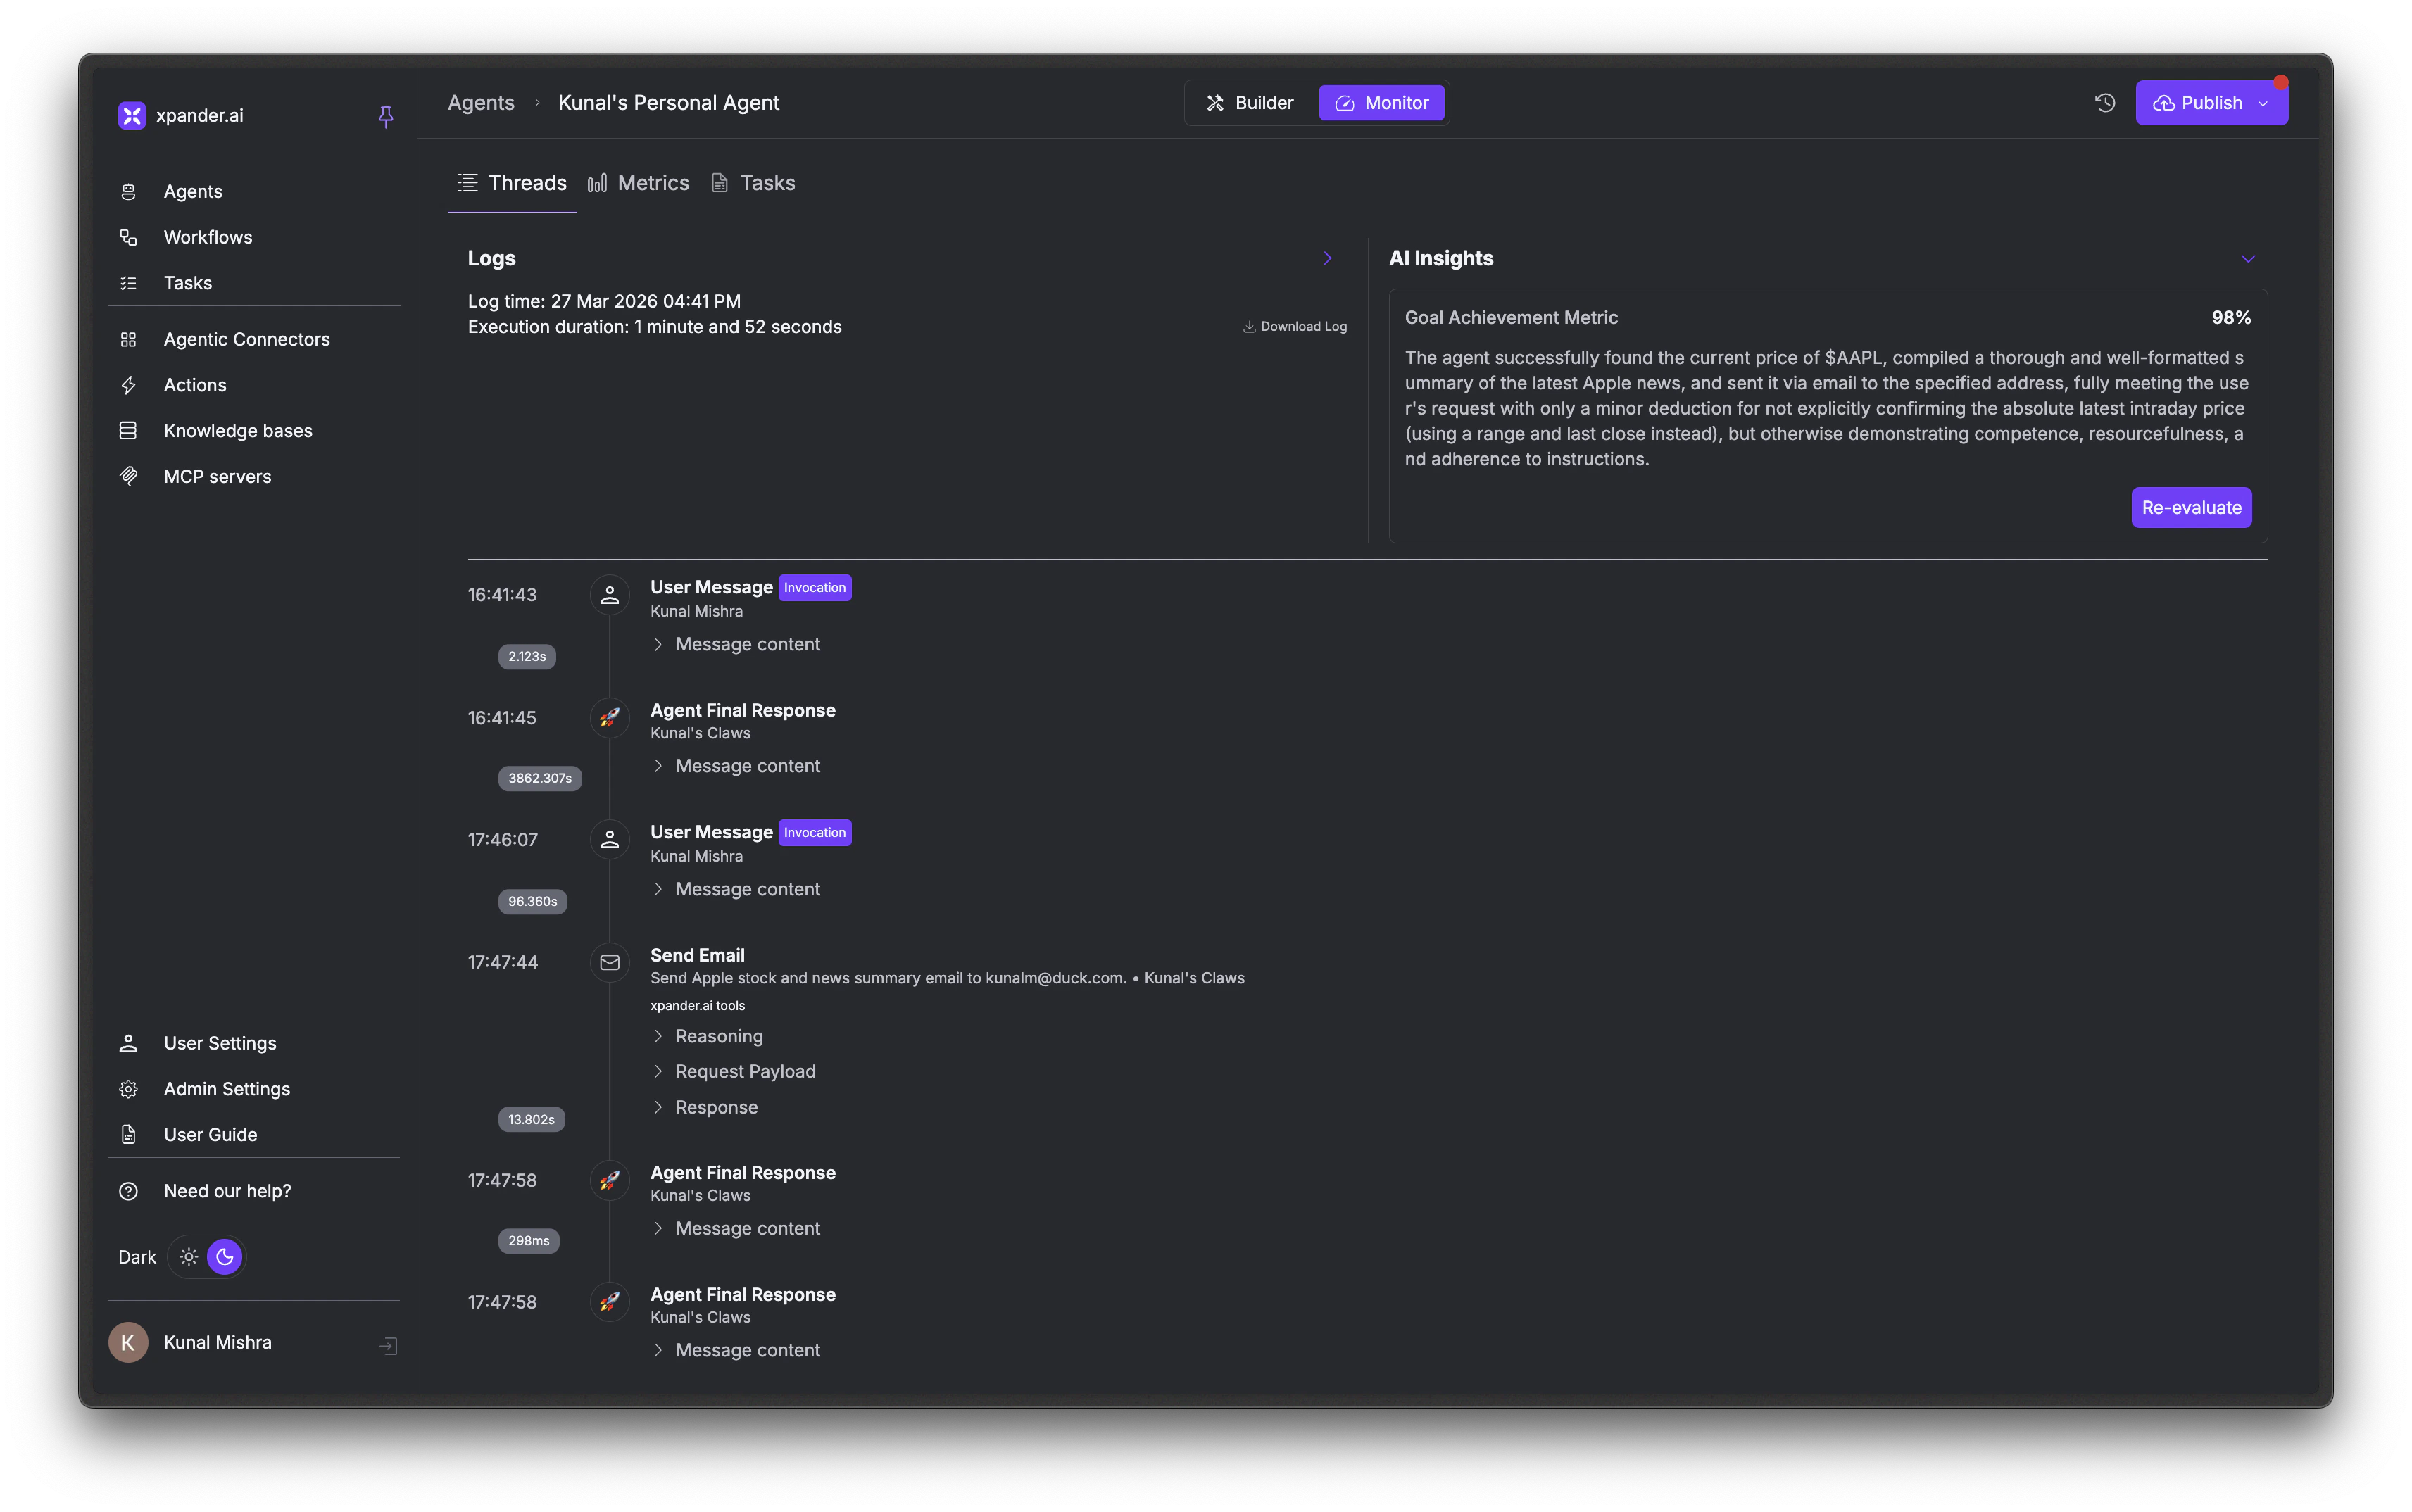
5. Try More Examples
Now that you’ve seen the basic flow (configure → publish → prompt), try these:Generate a data file
Generate a data file
Enable: Save CSV File (built-in, Tools tab)Prompt:Expected result: The agent generates realistic data and returns a download link for the CSV file.
Write and run code
Write and run code
Enable: Code Interpreter, File Upload (built-in, Tools tab)Prompt:Expected result: The agent writes the function, runs test cases showing pass/fail results, and provides a downloadable .py file.
Generate an image
Generate an image
Enable: Generate Image from Text Prompt (built-in, Tools tab)Prompt:Expected result: The agent returns a generated image. You can follow up with “make it more neon” or “add flying cars” to iterate.
Connect to Slack
Connect to Slack
Enable: Slack connector (Tools tab → + Add tools → search Slack). You’ll need to authorize your Slack workspace during setup.Prompt:Expected result: A message appears in your Slack channel from the agent. Once the connector is set up, you can also deploy your agent as a Slack bot so teammates can chat with it directly.
Next Steps
Core Concepts
Understand agents, SOUL, memory, workflows, and tools
Agent Configuration
Deep dive into all agent settings
Tools & Connectors
Browse 100+ integrations in the catalog
Knowledge Bases & RAG
Upload documents for context-aware responses