About dbt Labs
dbt (Data Build Tool) is an open-source and cloud platform that enables analytics engineers to transform raw data into clean, documented, and tested datasets directly in their cloud warehouses using SQL and software engineering best practices. Key features include:- SQL‑based modeling: Build modular, versioned SQL models in any cloud data warehouse (Snowflake, BigQuery, Redshift, Databricks)
- Documentation & lineage: Auto‑generated docs, searchable metadata, lineage graphs for transparency and governance.
- Orchestration & scheduling: Built‑in job scheduler, run history, run visibility, alerting and Slack/email integrations.
- Semantic Layer: Centralized and consistent metric definitions surfaced to dashboards or LLMs (Enterprise tier).
- dbt Mesh: Handles data dependencies across business domains, multi‑team orchestration.
Authentication Options
Below are possible authentication options you can choose:- API Access
Generate a dbt Labs API Token
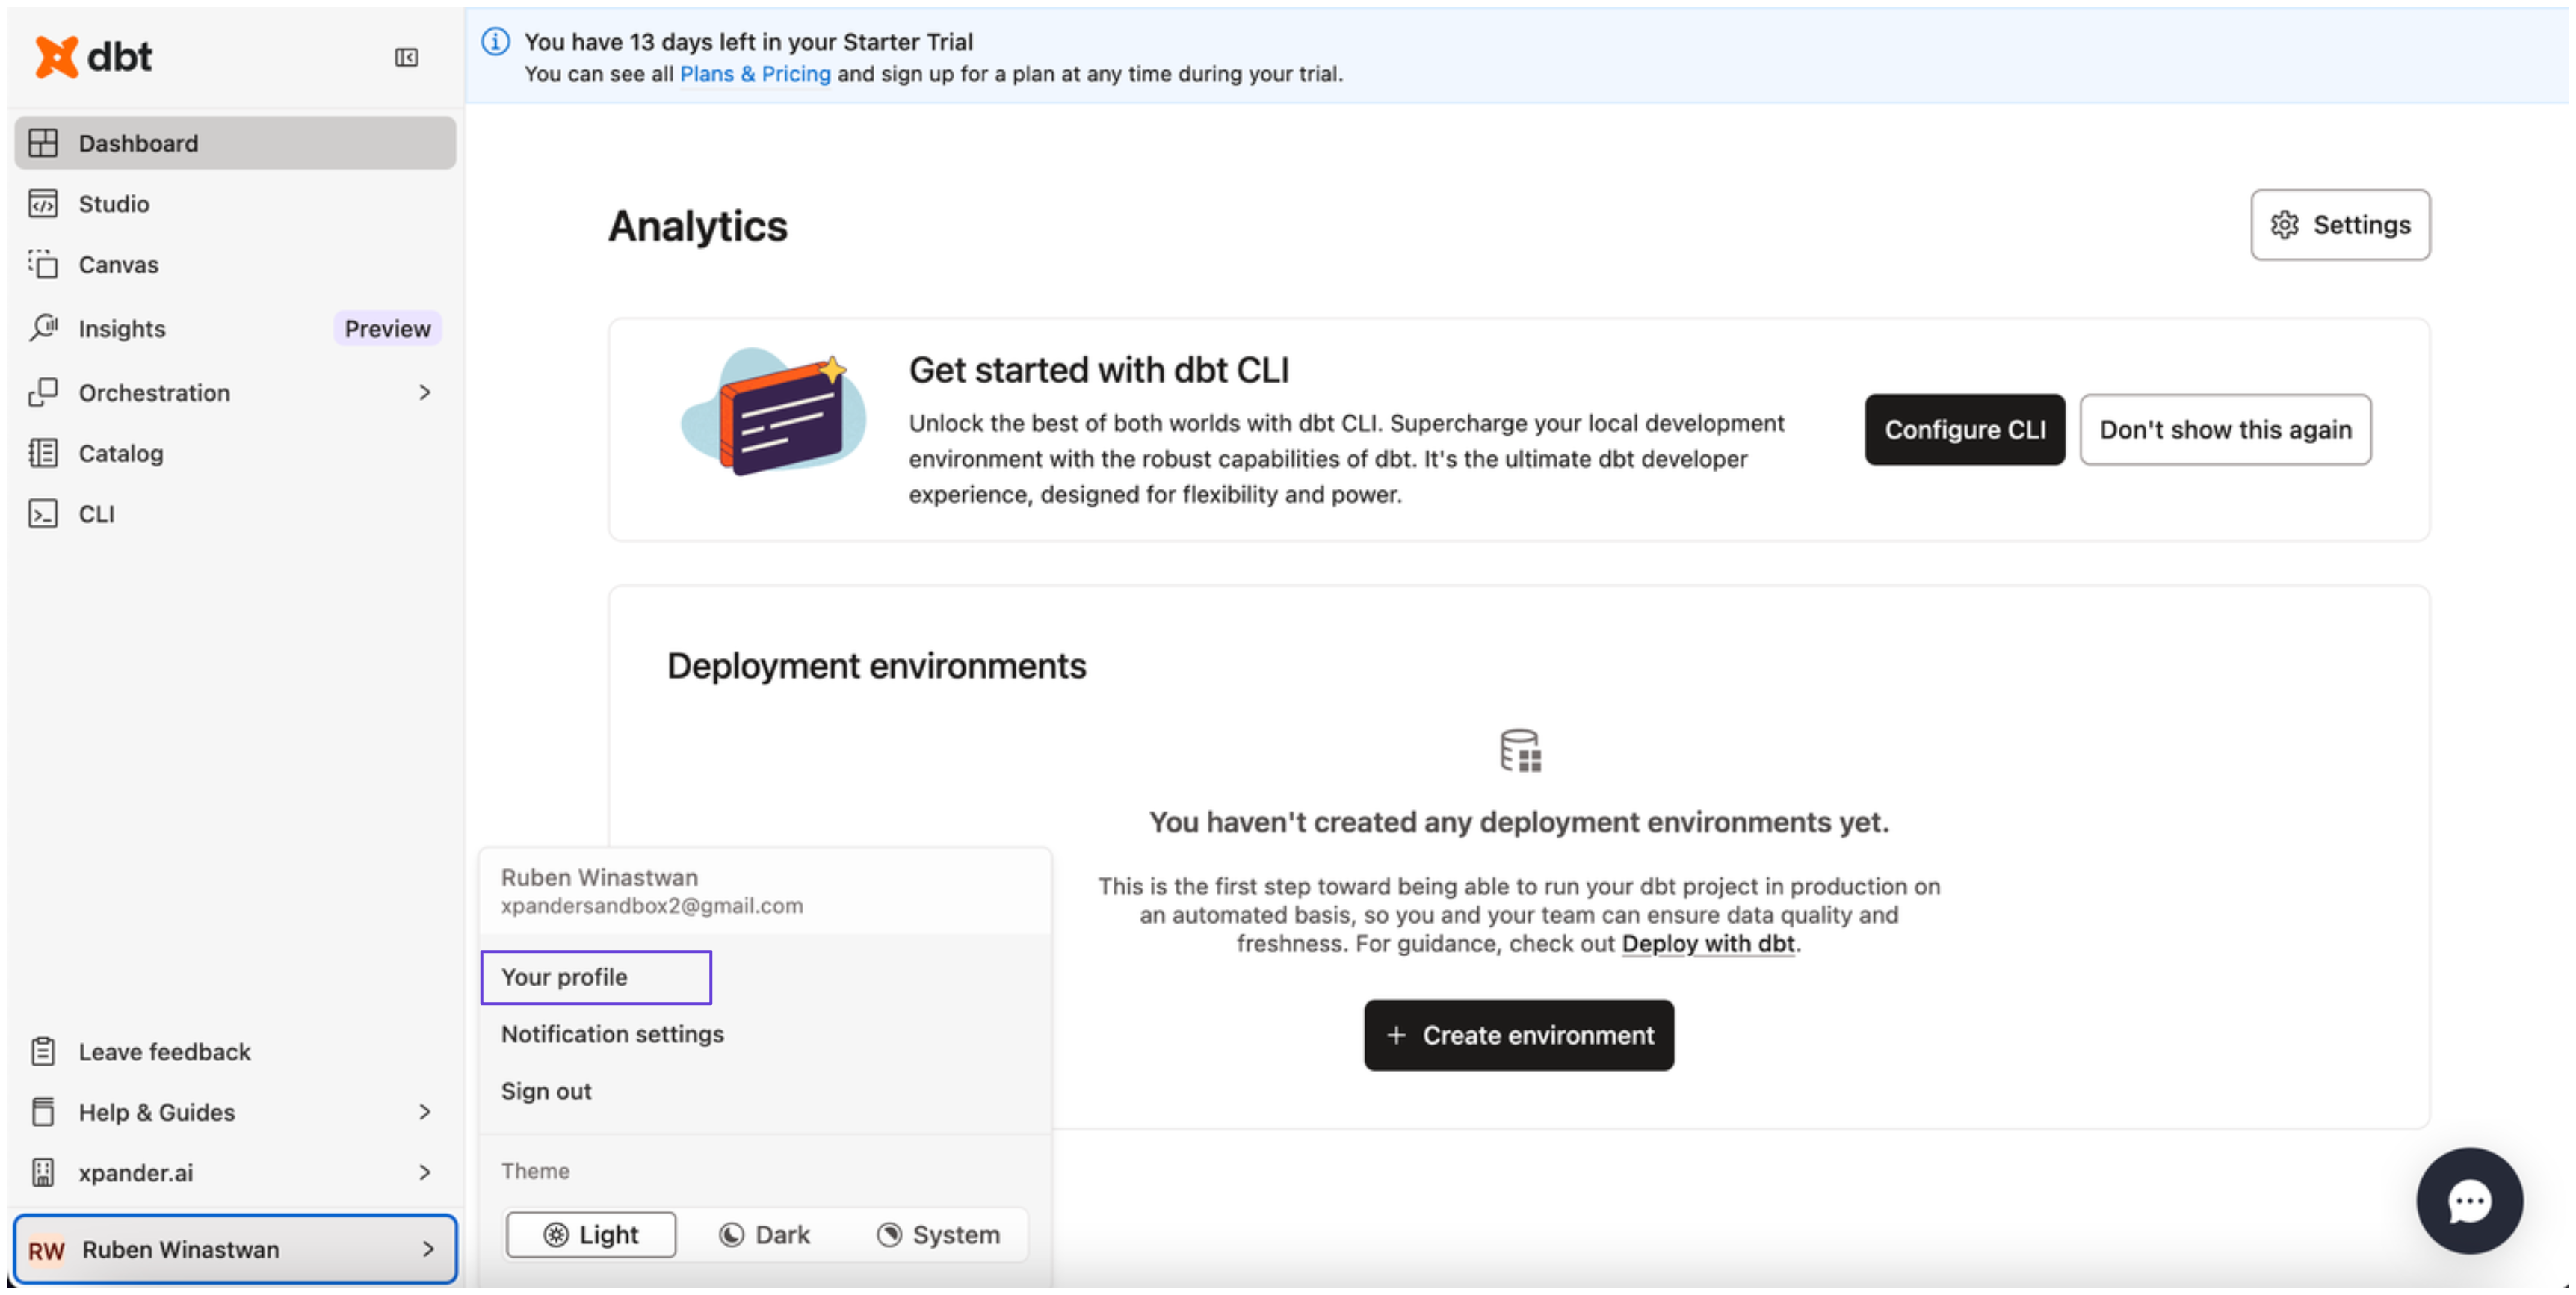
- Log in to your dbt Labs account.
-
At the bottom of the sidebar in your dashboard, click your profile and select Your profile.
-
In the sidebar, choose Personal tokens, then click Create personal access token.
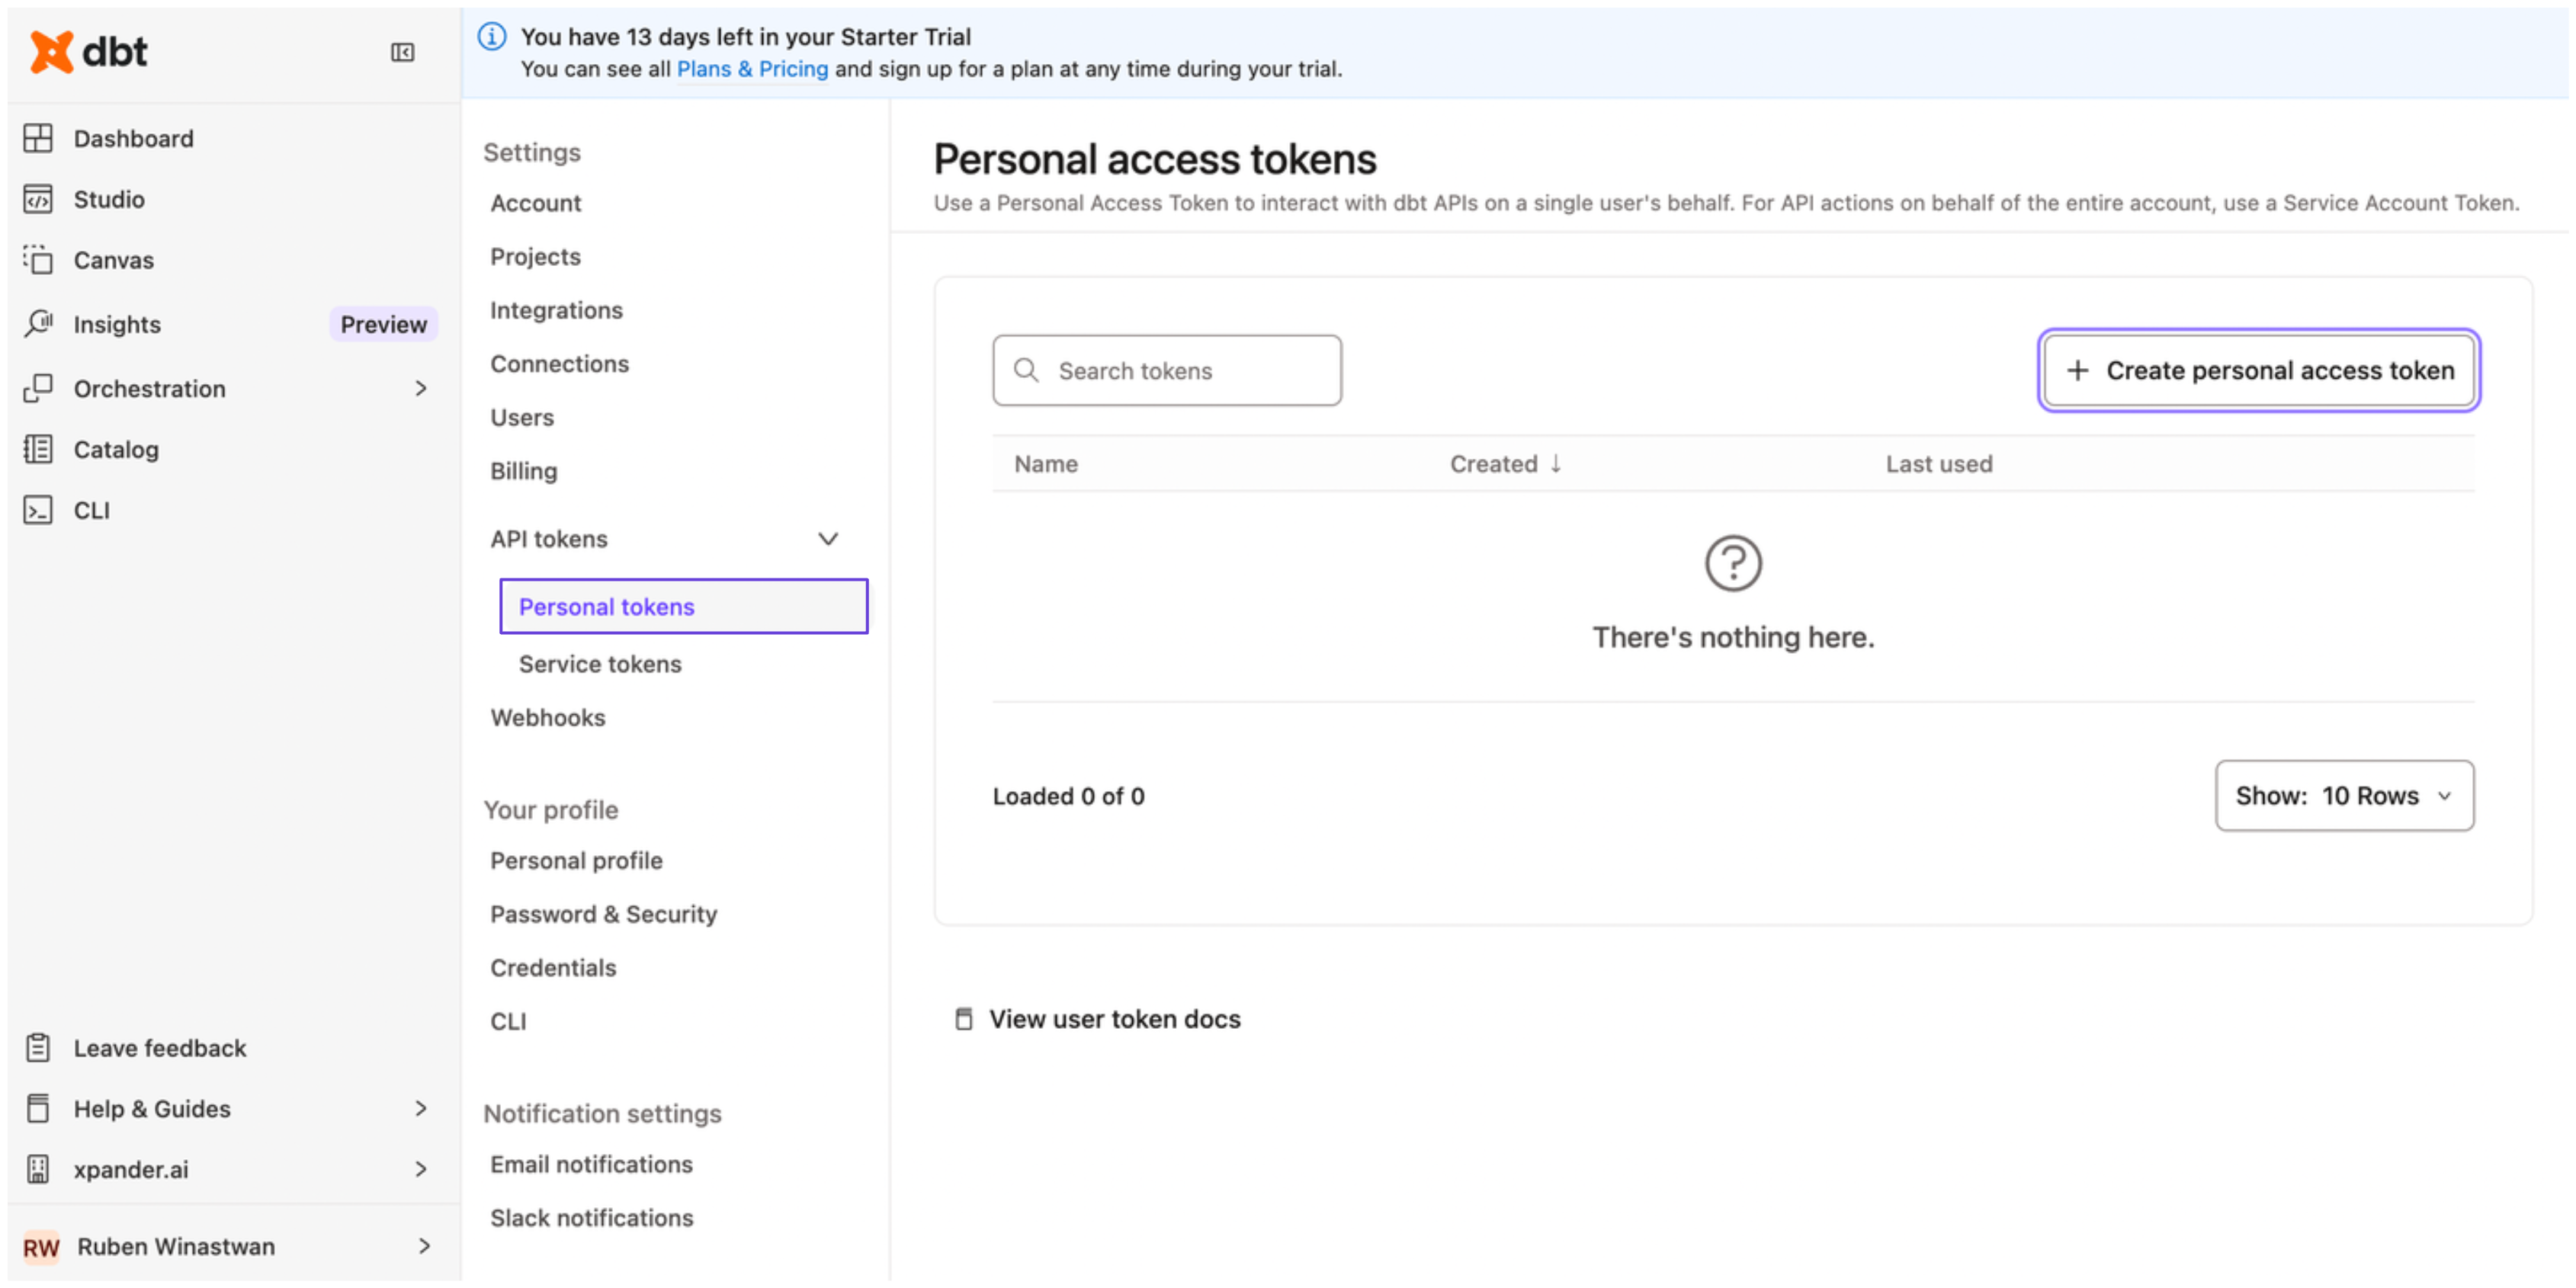
- Enter a name for your access token, then click Save.
- Copy your personal access token and store it securely before closing the dialog box.
Integrate dbt Labs into xpander.ai
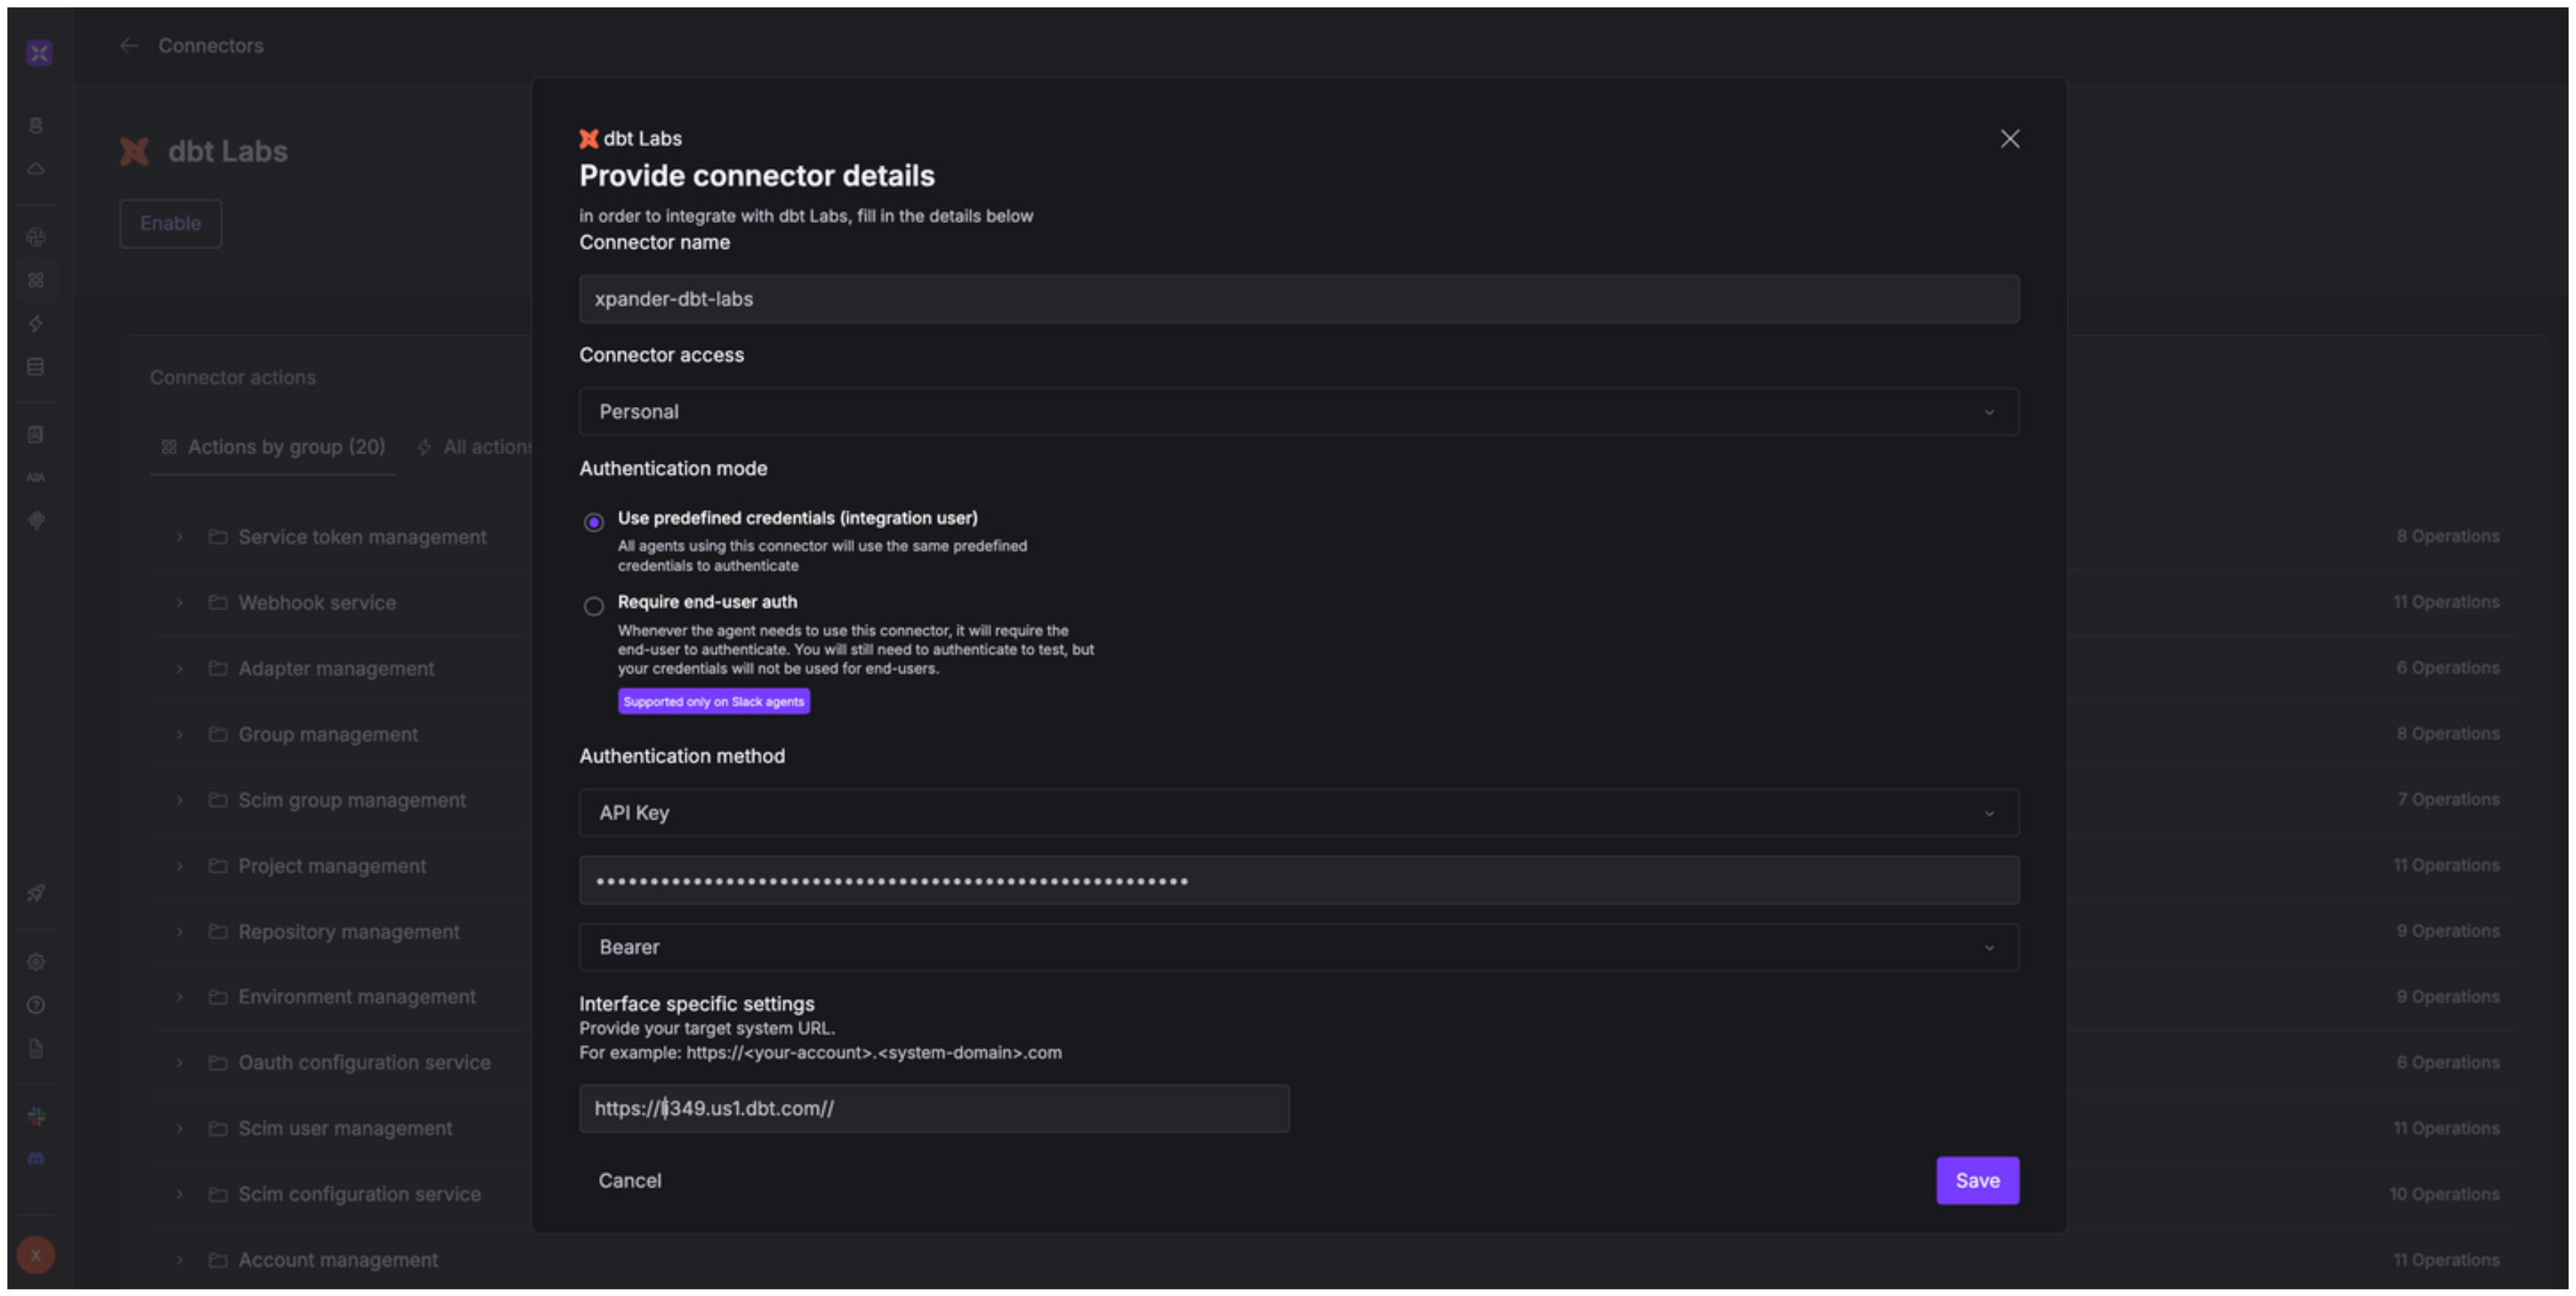
- In your xpander.ai dashboard, go to the Connectors section in the sidebar.
- Select dbt Labs from the available integrations.
- Click Enable.
- Enter a connector name, e.g., “xpander-dbt-labs”.
- Choose Integration User as the authentication mode.
- Select API Key as the authentication method.
- Paste your dbt Labs access token into the provided field.
- Set the Auth Type to Bearer.
-
Under Interface specific settings, enter the base URL:
https://{url}/, replacing with the URL of your dbt Labs account. You can find the URL of your dbt account by clicking Account -> Access URL in the same page where you created your personal access token before.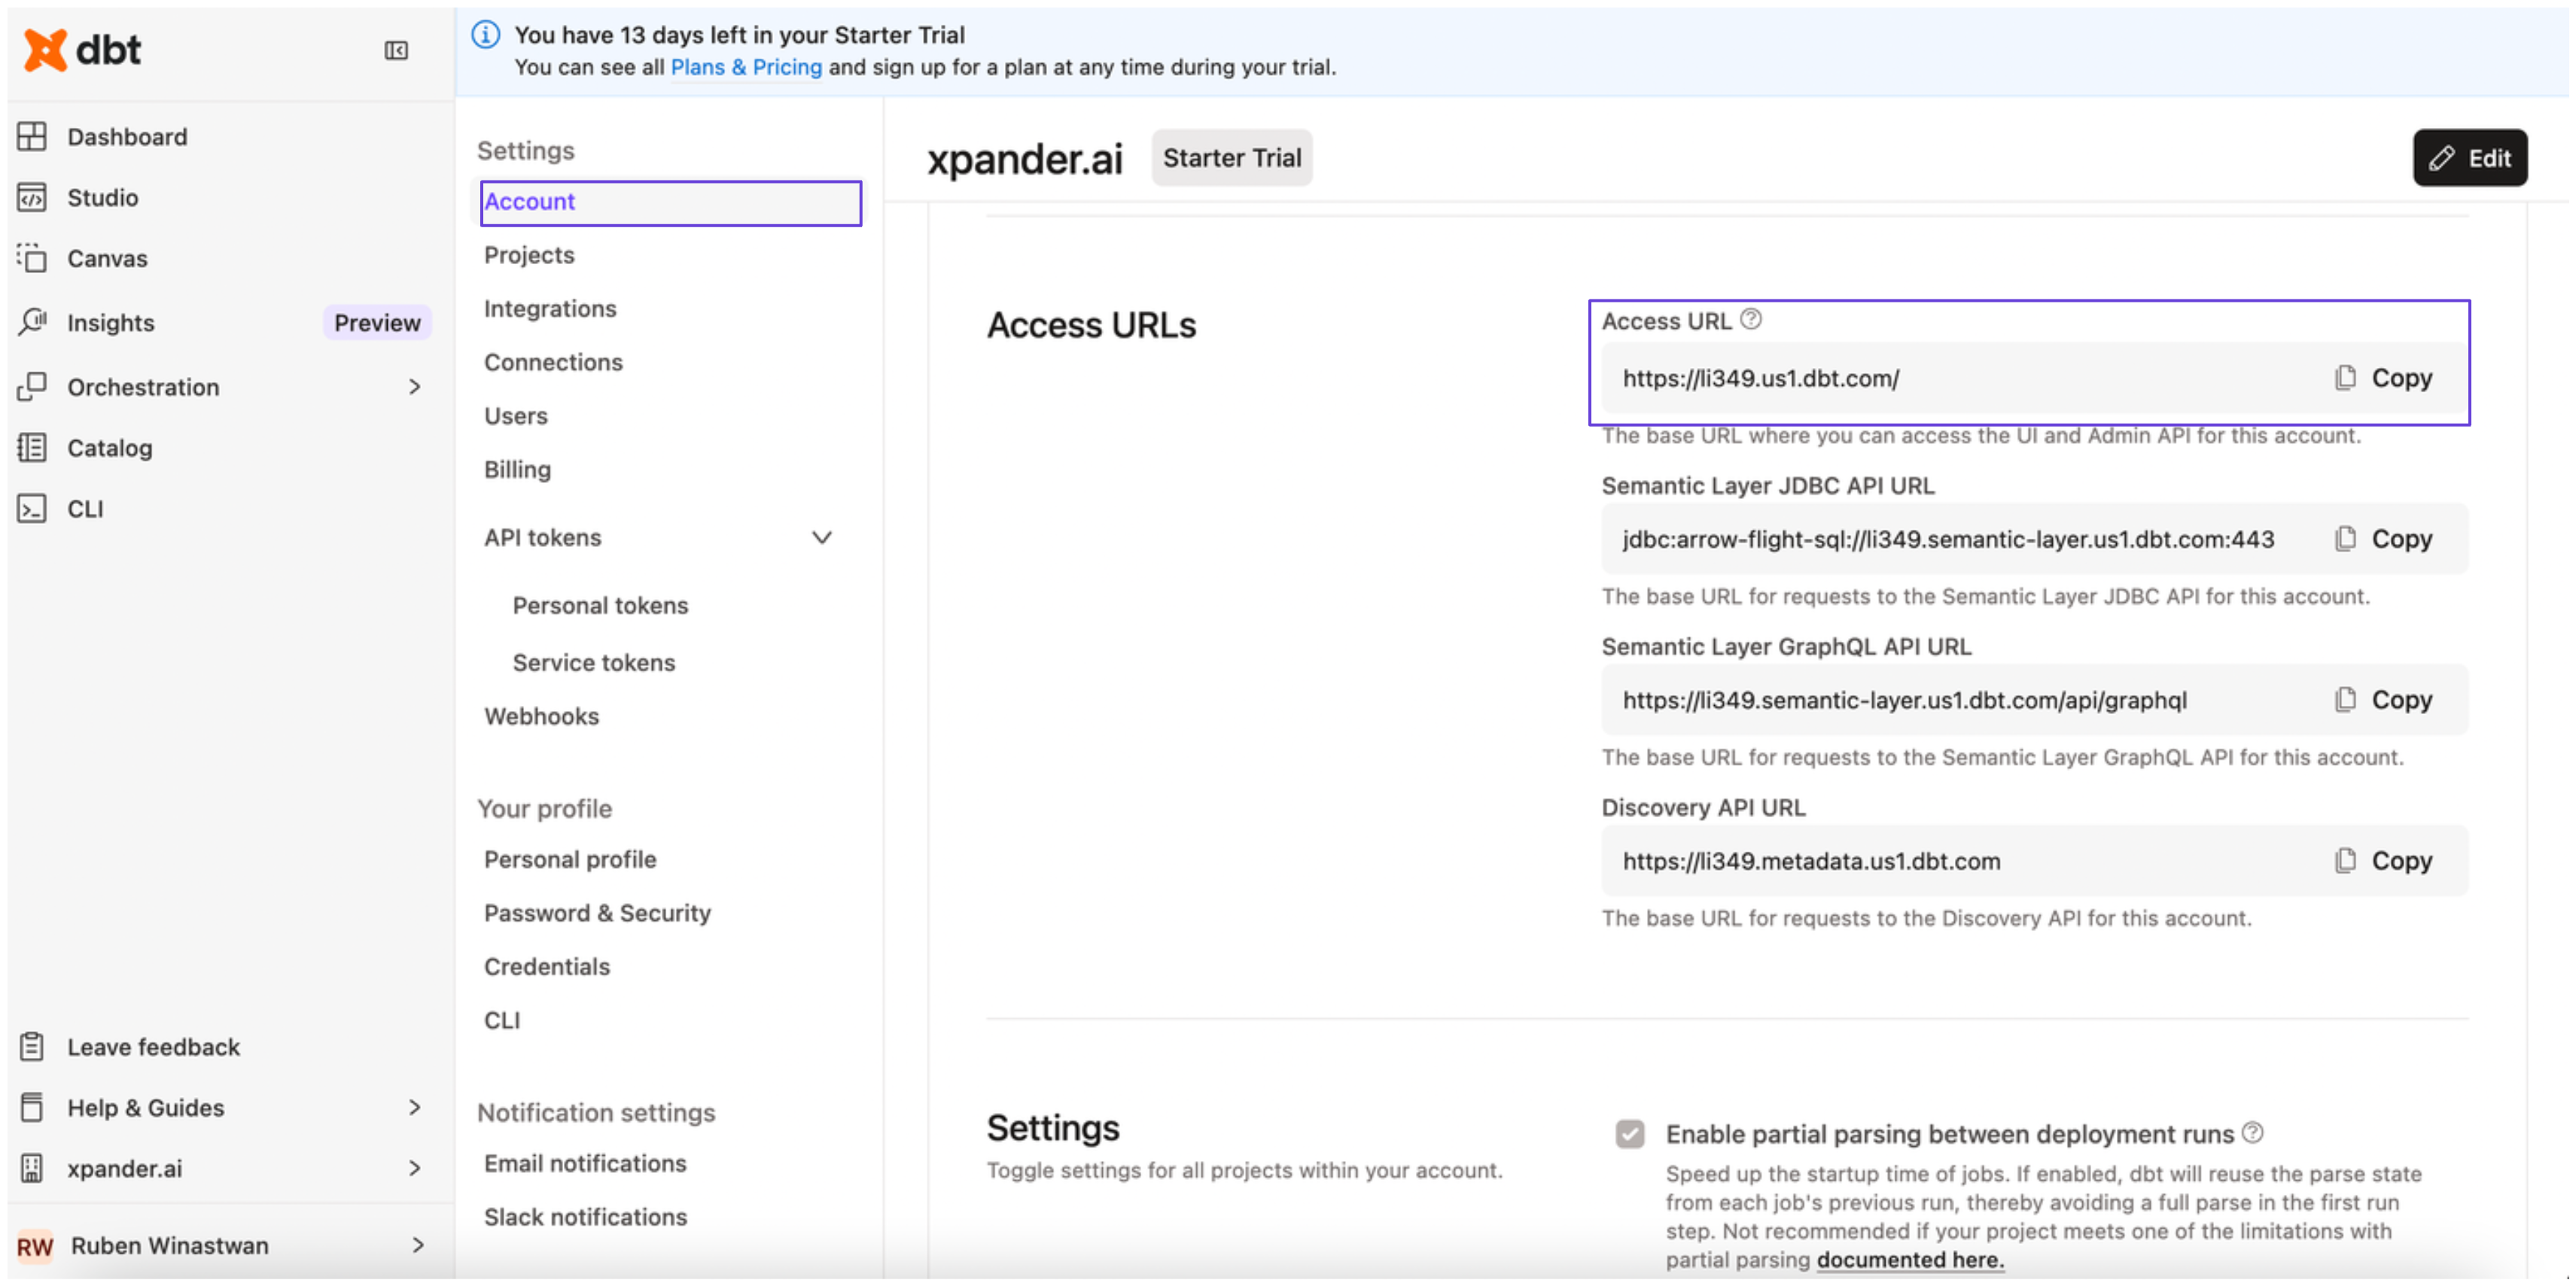
-
Save the configuration.
Integration of dbt Labs into AI Agent
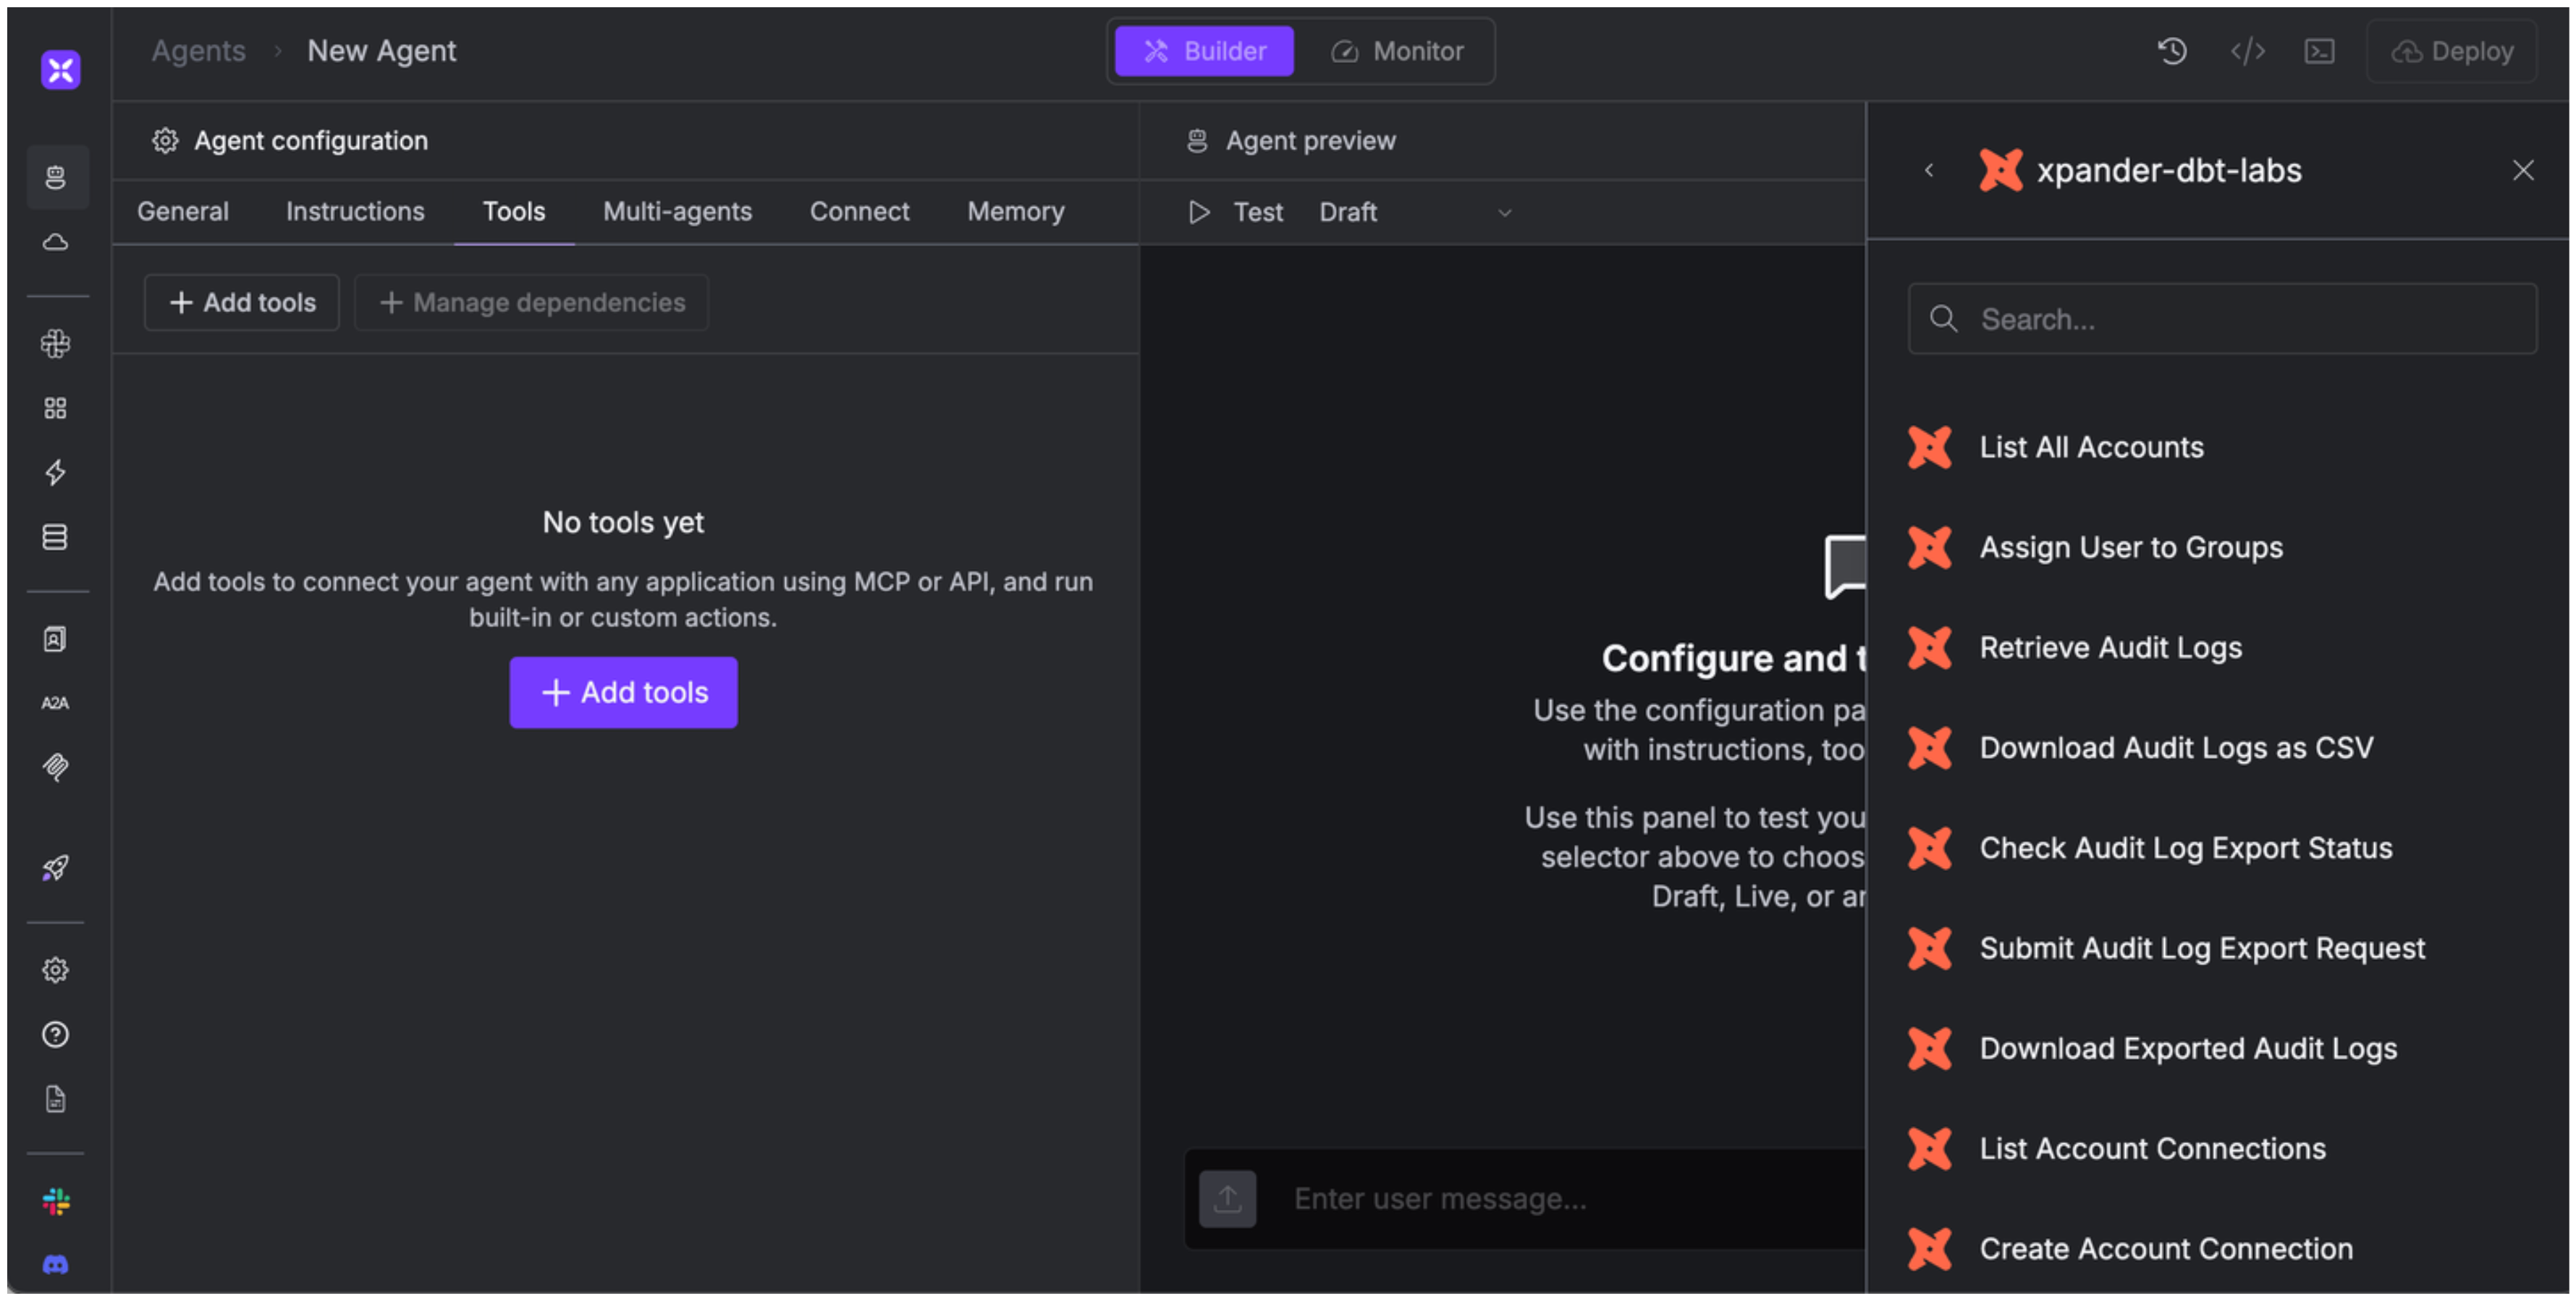
Once you’ve configured your dbt Labs account with the authentication option(s) described above, you can integrate it into your AI agent with xpander.ai:- In your xpander.ai dashboard, go to the Agent Configuration tab and select Tools, then click Add Tools.
- Select Connectors.
- Choose dbt Labs with the same connector name you configured in the previous section (e.g., xpander-dbt-labs).
- Select the available dbt Labs operations that suit your use case.
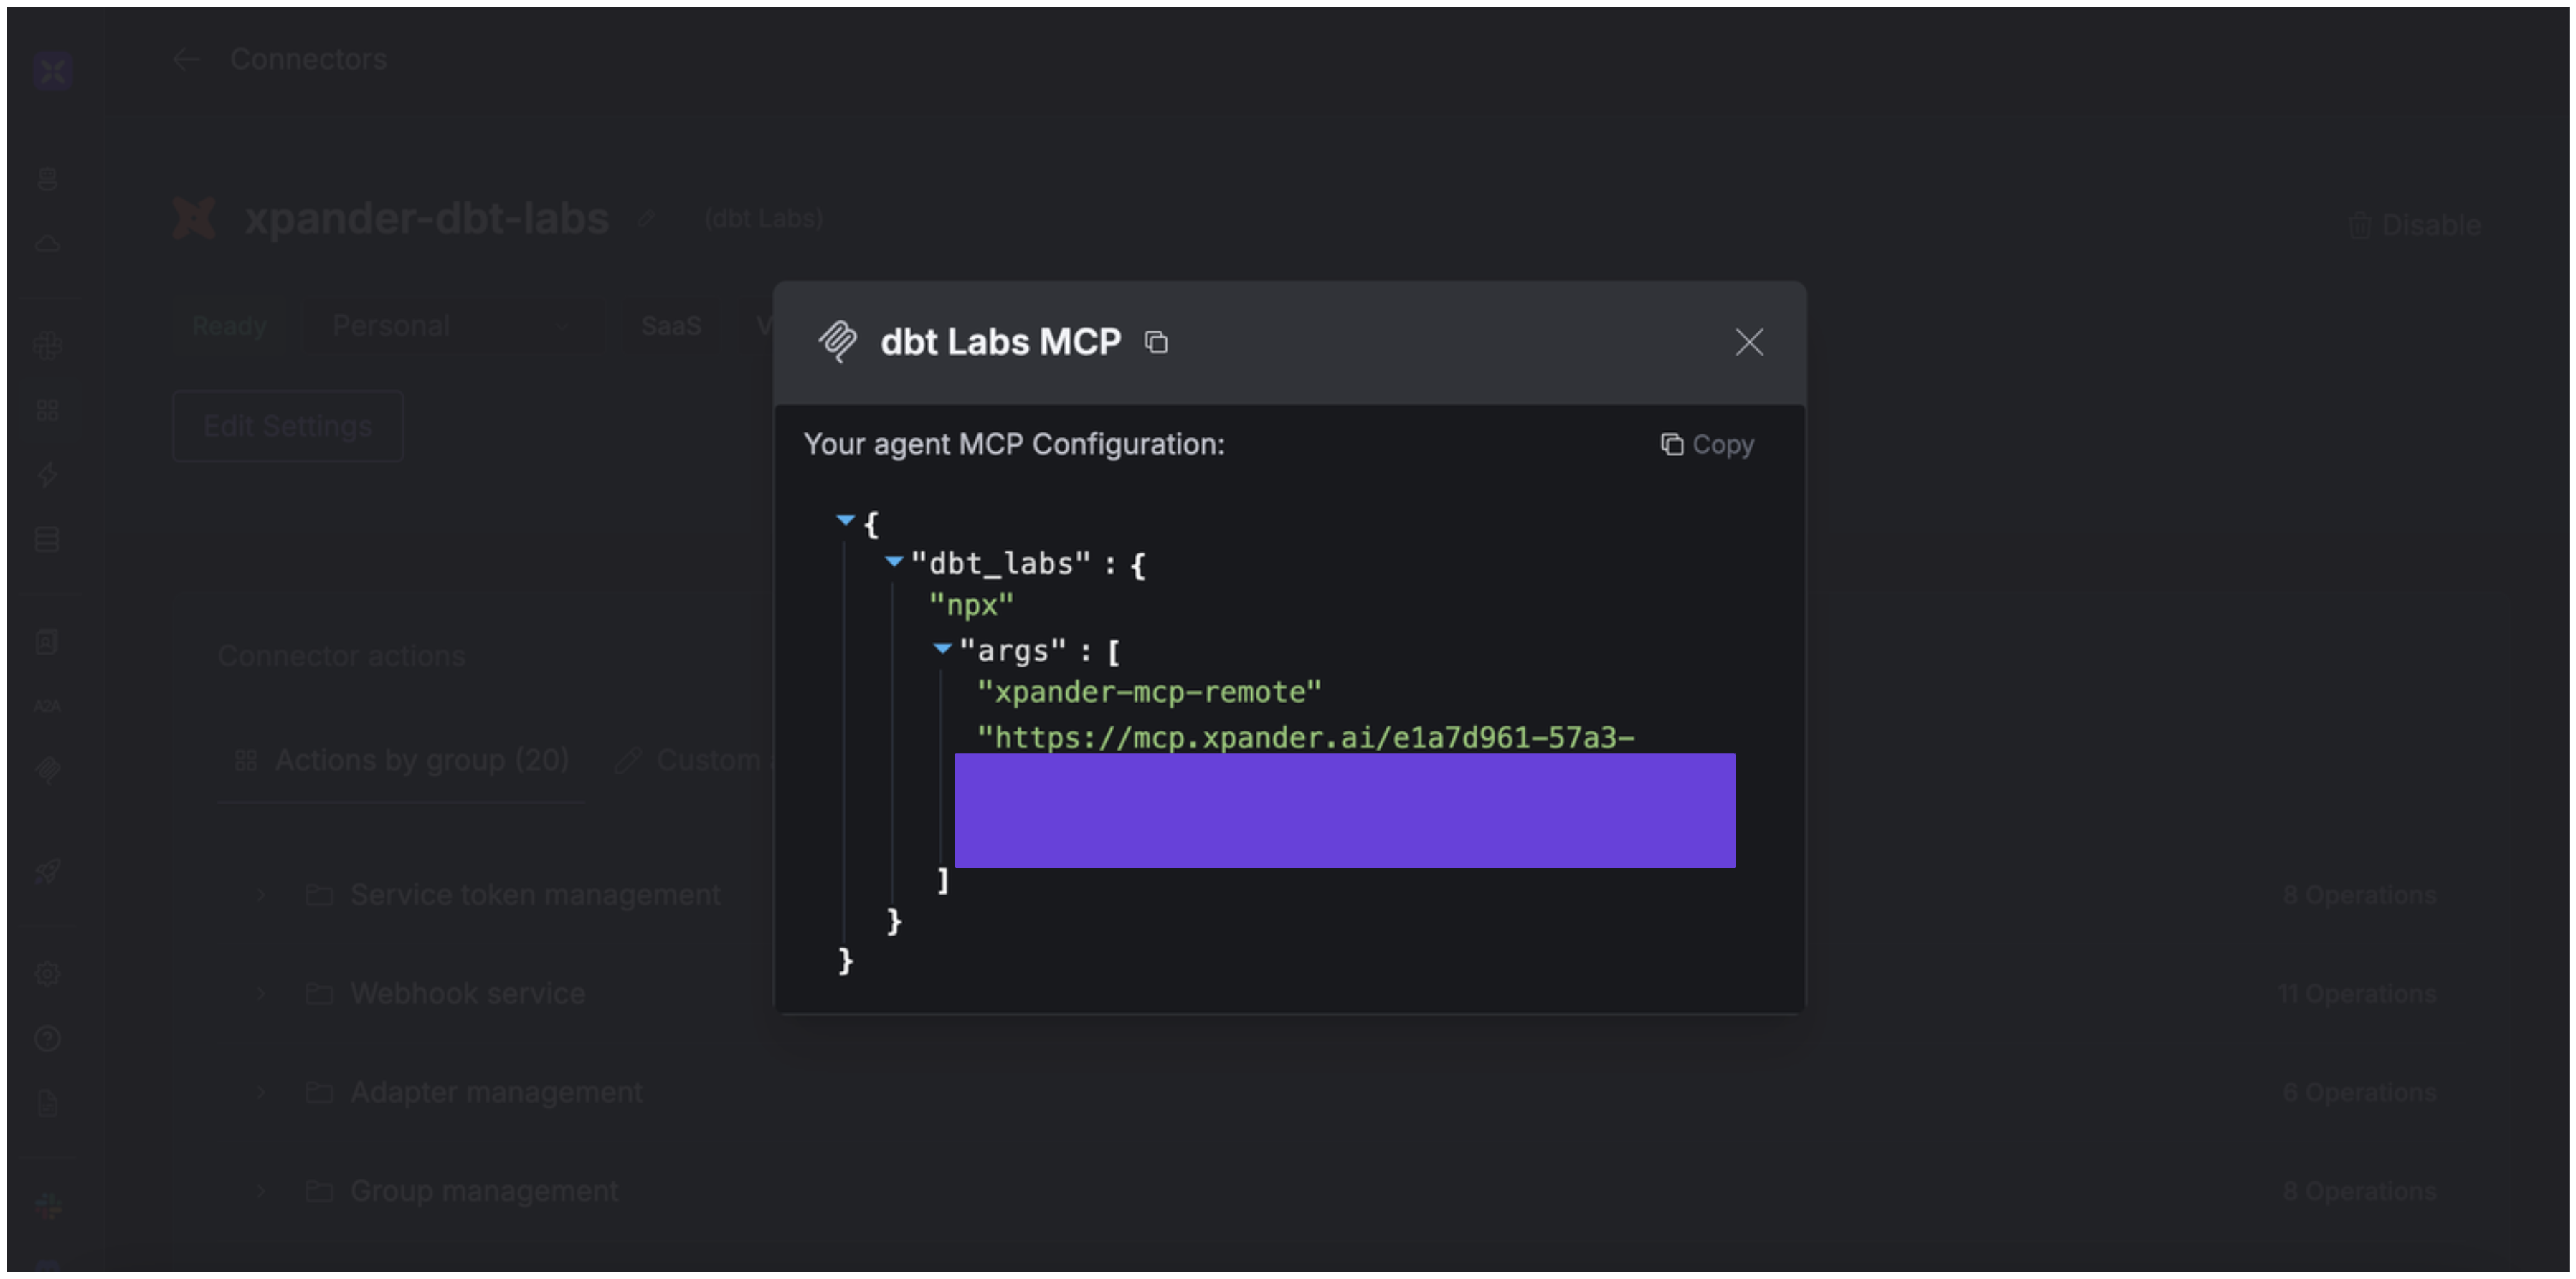
Expose dbt Labs as MCP Server
Alternatively, you can also expose your dbt Labs account as an MCP server. To do so:- Go to the Connectors section in the sidebar of your xpander.ai dashboard.
- Select dbt Labs with the same connector name you configured in the previous section (e.g., xpander-dbt-labs).
- Click MCP Configuration.
- Enter the MCP configuration into the appropriate settings of the client app you want to use (e.g., Cursor, Windsurf, Claude Desktop, etc.).