About Looker
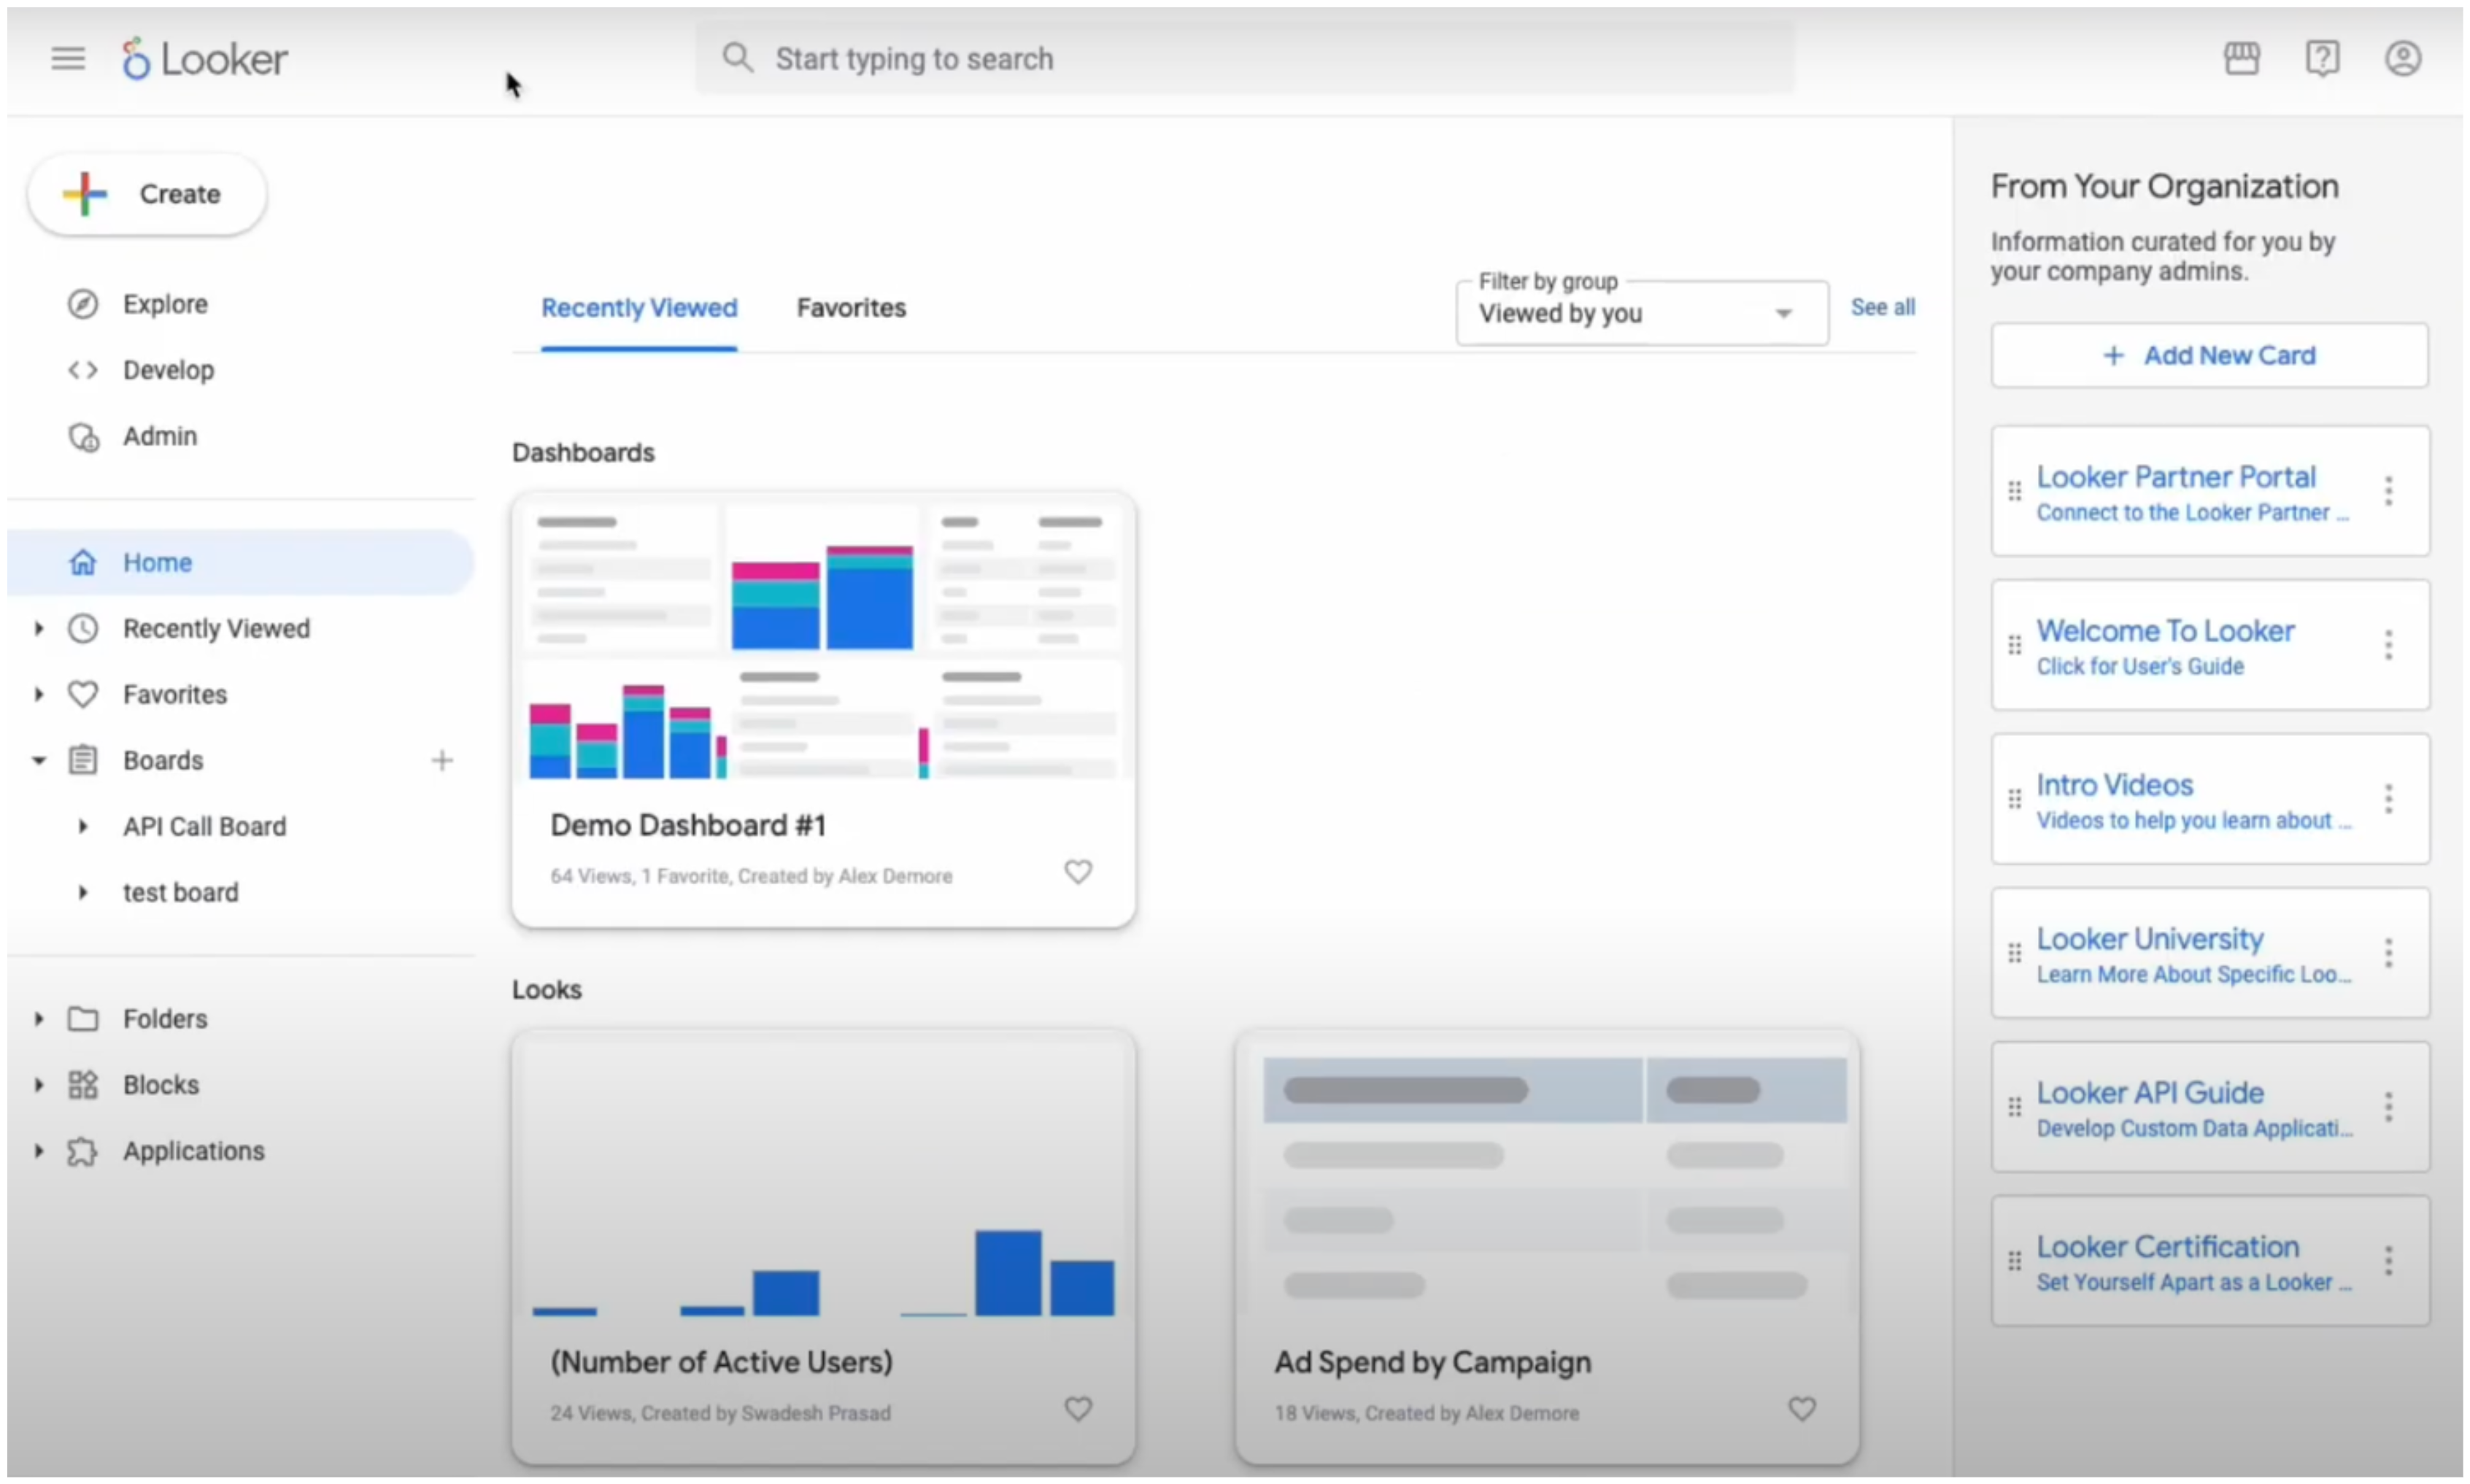
Looker is a cloud-based enterprise business intelligence (BI) and data analytics platform which is now part of Google Cloud. Key features include:- LookML Semantic Layer: Central definition of business logic and metrics, enabling a single source of truth and scalable governance.
- Self-Service Analytics & Visualization: Users can explore data visually via “Explores,” dashboards, and charts without requiring SQL skills.
- Embedded & Extensible Analyticst: Looker provides robust APIs to embed dashboards into apps/websites and build customized data applications, with options like the Looker Agent for AI workflows
- Scalable In-Database Architecture: Queries are pushed directly to high-performance cloud warehouses (e.g. BigQuery, Snowflake, Redshift, Vertica) for speed and scale.
Authentication Options
Below are possible authentication options you can choose:- API Access
Generate a Tableau API Token
- Log in to your Looker account.
-
In the sidebar of your Looker dashboard, click Admin.
- In the Admin panel sidebar, select Users, then choose an existing user or create a new one to grant API access.
-
Under the API Keys section for that user, click Edit Keys. You’ll receive a Client ID and Client Secret, which you’ll use to obtain an access token.

- Next, obtain an access token by executing the following request:
- Copy your access token and store it somewhere safe.
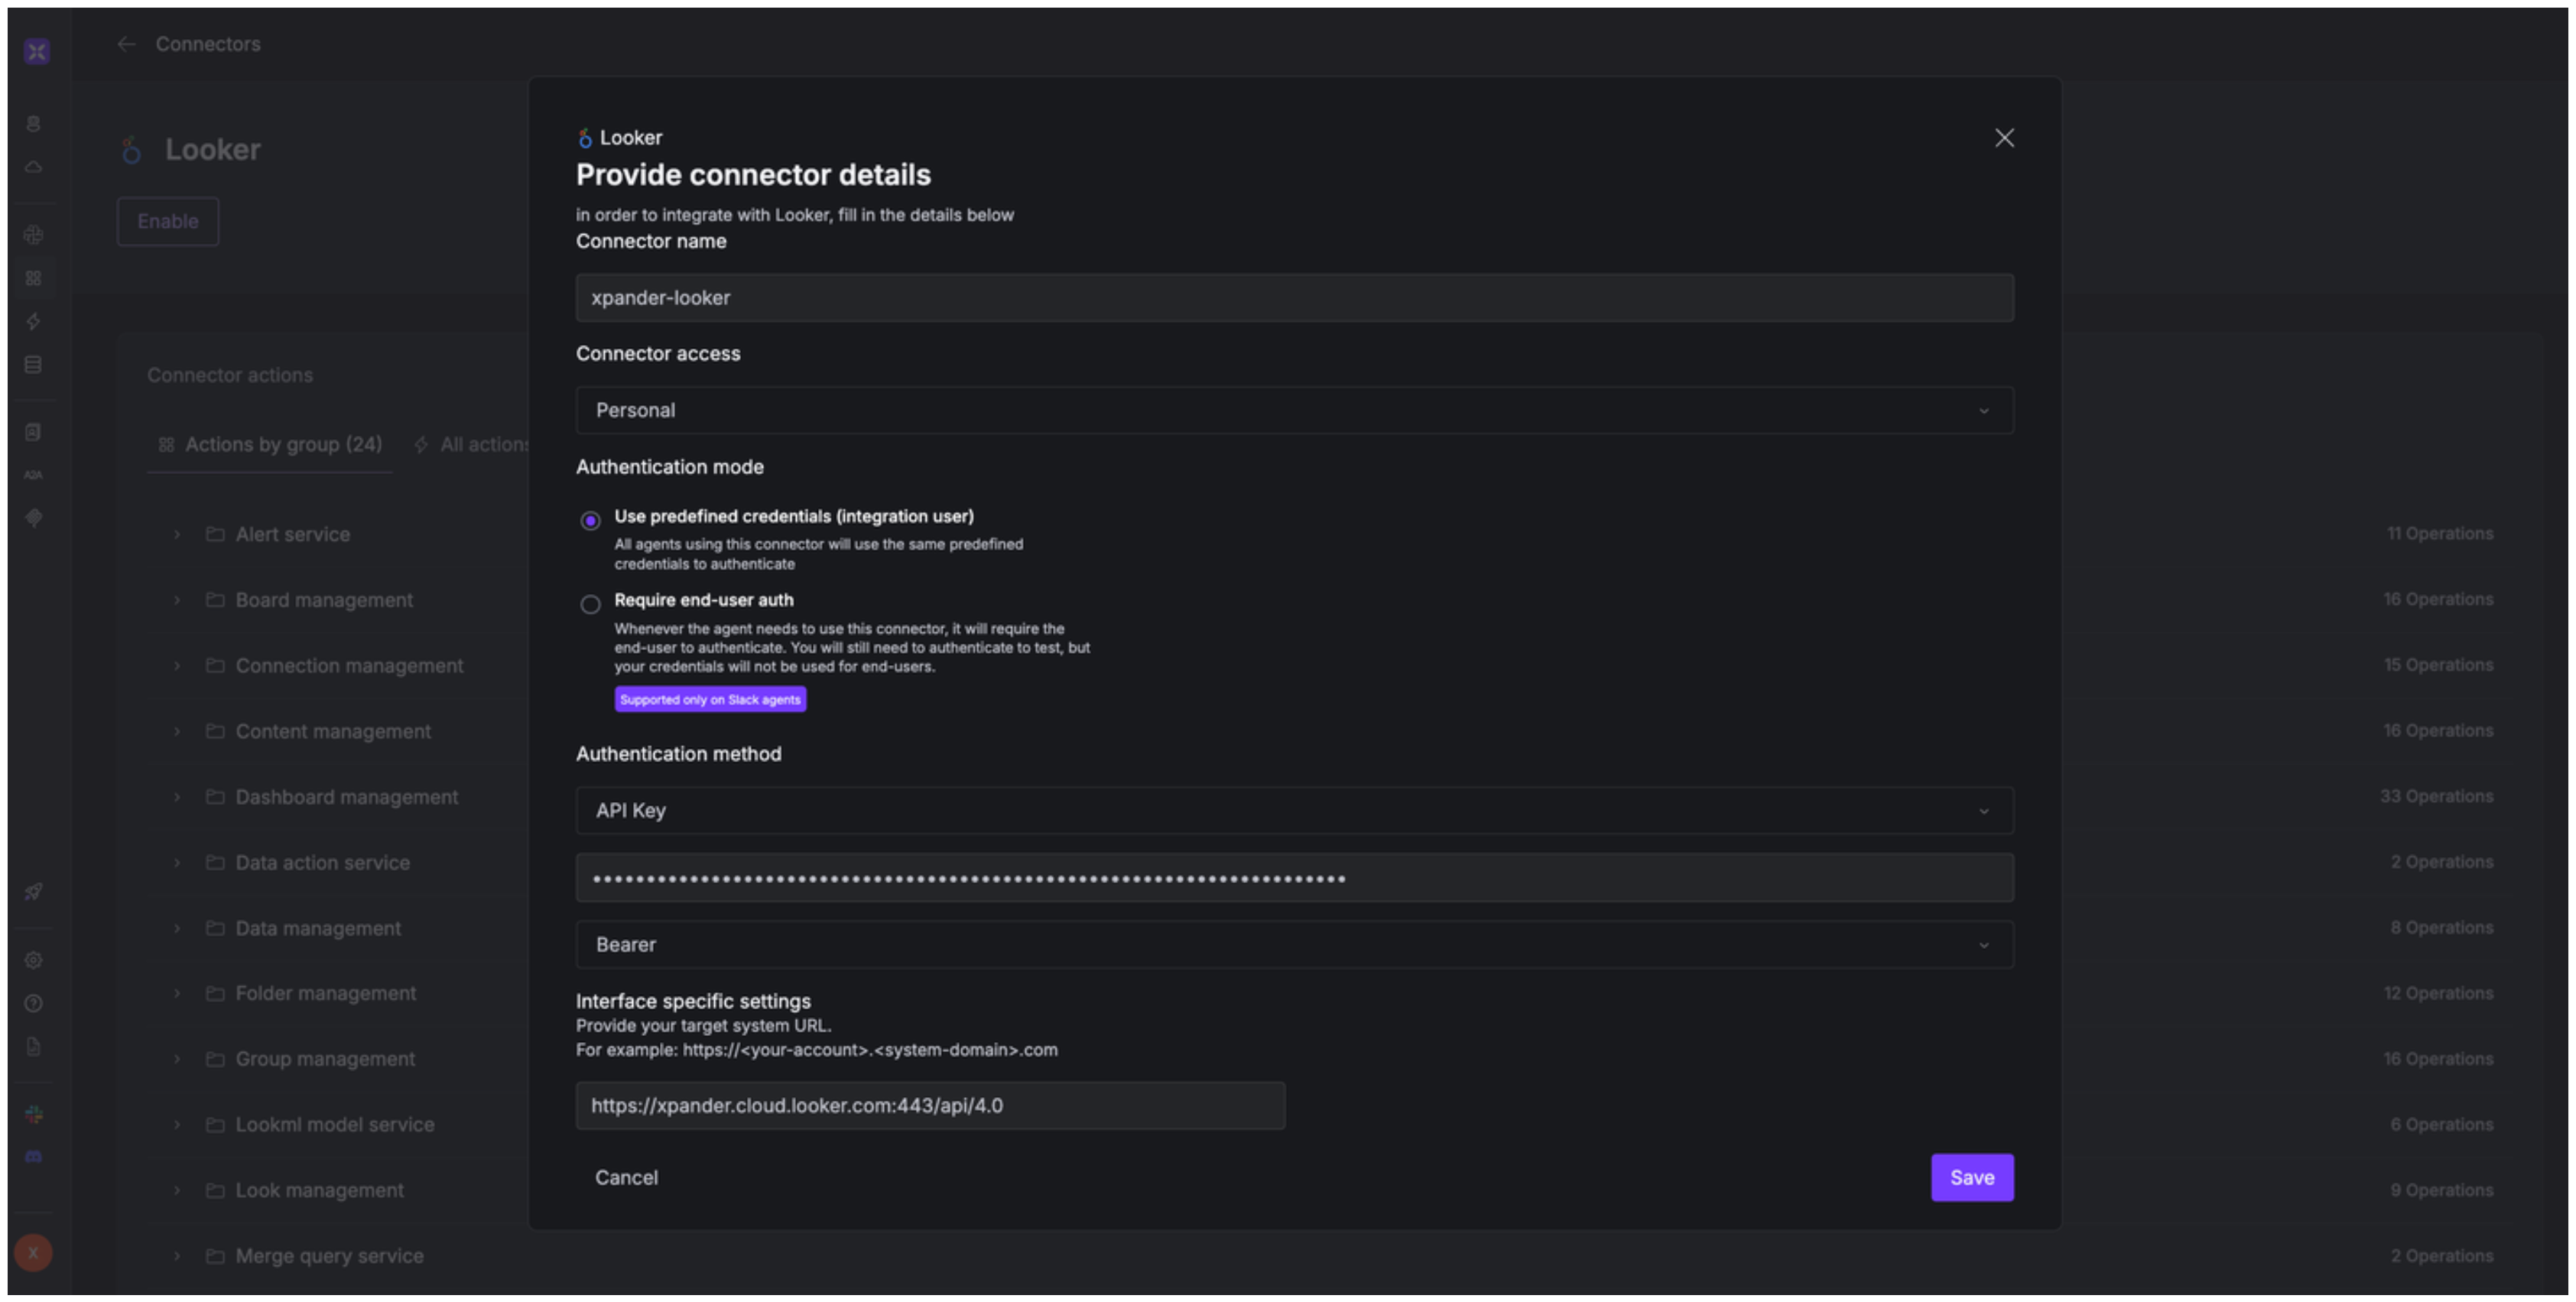
Integrate Looker into xpander.ai
- In your xpander.ai dashboard, navigate to the Connectors section in the sidebar.
- Select Looker from the list of available integrations.
- Click Enable.
- Enter a connector name, for example:
xpander-looker. - Set the Authentication Mode to Integration User.
- Choose API Key as the authentication method.
- Paste your Looker Access Token into the provided field.
- Set Auth Type to Bearer.
- Under Interface-Specific Settings, enter the base URL
https://{host}:{port}/api/4.0
- Replace
{host}with the base URL of your Looker account (e.g.,xpander.cloud.looker.com). - For
{port}, use:443if your Looker instance is hosted on Google Cloud, Microsoft Azure, or AWS and was created on or after 07/07/2020.19999if it was created before 07/07/2020.
-
Save the configuration.
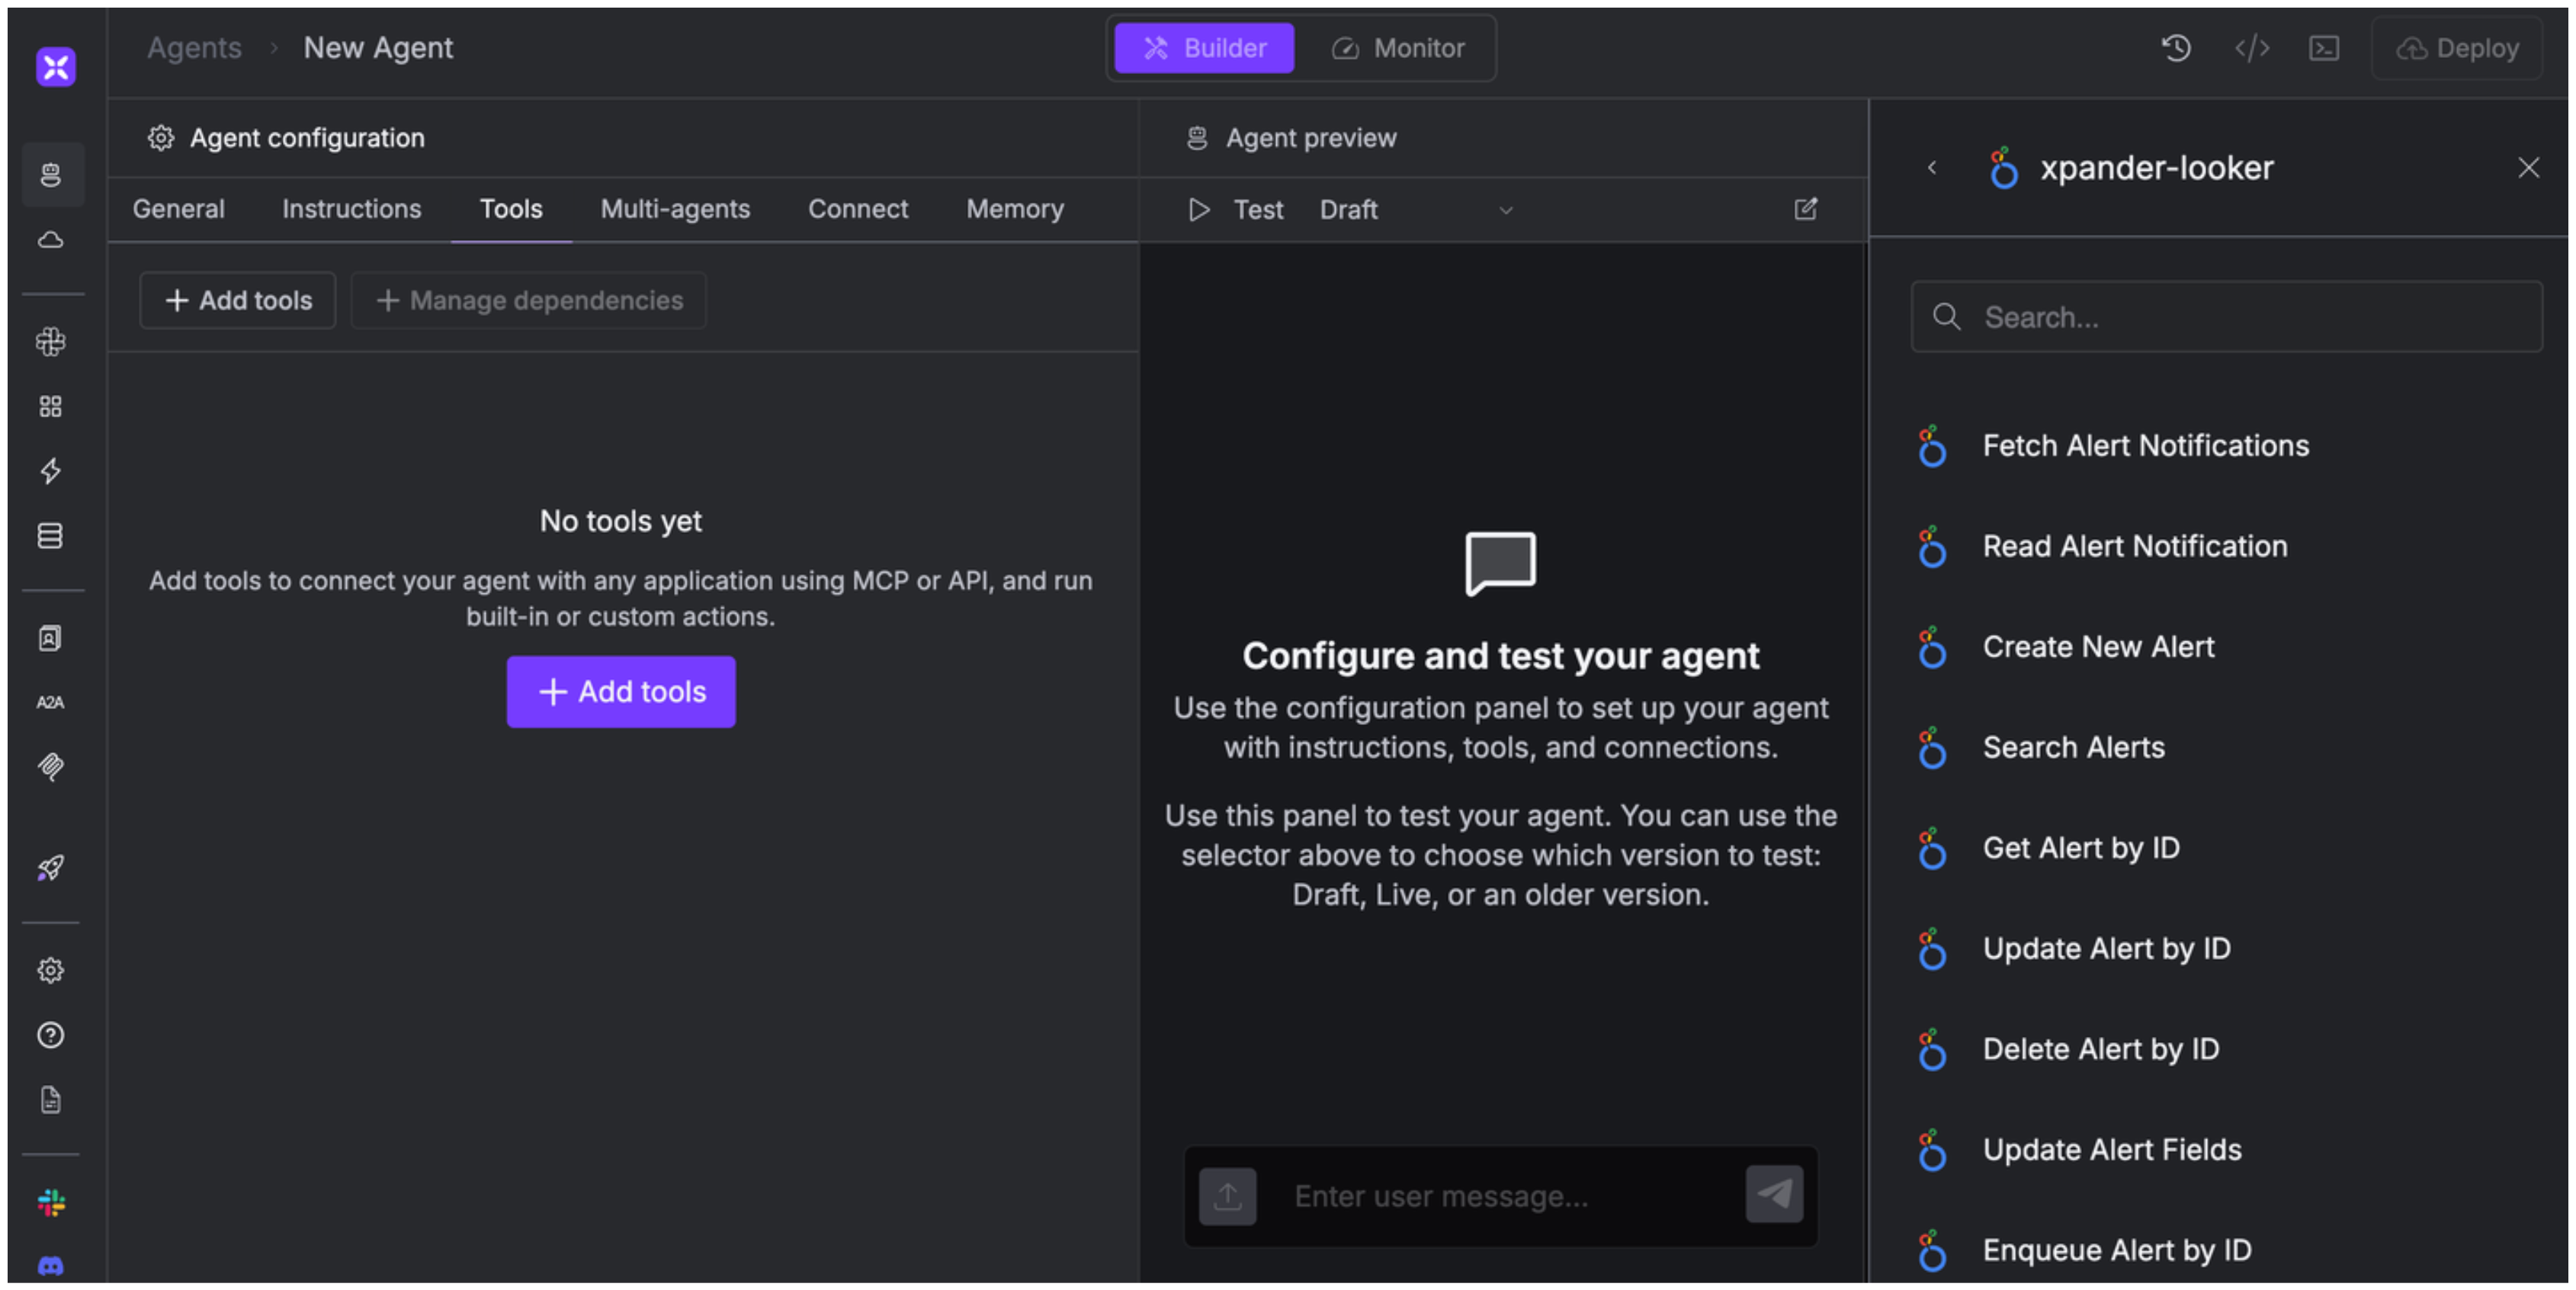
Integration of Looker into AI Agent
Once you’ve configured your Looker account with the authentication option(s) described above, you can integrate it into your AI agent with xpander.ai:- In your xpander.ai dashboard, go to the Agent Configuration tab and select Tools, then click Add Tools.
- Select Connectors.
- Choose Tableau with the same connector name you configured in the previous section (e.g., xpander-looker).
- Select the available Looker operations that suit your use case.
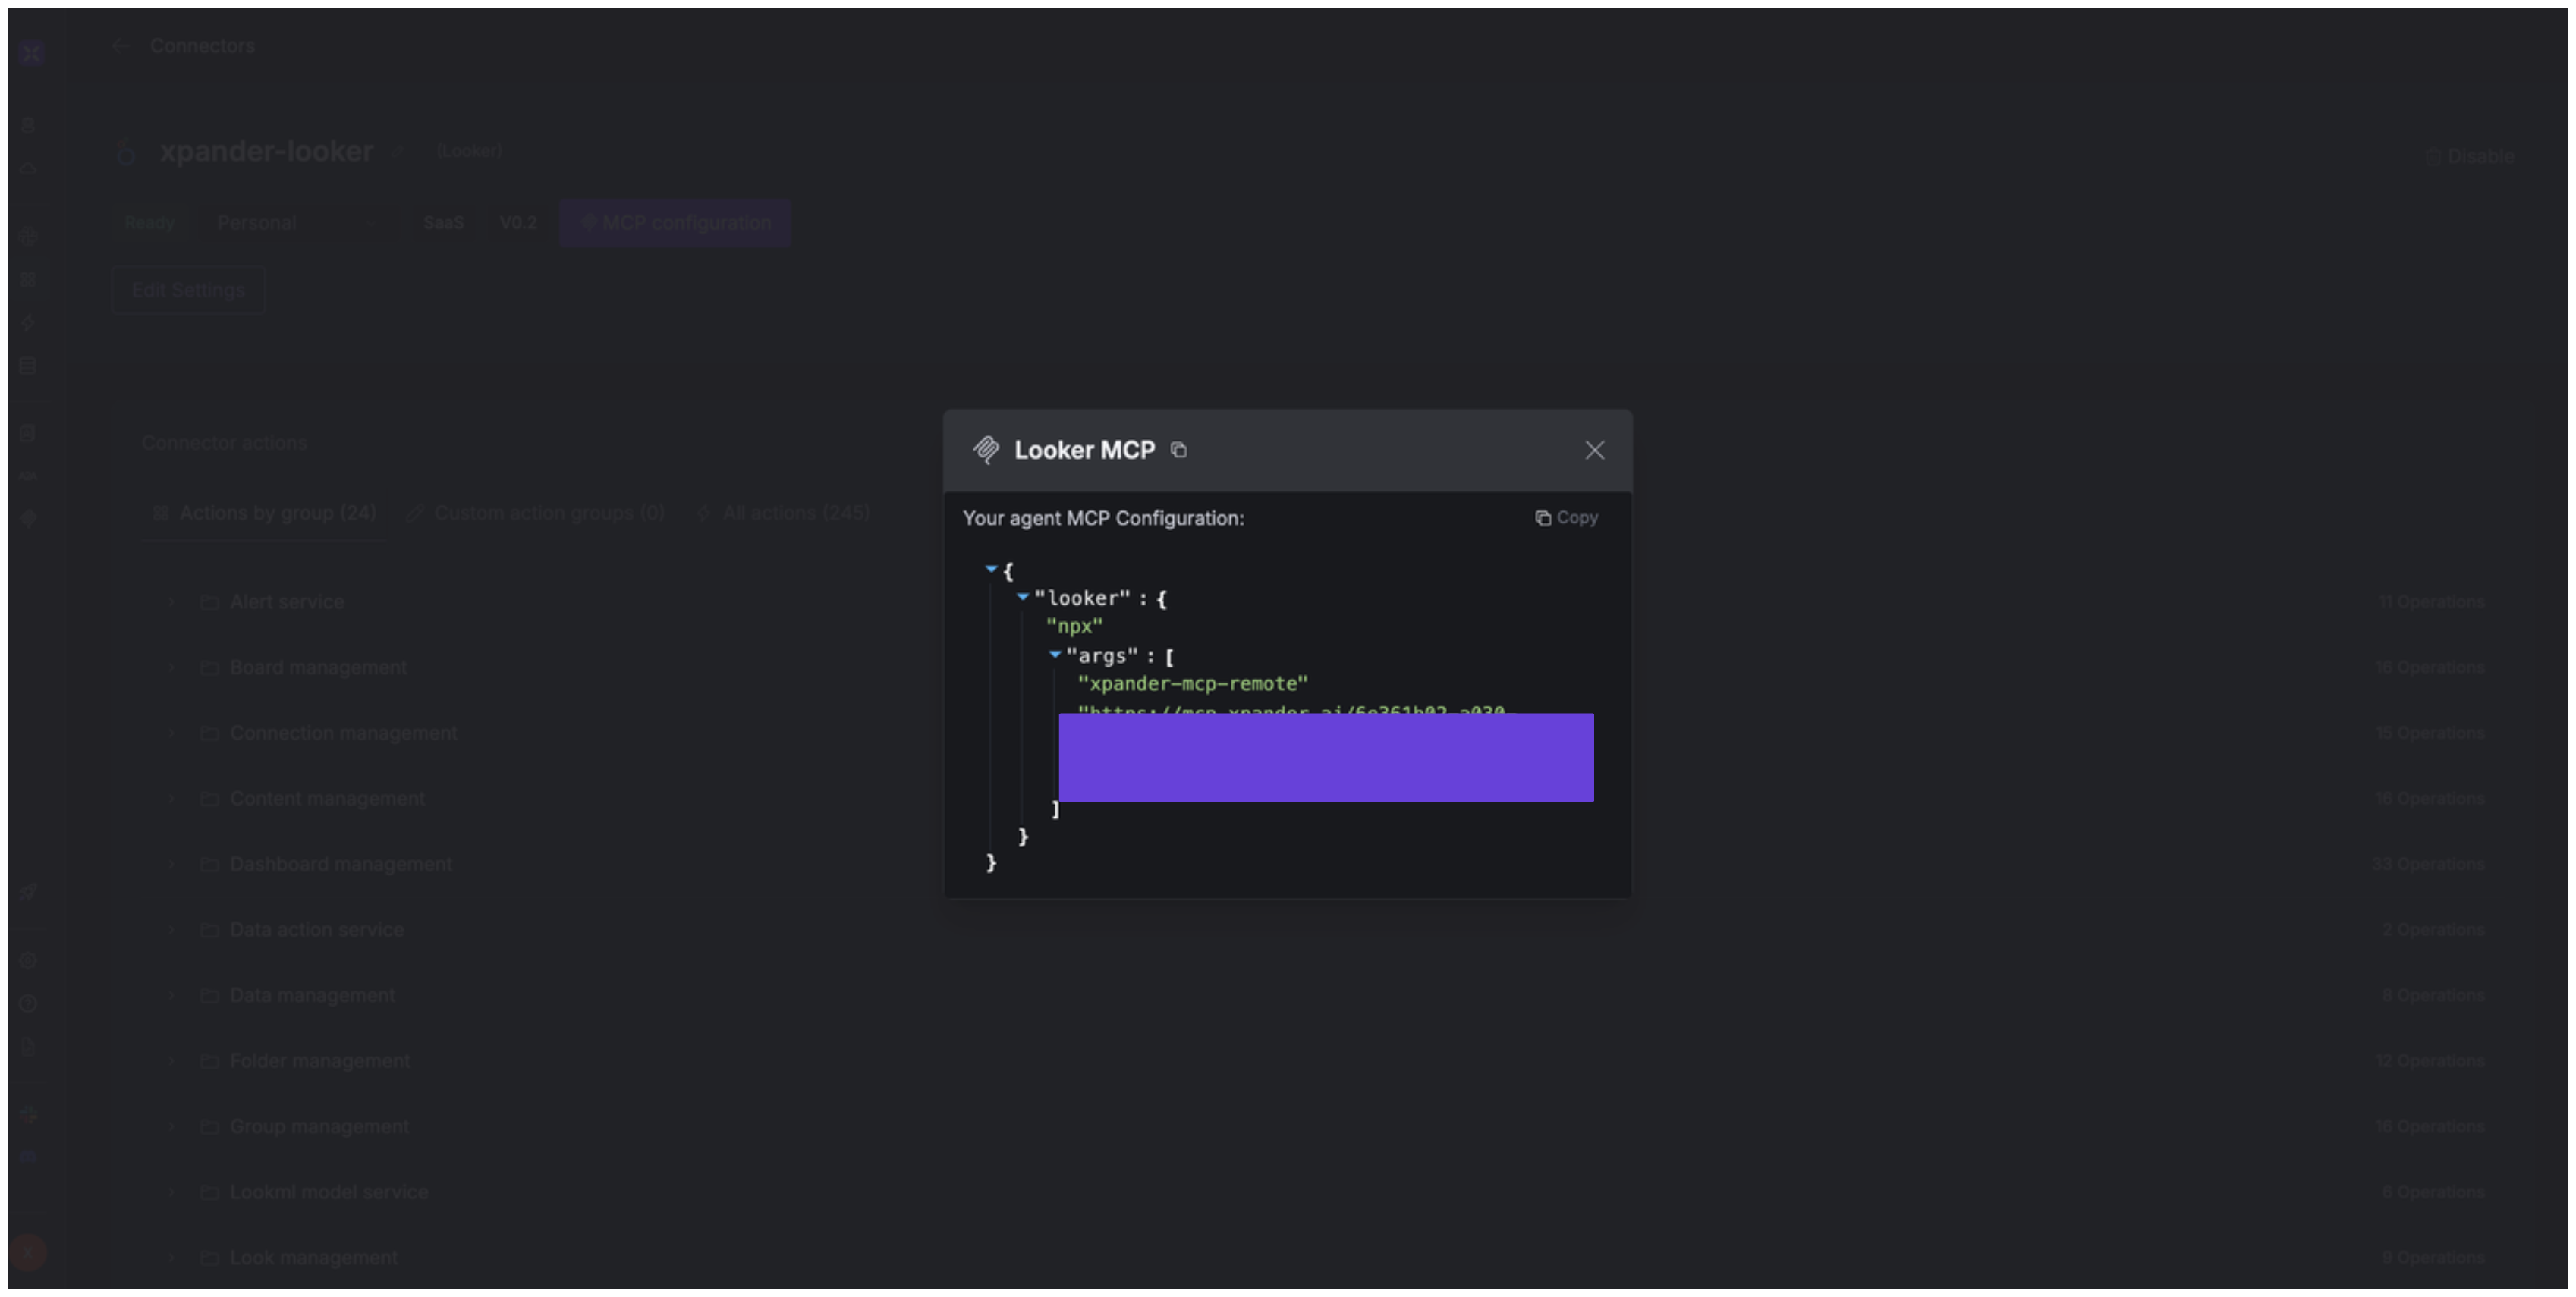
Expose Looker as MCP Server
Alternatively, you can also expose your Looker account as an MCP server. To do so:- Go to the Connectors section in the sidebar of your xpander.ai dashboard.
- Select Looker with the same connector name you configured in the previous section (e.g., xpander-looker).
- Click MCP Configuration.
- Enter the MCP configuration into the appropriate settings of the client app you want to use (e.g., Cursor, Windsurf, Claude Desktop, etc.).