About Jira
Jira is a versatile project management and issue-tracking software developed by Atlassian, widely utilized by software development teams and various other departments to plan, track, and manage work efficiently. Key features include:- Customizable Workflows: Adapt Jira to fit your team’s processes by customizing issue types, fields, and workflows.
- Agile Boards: Utilize Scrum and Kanban boards to visualize work, manage sprints, and track progress.
- Reporting and Dashboards: Generate real-time reports and dashboards to gain insights into team performance and project status.
- Integration Capabilities: Jira integrates with various development and collaboration tools, including Bitbucket, Confluence, and third-party applications, enhancing its functionality.
Authentication Options
Below are possible authentication options you can choose:- Built-in xpander.ai Auth
The simplest way to connect to Jira is by using xpander.ai’s built-in authentication:
- Go to the Agentic Connectors section in the sidebar of your xpander.ai dashboard.
- Select Jira from the available integrations.
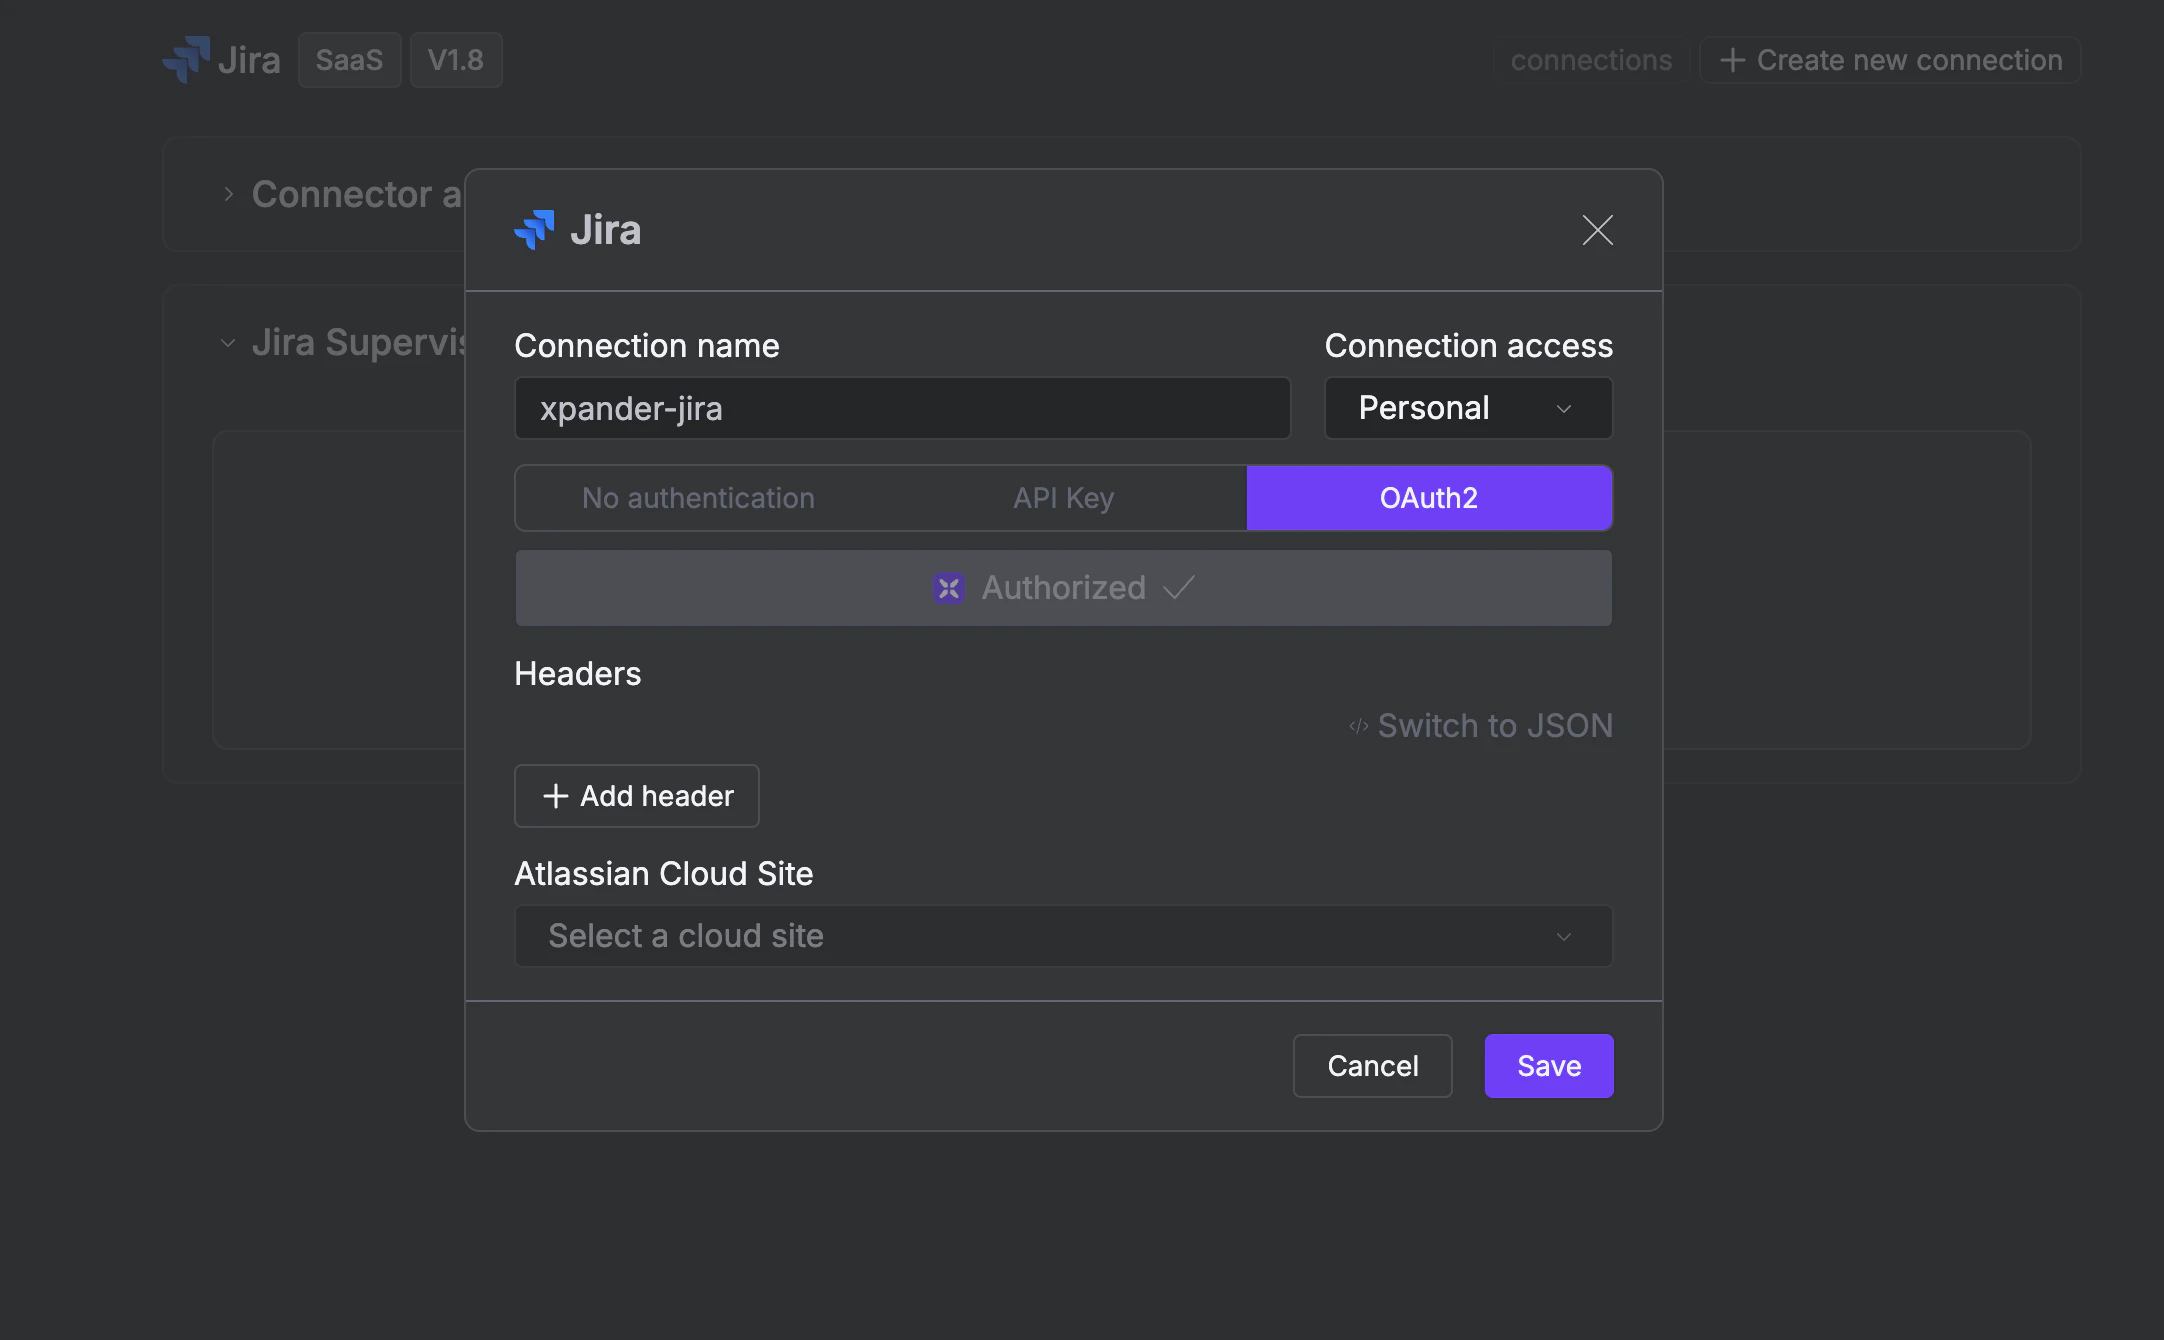
- Click + Create new connection.
- Enter a connector name as desired, e.g., “xpander-jira”.
- Choose OAuth2 as the authentication method.
- Click Authorize xpander.ai.
- Grant xpander.ai permission to access your account.
-
Save the configuration.
Integration of Jira into AI Agent
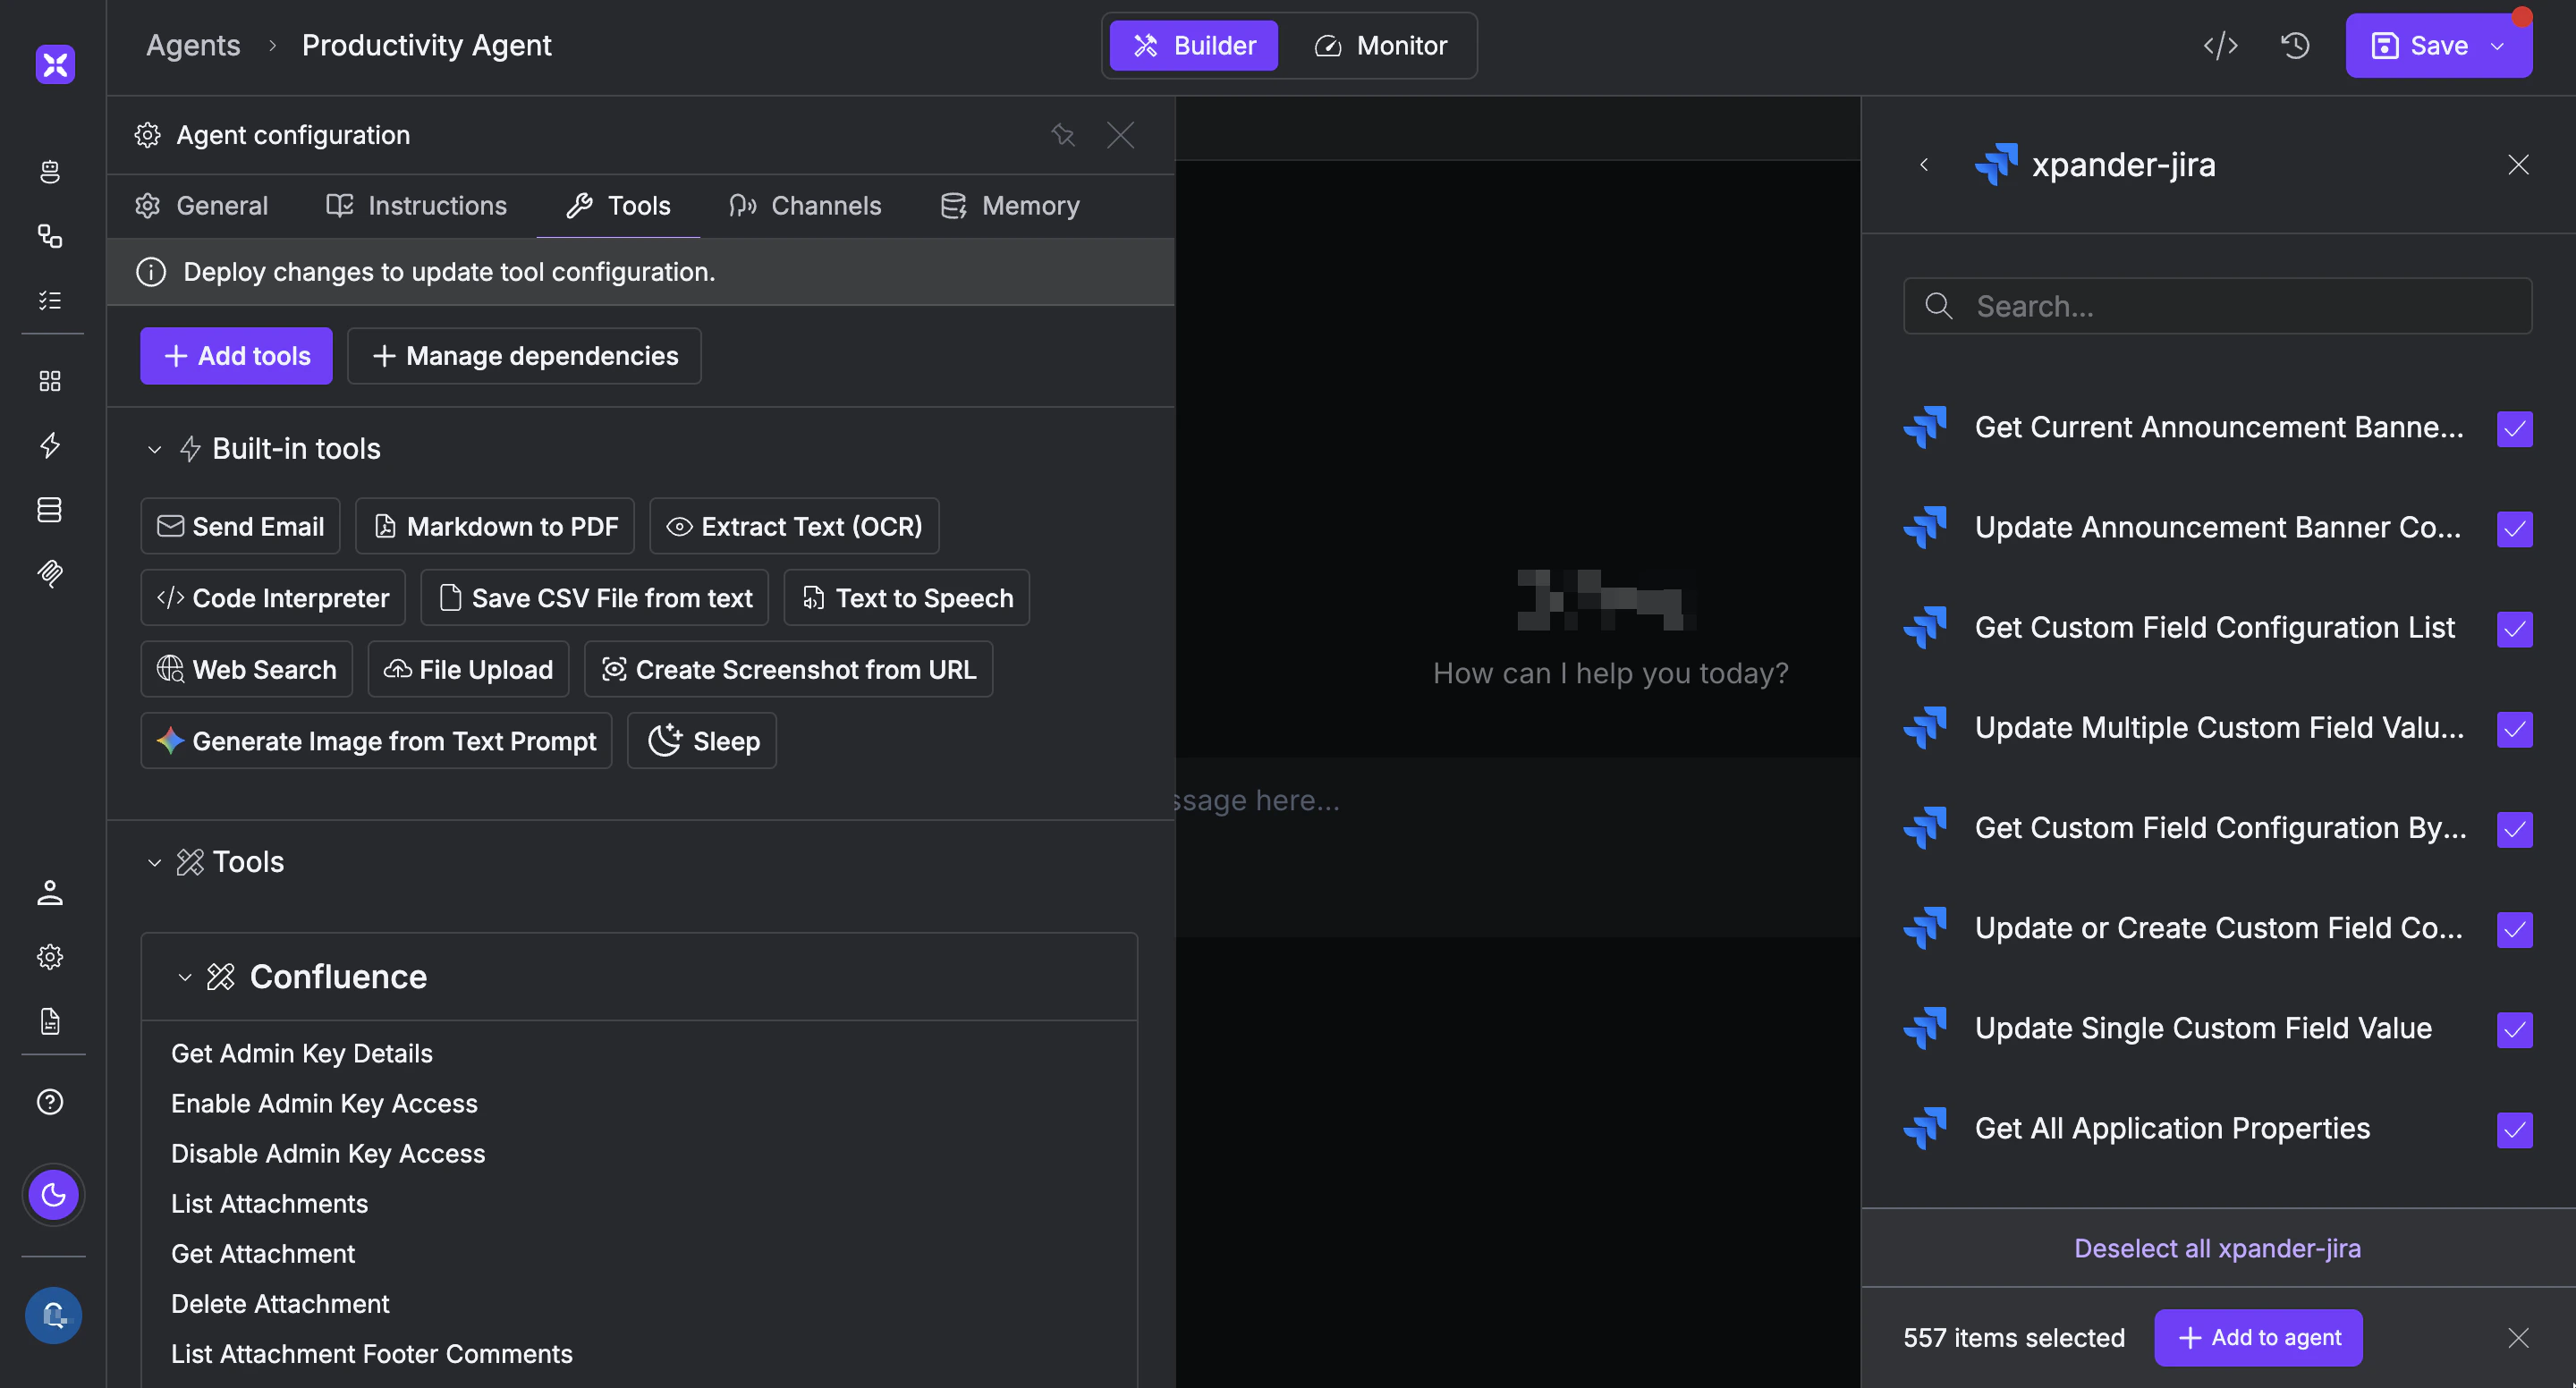
Once you’ve configured your Jira account with the authentication option(s) described above, you can integrate it into your AI agent with xpander.ai:- In your xpander.ai dashboard, go to the Agent Configuration tab and select Tools, then click Add Tools.
- Select Connectors.
- Choose Jira with the same connector name you configured in the previous section (e.g., xpander-jira).
- Select the available Jira operations that suit your use case.
- Bulk Get Issues
- Bulk Create Issues
- Get Issue Details
- Edit Issue
- Assign Issue
- Delete Issue
- Click Save, then click Publish to publish the updated agent.