About ClickUp
ClickUp is a comprehensive project management and productivity platform designed to centralize tasks, collaboration, documentation, and communication in a single interface. Key features include:- Task Management: Organize work using customizable tasks, subtasks, checklists, and over 35 ClickApps (e.g., time tracking, custom fields, sprint points).
- Multiple Views: Choose from 15+ views, including List, Board, Calendar, Gantt, Timeline, Whiteboard, and Table, to visualize and manage projects from different perspectives.
- Automation: Set up conditional workflows with if-then logic to automate repetitive tasks, such as status changes or task assignments.
- Collaboration Tools: Utilize built-in chat, whiteboards, and real-time document editing to facilitate team communication and brainstorming.
- AI Integration: ClickUp Brain, introduced in 2024, offers AI-powered features like task summarization, content generation, and intelligent search across tasks and documents.
Authentication Options
Below are possible authentication options you can choose:- Built-in xpander.ai Auth
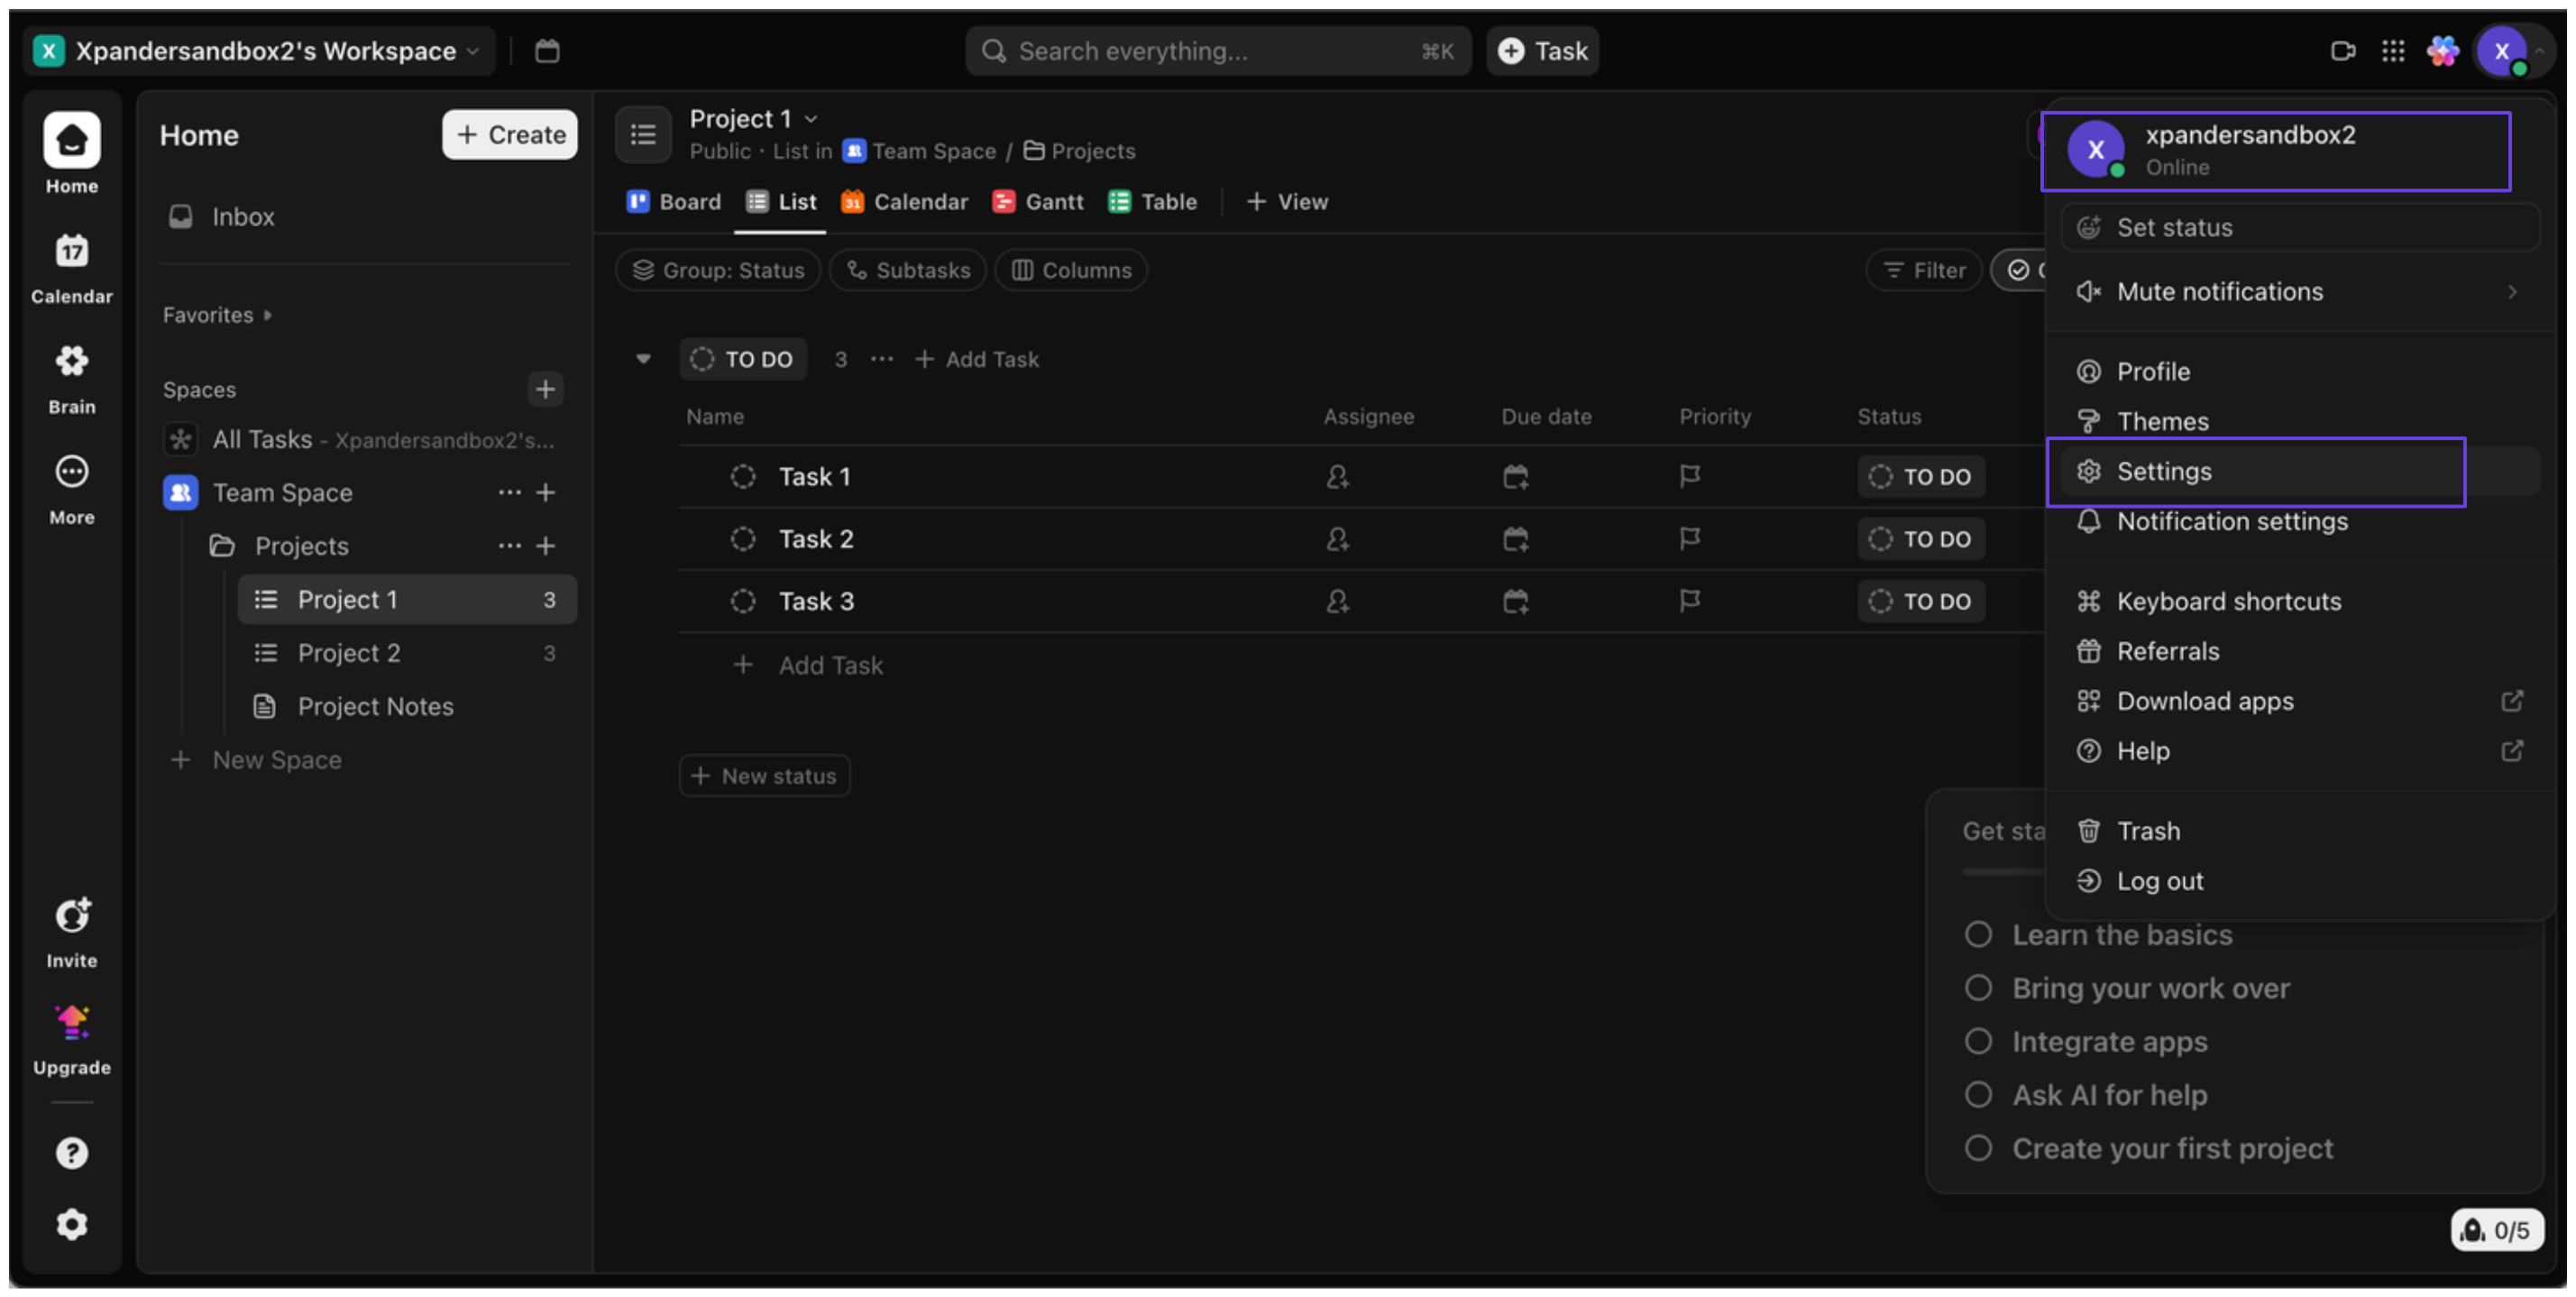
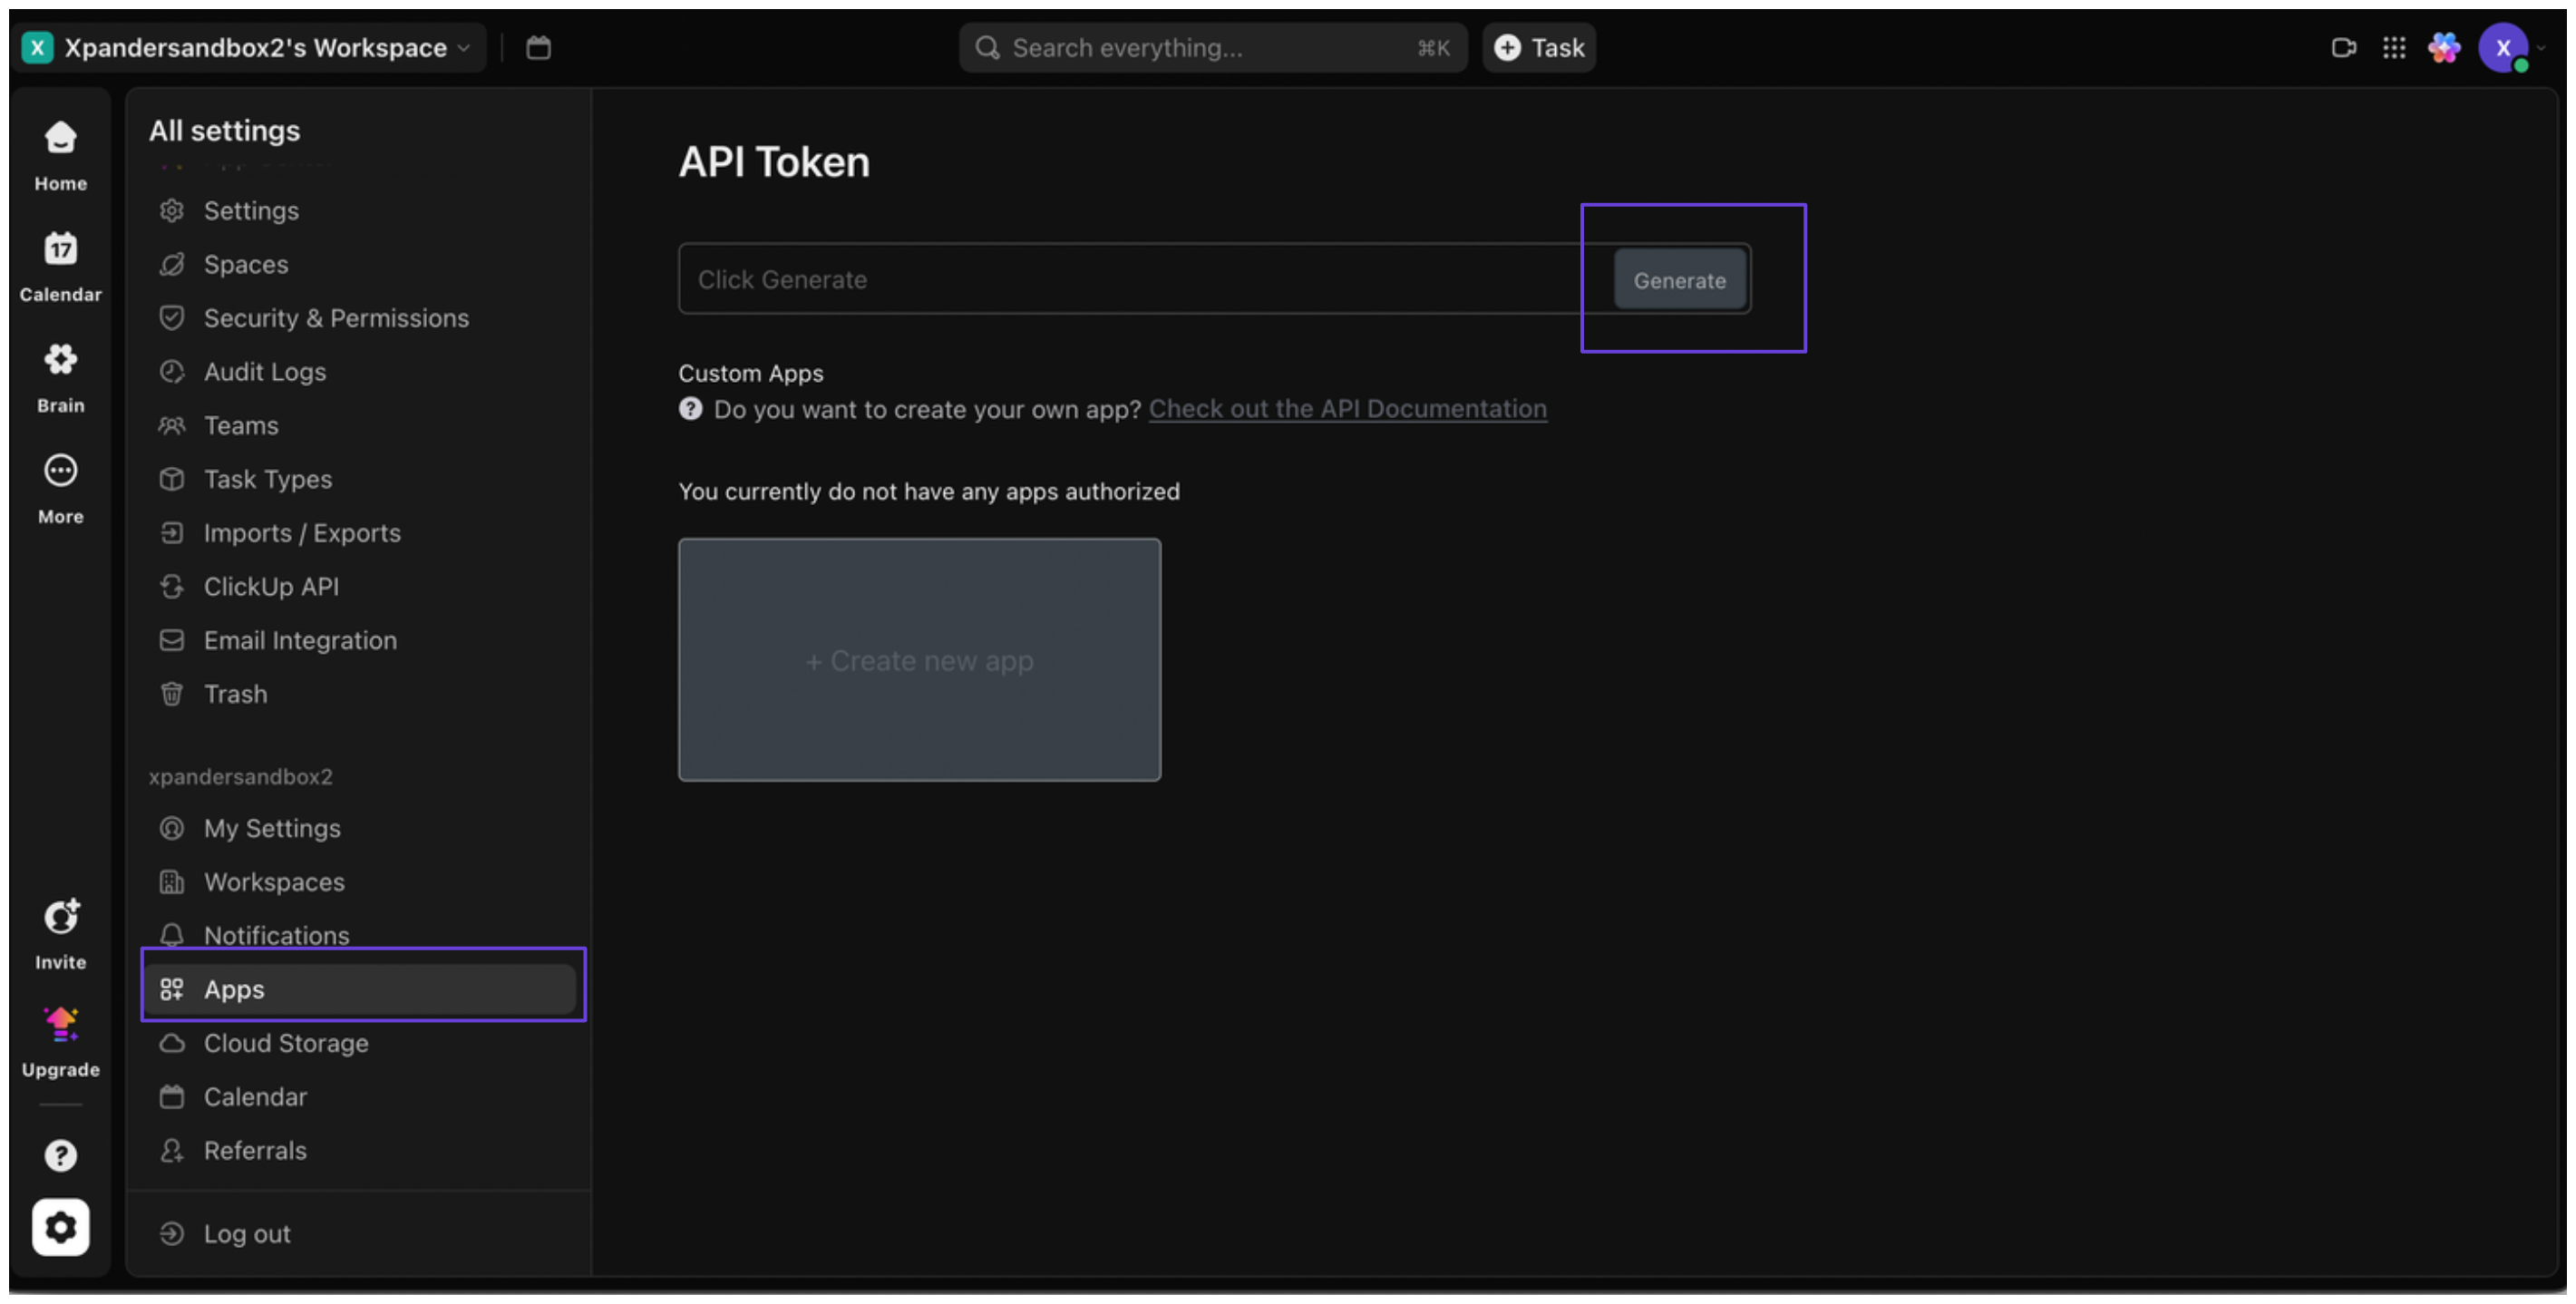
- API Access
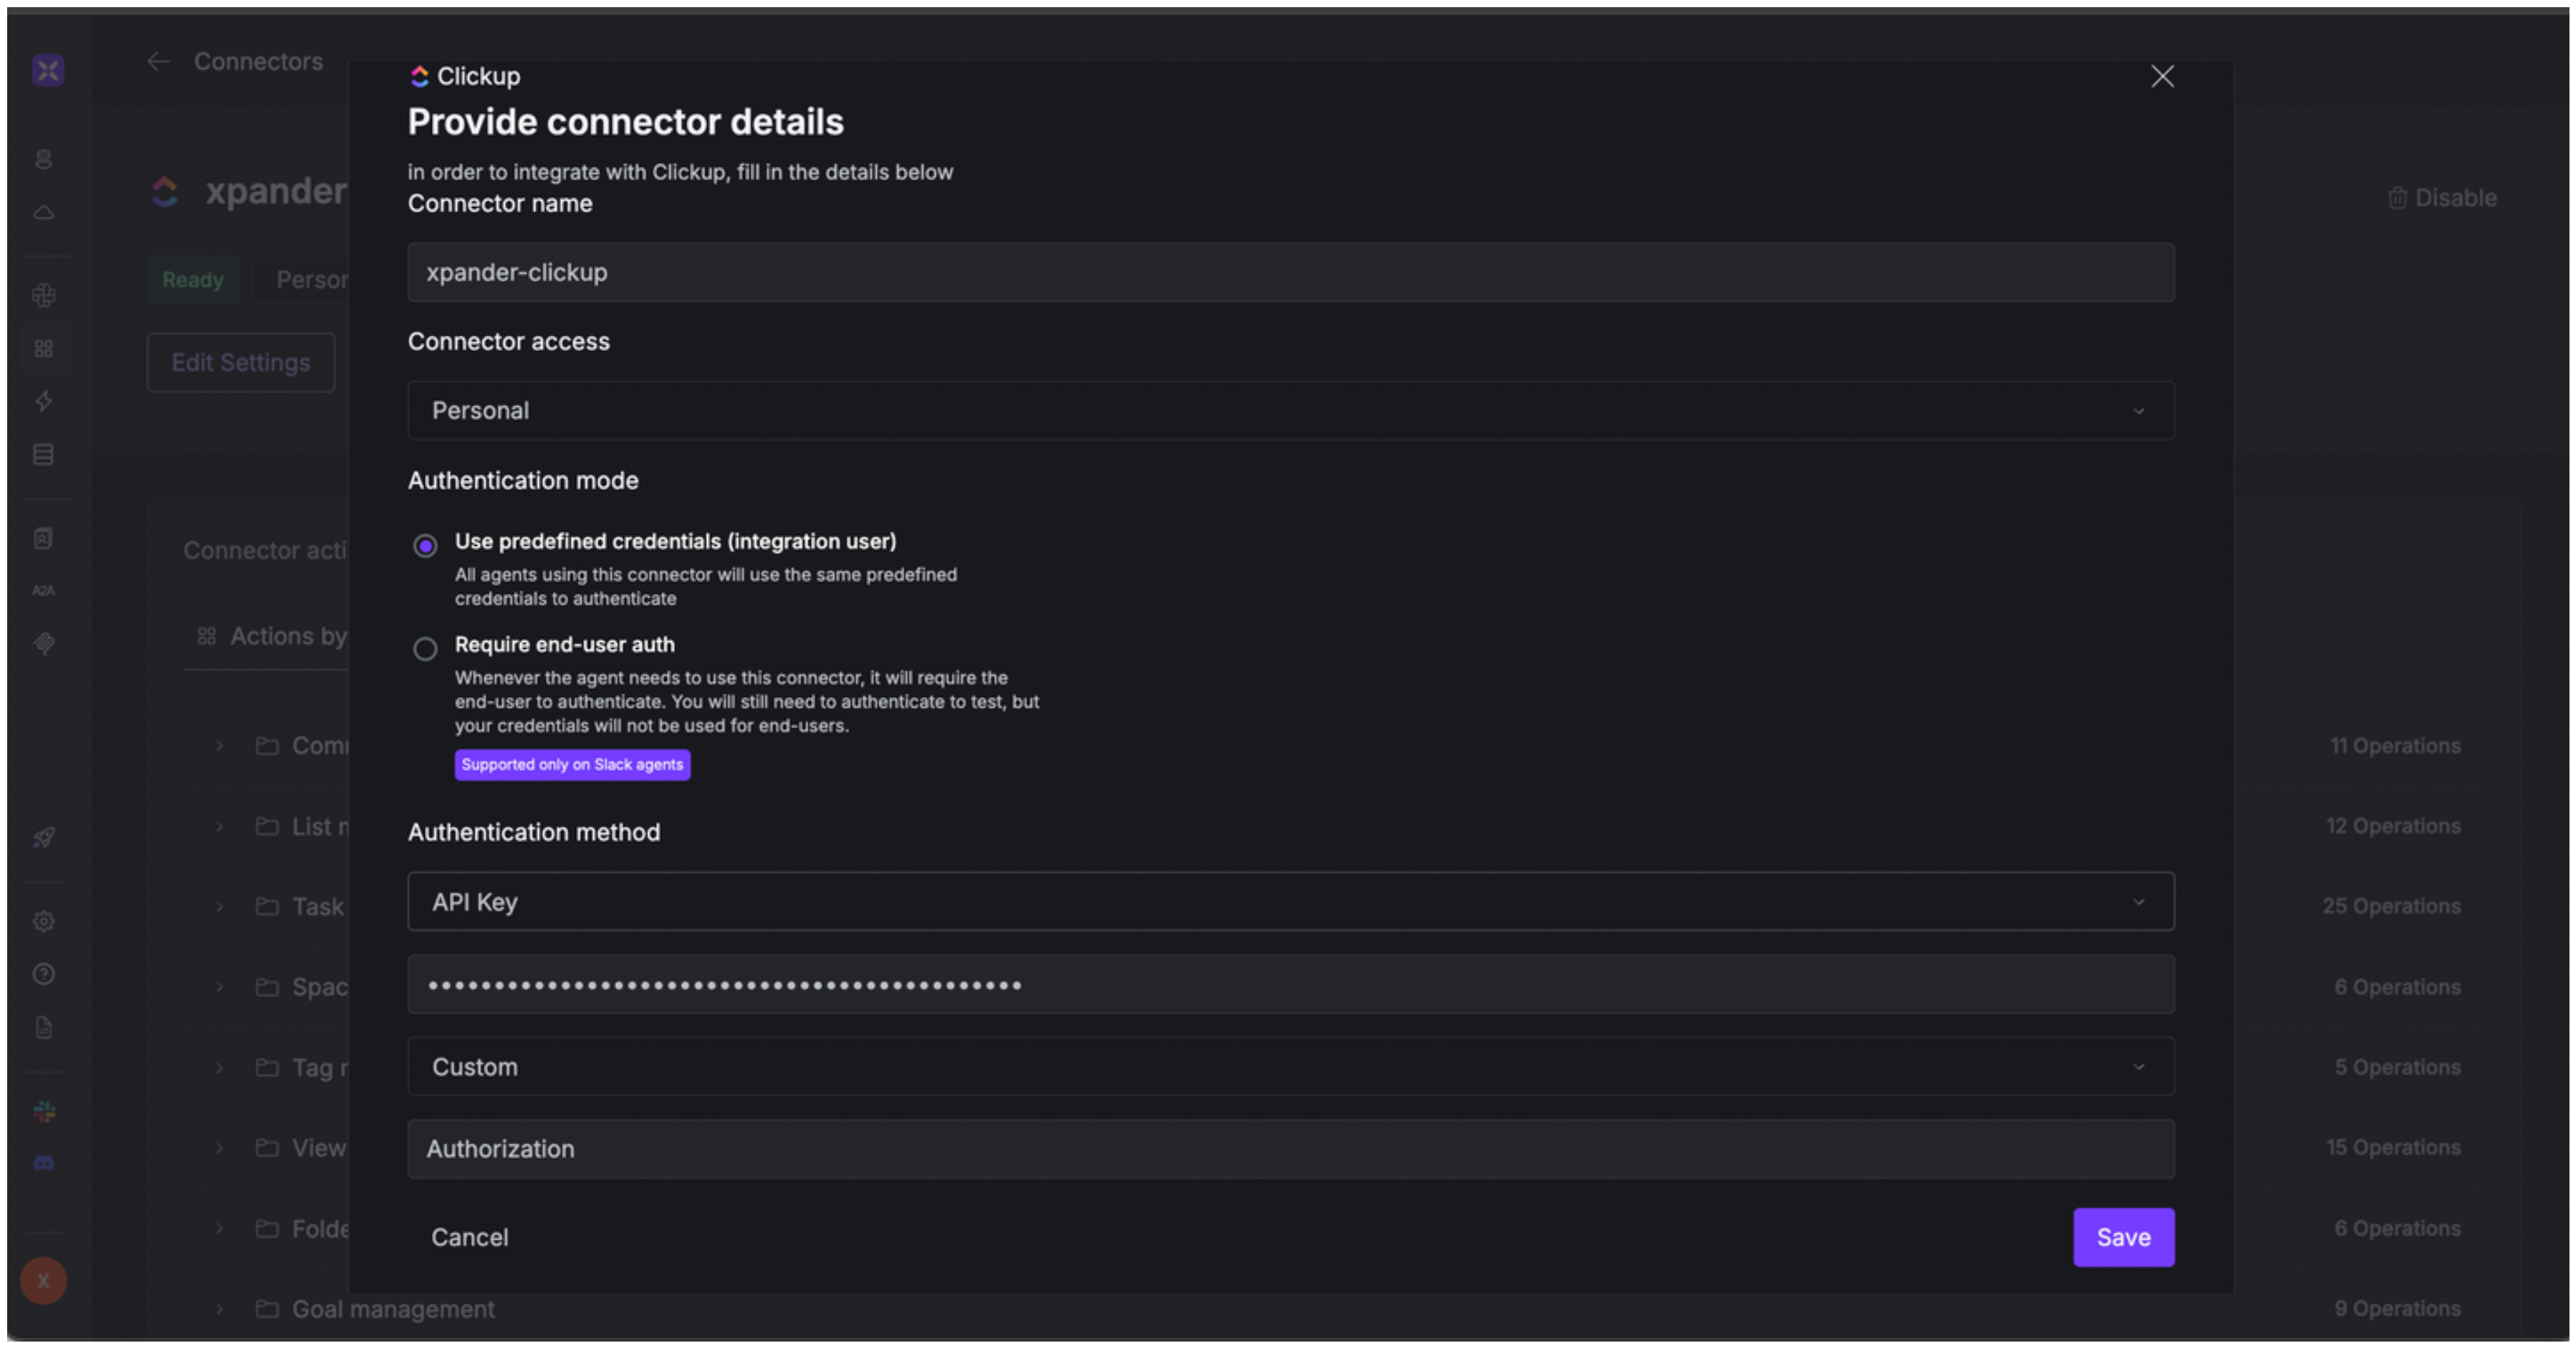
The simplest way to connect ClickUp is by using xpander.ai’s built-in authentication:
- Go to the Connectors section in the sidebar of your xpander.ai dashboard.
- Select ClickUp from the available integrations.
- Click Sign in with ClickUp.
- Grant xpander.ai permission to access your ClickUp workspace.
- Your ClickUp integration is now ready to use.
Integration of ClickUp into AI Agent
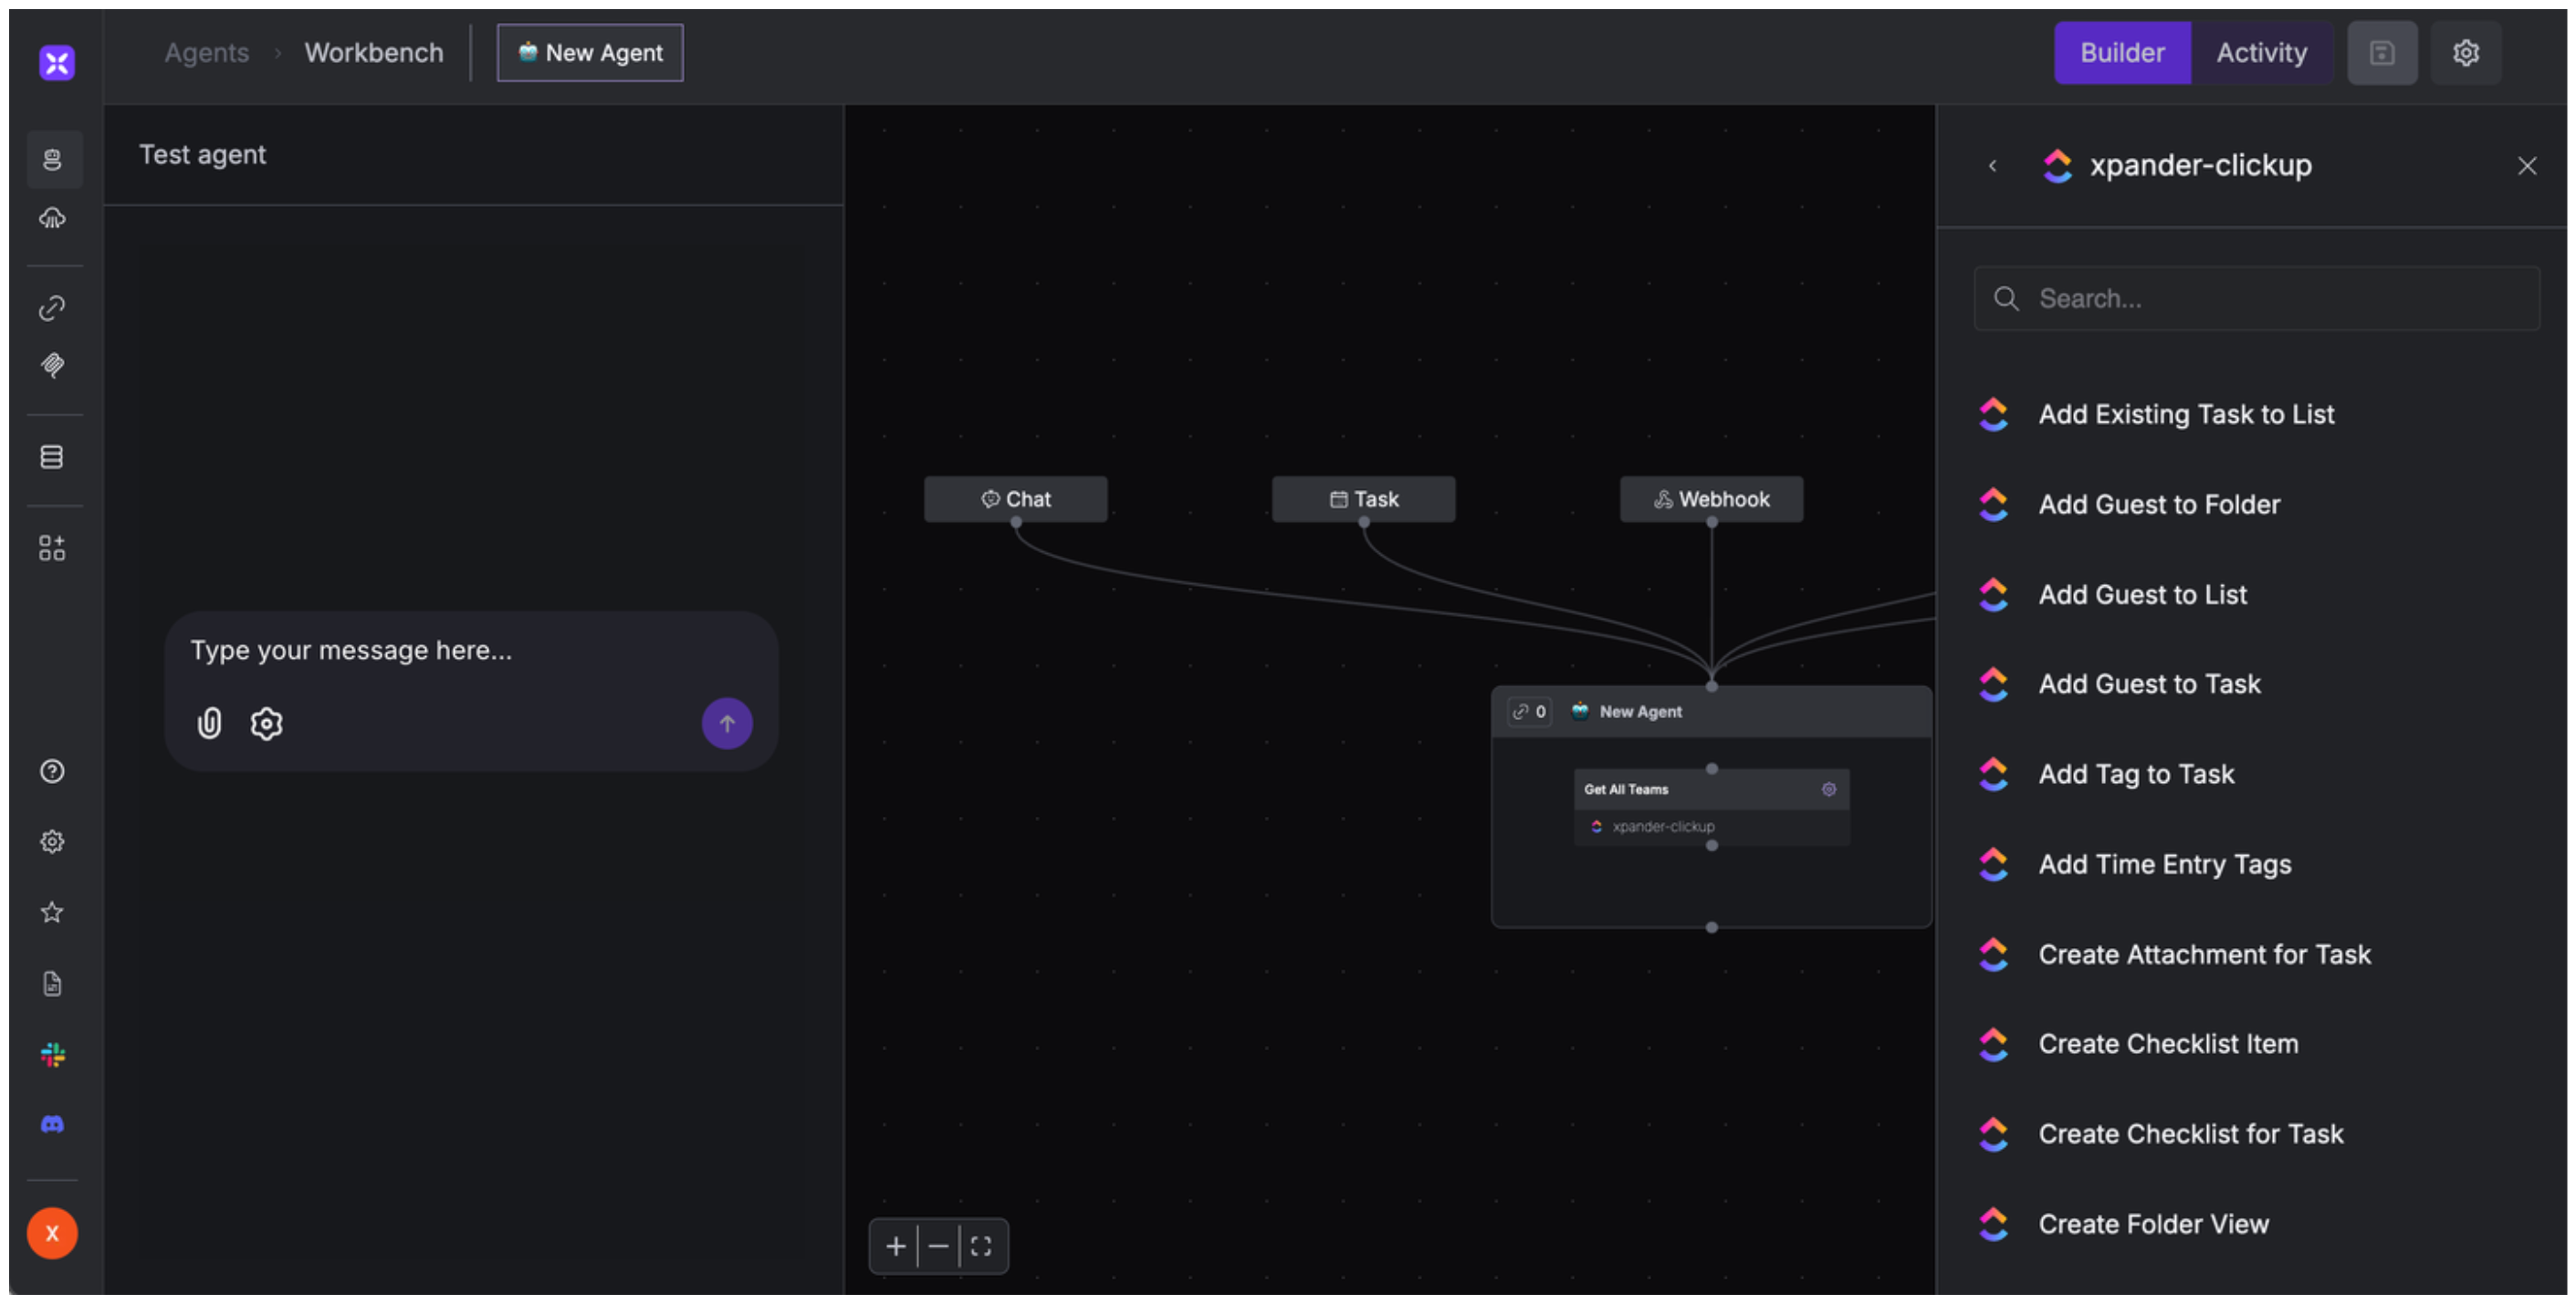
Once you’ve configured your ClickUp account with the authentication option(s) described above, you can integrate it into your AI agent with xpander.ai:- In your xpander.ai dashboard, go to the Agent Configuration tab and select Tools, then click Add Tools.
- Select Connectors.
- Choose ClickUp with the same connector name you configured in the previous section (e.g., xpander-clickup).
- Select the available ClickUp operations that suit your use case.
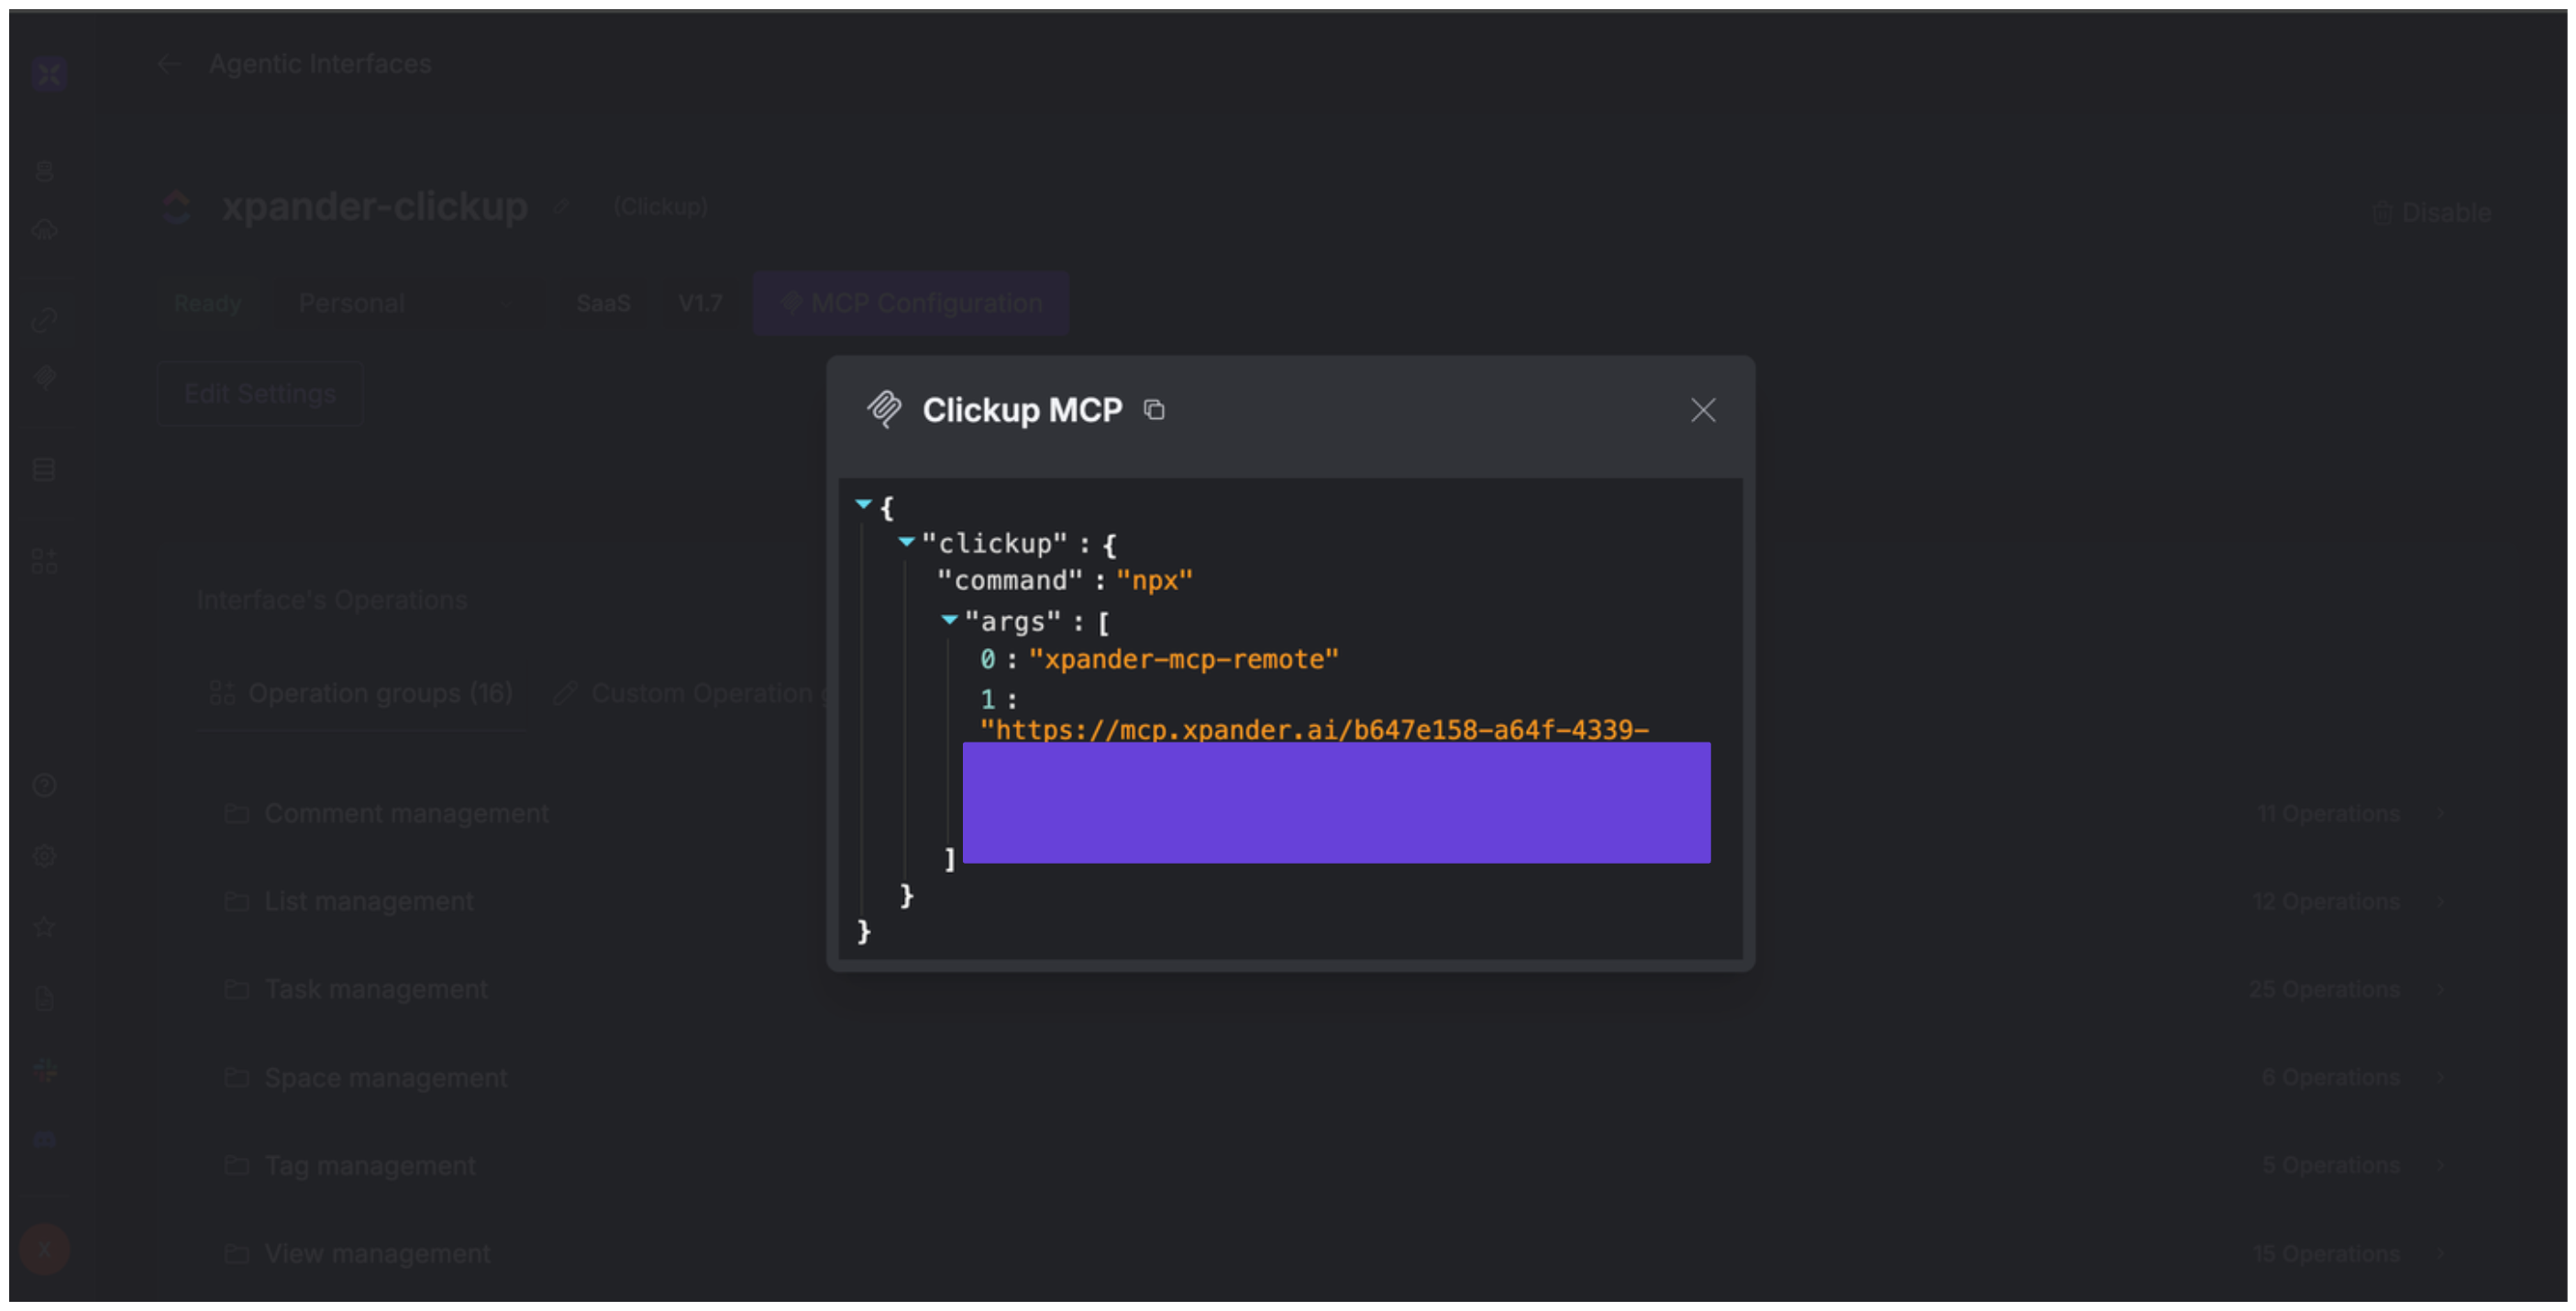
Expose ClickUp as MCP Server
Alternatively, you can also expose your ClickUp account as an MCP server. To do so:- Go to the Connectors section in the sidebar of your xpander.ai dashboard.
- Select ClickUp with the same connector name you configured in the previous section (e.g., xpander-clickup).
- Click MCP Configuration.
- Enter the MCP configuration into the appropriate settings of the client app you want to use (e.g., Cursor, Windsurf, Claude Desktop, etc.).