

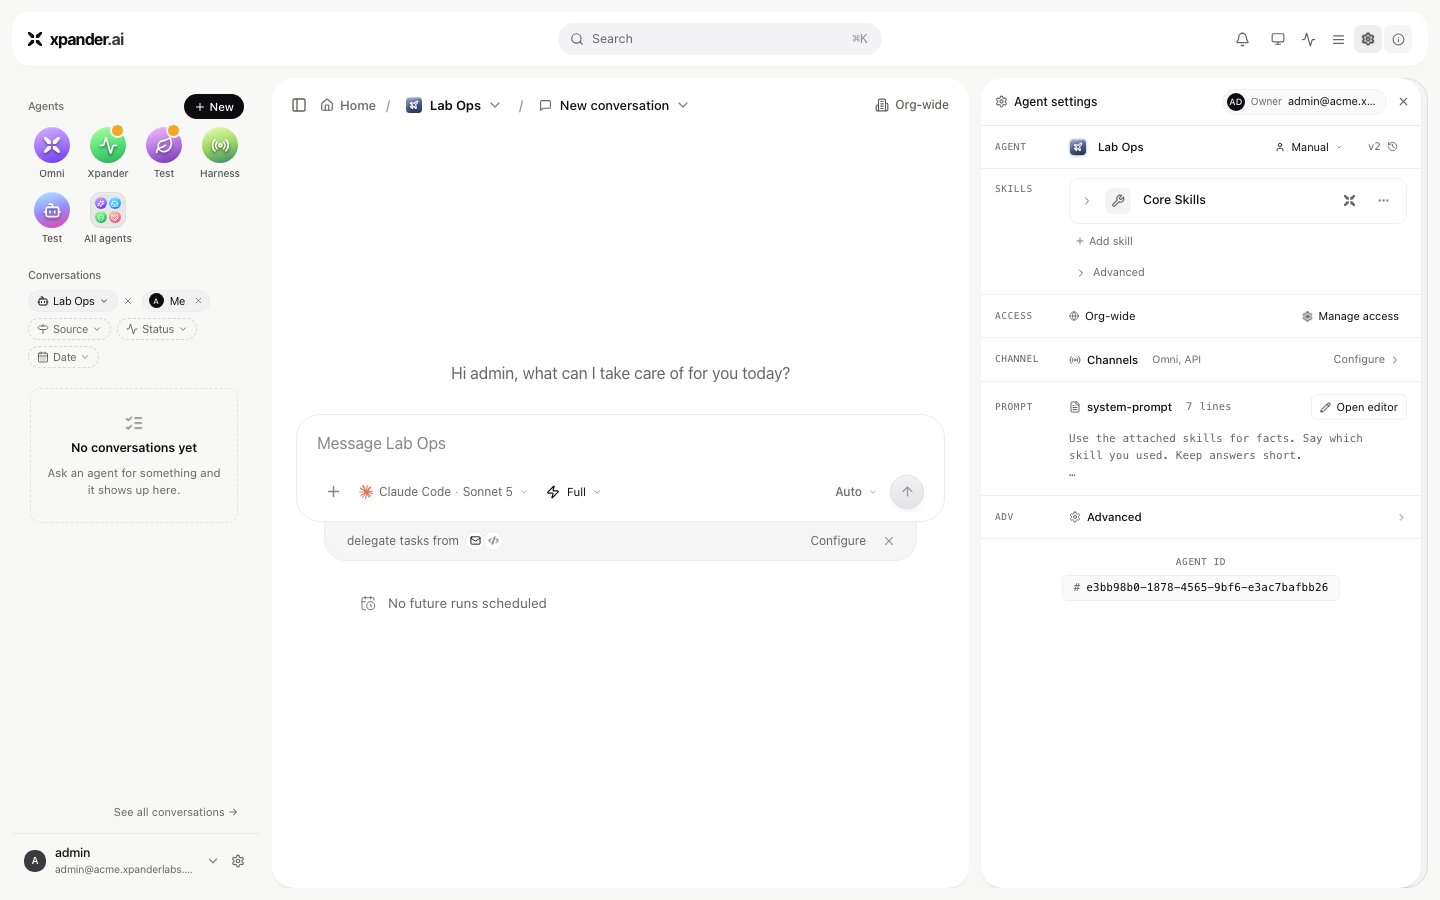
Agent settings: Add skill sits under Skills, above Access, Channels and the prompt.
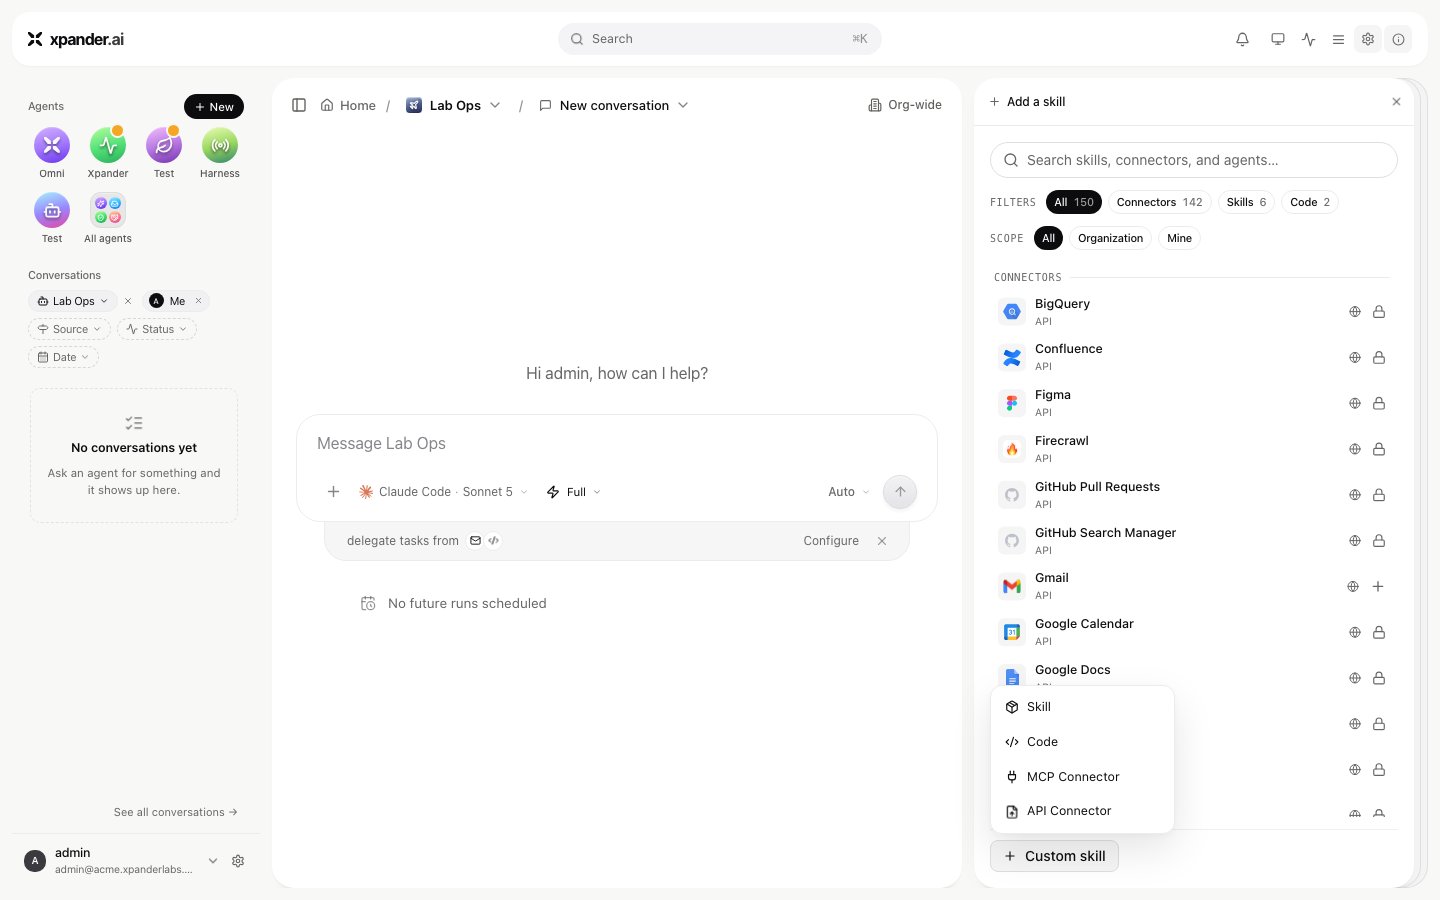
The Add skill panel: the All, Connectors, Skills and Code filters, the Scope filter, and the Custom skill menu with Skill, Code, MCP Connector and API Connector.
- API connector
- MCP connector
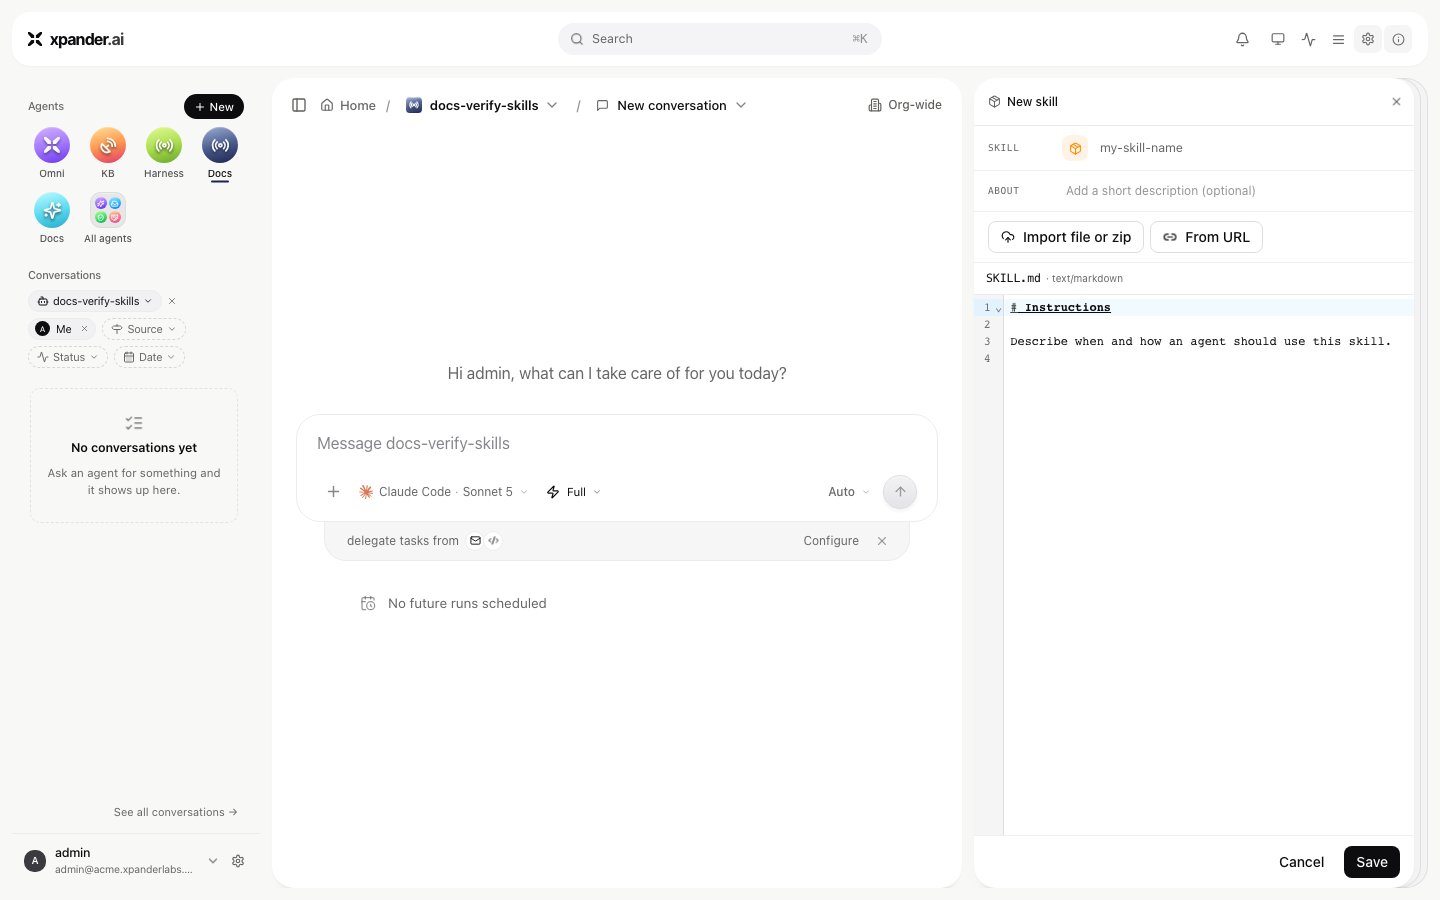
- Markdown skill
- Code
From the catalog
- In Add skill, choose the Connectors filter and search for the system.
- Select it. The connect dialog is titled Connect followed by the skill name. Connection name is prefilled with your email and the skill name. Access is Personal (your own account, so the agent acts with your permissions where the system allows) or Organization (one shared account).
- Authenticate the way the skill requires: Sign in with the vendor for OAuth, or a key. With Authentication on API key, the Type list decides how the key travels: Authorization header, Basic, Bearer, In-URL, Custom header or API key (sent as
ApiKey <key>). Paste the key under API key. Server URL overrides the base URL this connection sends requests to; empty means the address from the skill’s spec. Custom headers adds fixed headers to every call. Click Connect. xpander stores the credential and injects it at call time; the agent never sees it. - The skill panel lists the actions by group. Enable only the groups the agent needs, and mark the actions that should wait for a named person under These actions need approval.
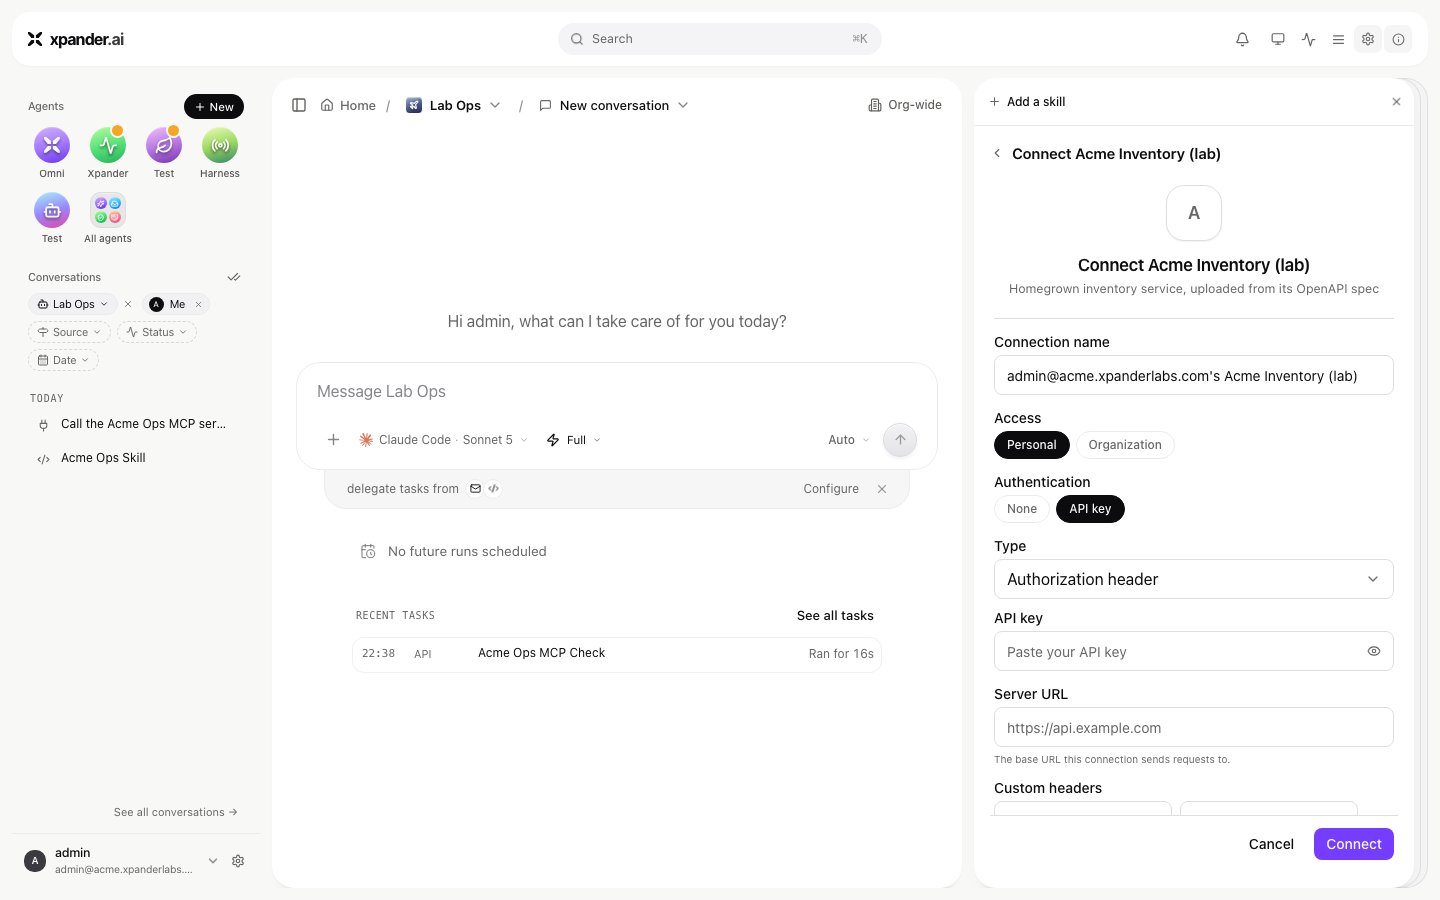
The connect dialog of an API connector: Connection name, Access, Authentication, the Type list, API key, Server URL and Custom headers. Shown with sample data.
From your own OpenAPI spec
- At the bottom of Add skill choose Custom skill, then API Connector. The dialog that opens is titled Create connector.
- Fill in Name and Description. Under Authentication pick what the API expects: API key in a header (then Header name, the header the key is sent in when someone connects), Bearer token or No authentication.
- Upload the spec under OpenAPI spec. The dialog reads it at once and reports the spec’s title and how many operations it found. Operations call the URL in the spec’s
serversfield; a per-connection server override is possible at connect time. - Create it. The dialog shows the pipeline as it runs: Creating the connector, Starting AI enrichment, Generating the enriched spec, Activating in the catalog, Waiting for ready. Generation runs in the background, so closing the dialog is safe. When no LLM provider is configured for the generator, the spec is ingested as-is with no enrichment.
- Connect it like a catalog skill.
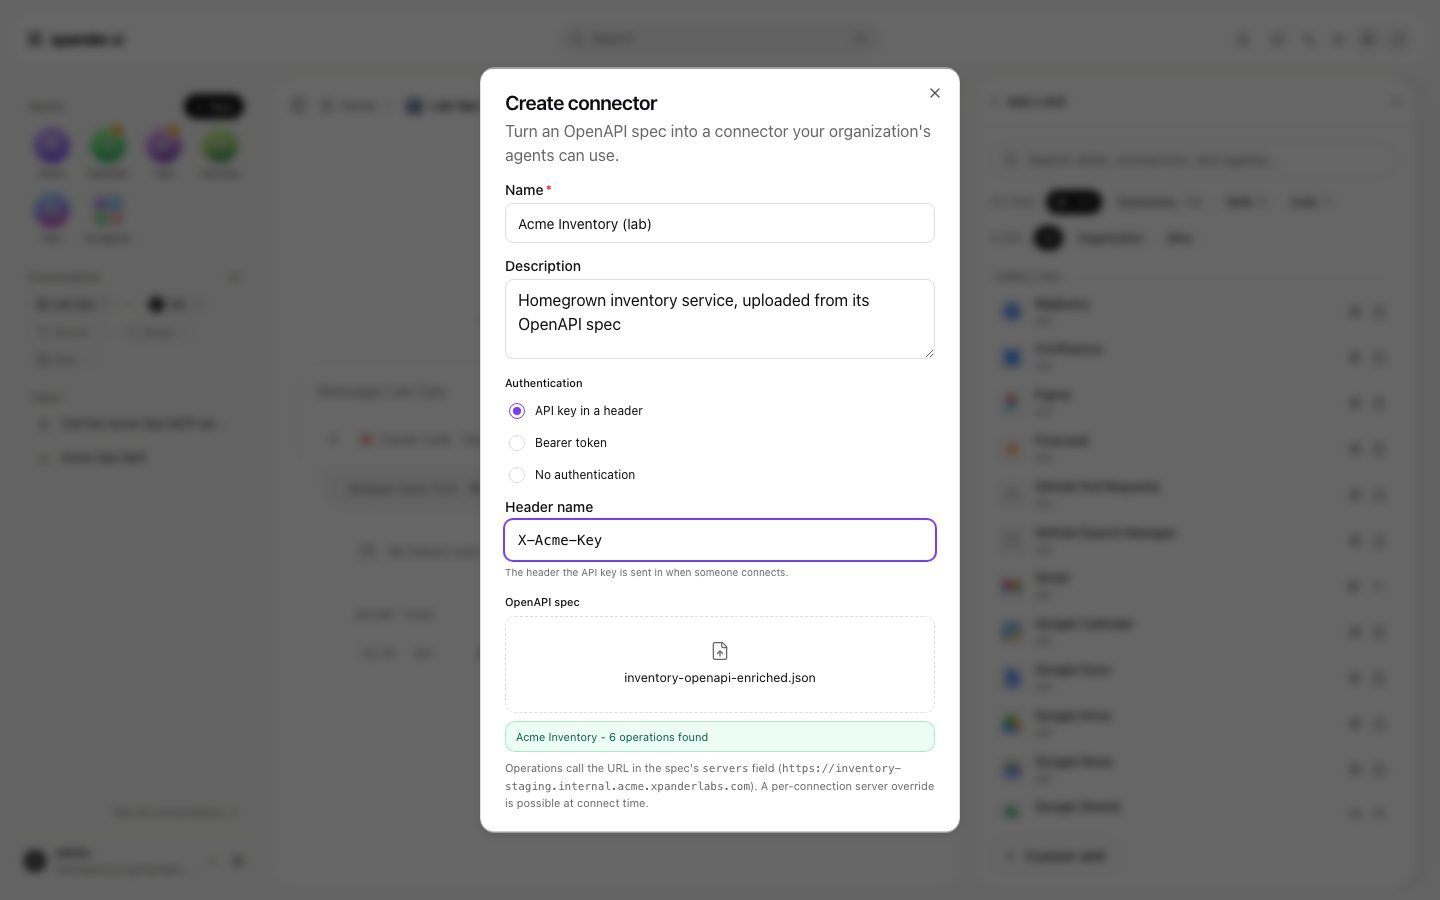
Create connector: name, description, the authentication the API expects with its header name, and the uploaded OpenAPI spec with the operations it found. Shown with sample data.
openapi-spec-generator service at install time: Bedrock when the install has Bedrock configured, otherwise OpenAI when the installer ran with --openai-key. With OpenAI the service dials api.openai.com directly, so the pods need that egress. A step that fails leaves the API connector at status faulty with no operations, and its row offers Retry. One failure seen on the current build: the tags step ends with 400 Invalid schema for response_format 'TagGroups' from the provider. Retry repeats the same pipeline, so it fails the same way until the cause is fixed; read the openapi-spec-generator pod log first. The provider choice and the bucket the generator needs are on AI Skill Generation.Do not connect an API connector while it is faulty. The connection is accepted, and every call to that agent then fails with 500 Failed to build agent details until the connection is gone. The app cannot remove that connection; the recovery is an operator step on Air-Gapped troubleshooting.Later, upload a new spec version from the skill’s row; it preloads the current auth method. Deleting the skill says which agents lose it. An API connector you create exists only in your installation.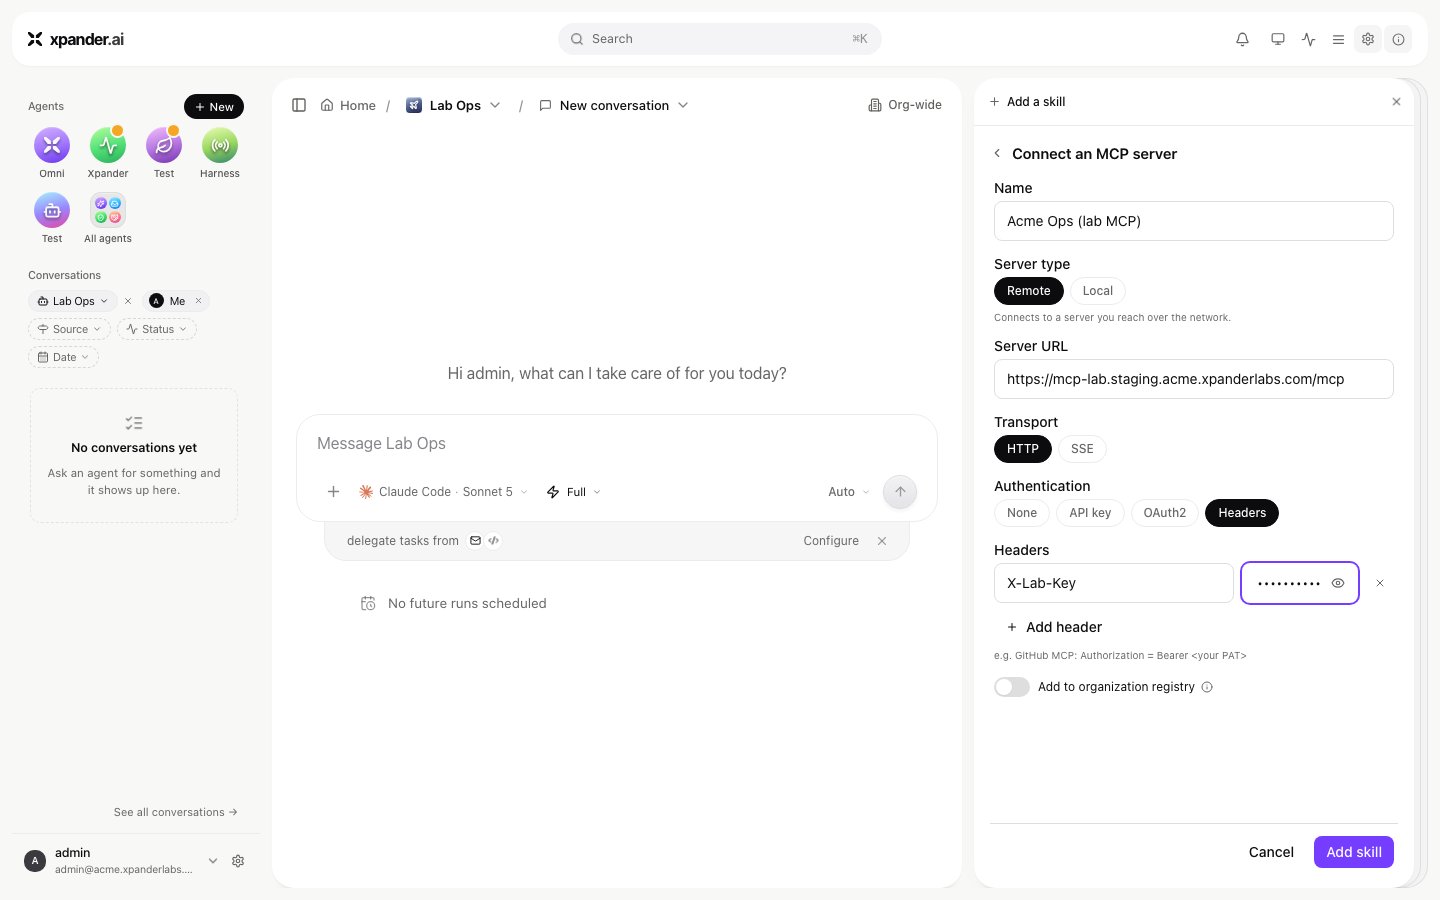
What is recorded
Whatever the kind, the task record shows each skill call an agent made, with its parameters and result, under the person who asked. Settings > Audit logs recordsSkill Created and Skill Added events with the person who did it, and a skill’s row shows its version and who provided it, so an agent’s skills list reads as a bill of materials.